Sprites are a crucial concept in MakeCode Arcade. In a game screen, any object that moves, can be touched, or changes appearance is considered a Sprite. For example, in the famous game “Super Mario”, Mario himself, the Goombas 🍄, Piranha Plants, Coins 🪙, and Lava 🔥 are all Sprites.
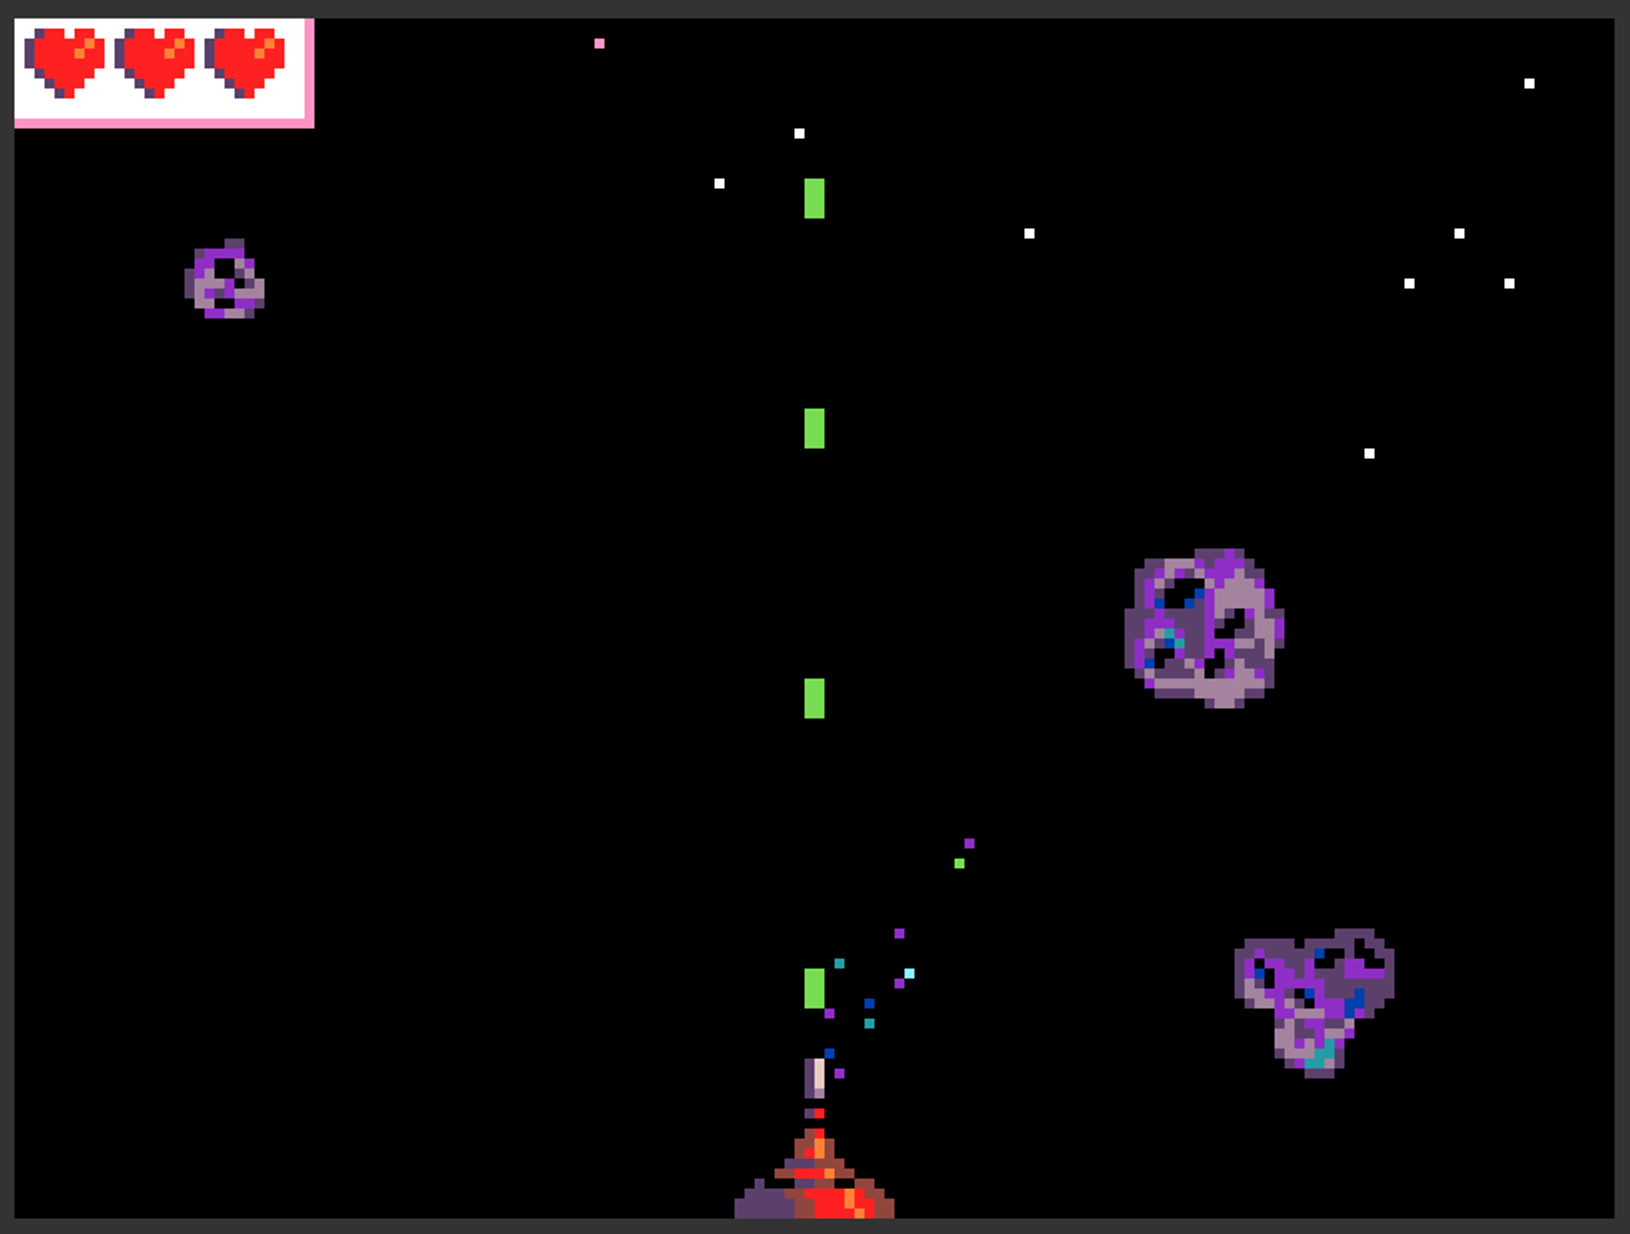
In MakeCode Arcade, we can configure Sprites ourselves—designing their appearance, planning their movement paths, or determining if they can be controlled by player buttons. Using “Space Destroyer” as an example again: the “Fighter Jet 🚀” we pilot, the “Laser Beams ⚡” we fire, and the “Meteors 🪨” that damage us are all Sprites that we can design.
4.1 Methods for Creating Sprites
Open the URL:https://arcade.makecode.com/beta?hw=n3
Start a New Project and name it whatever you like.
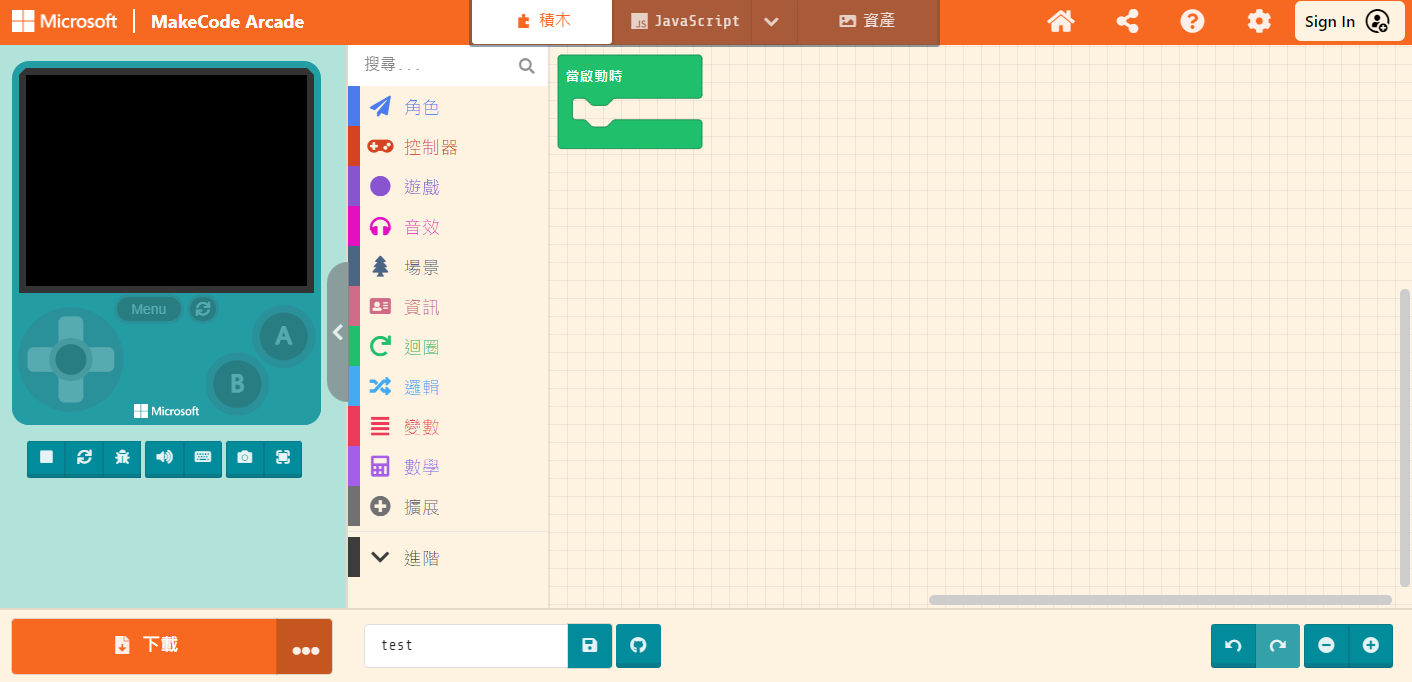
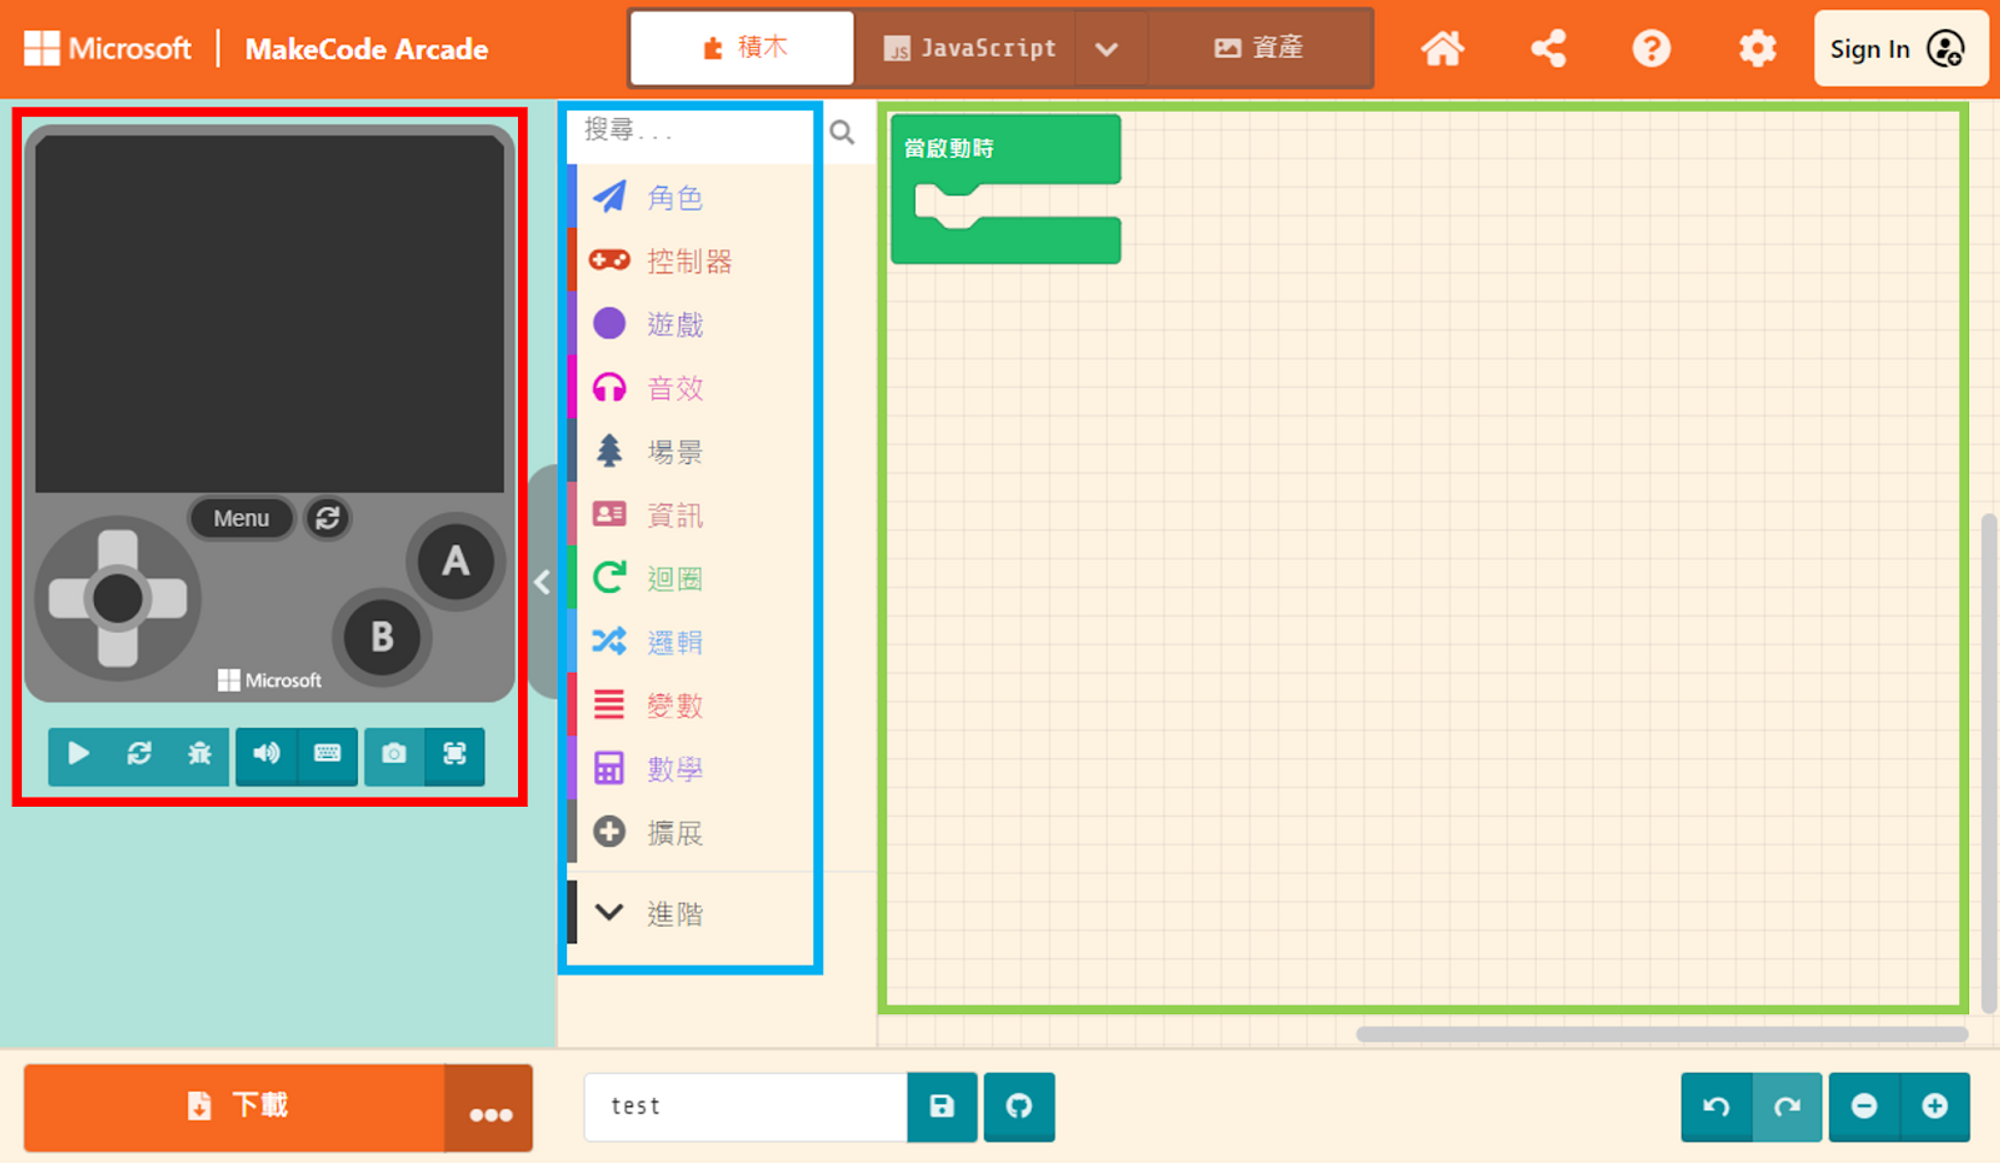
Once everything is ready, let’s create our first Sprite. Please click on “Sprites” in the Block Toolbox.
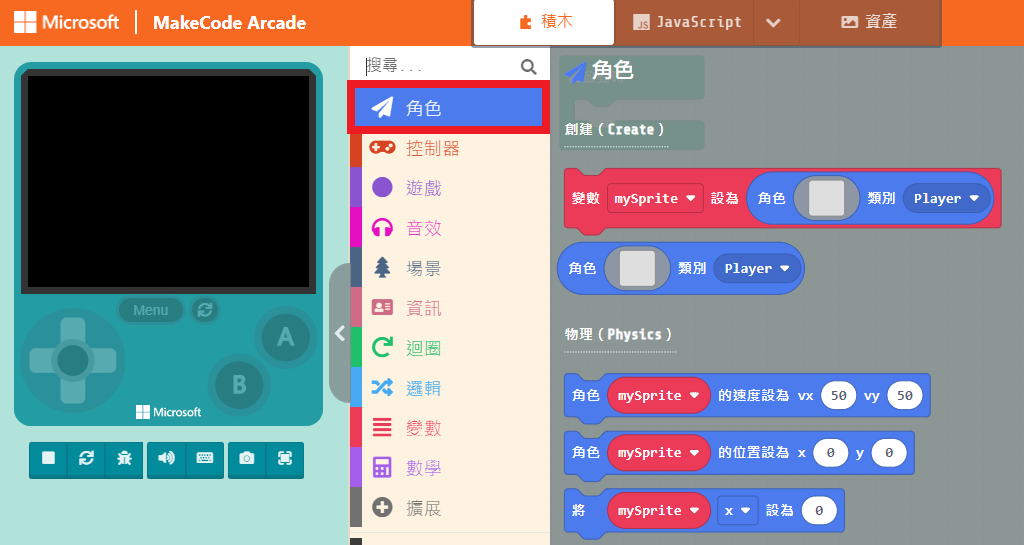
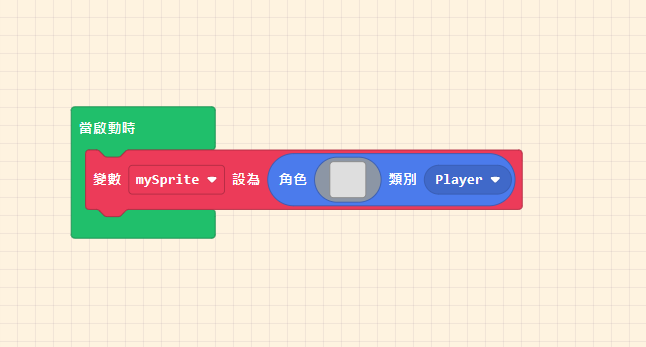
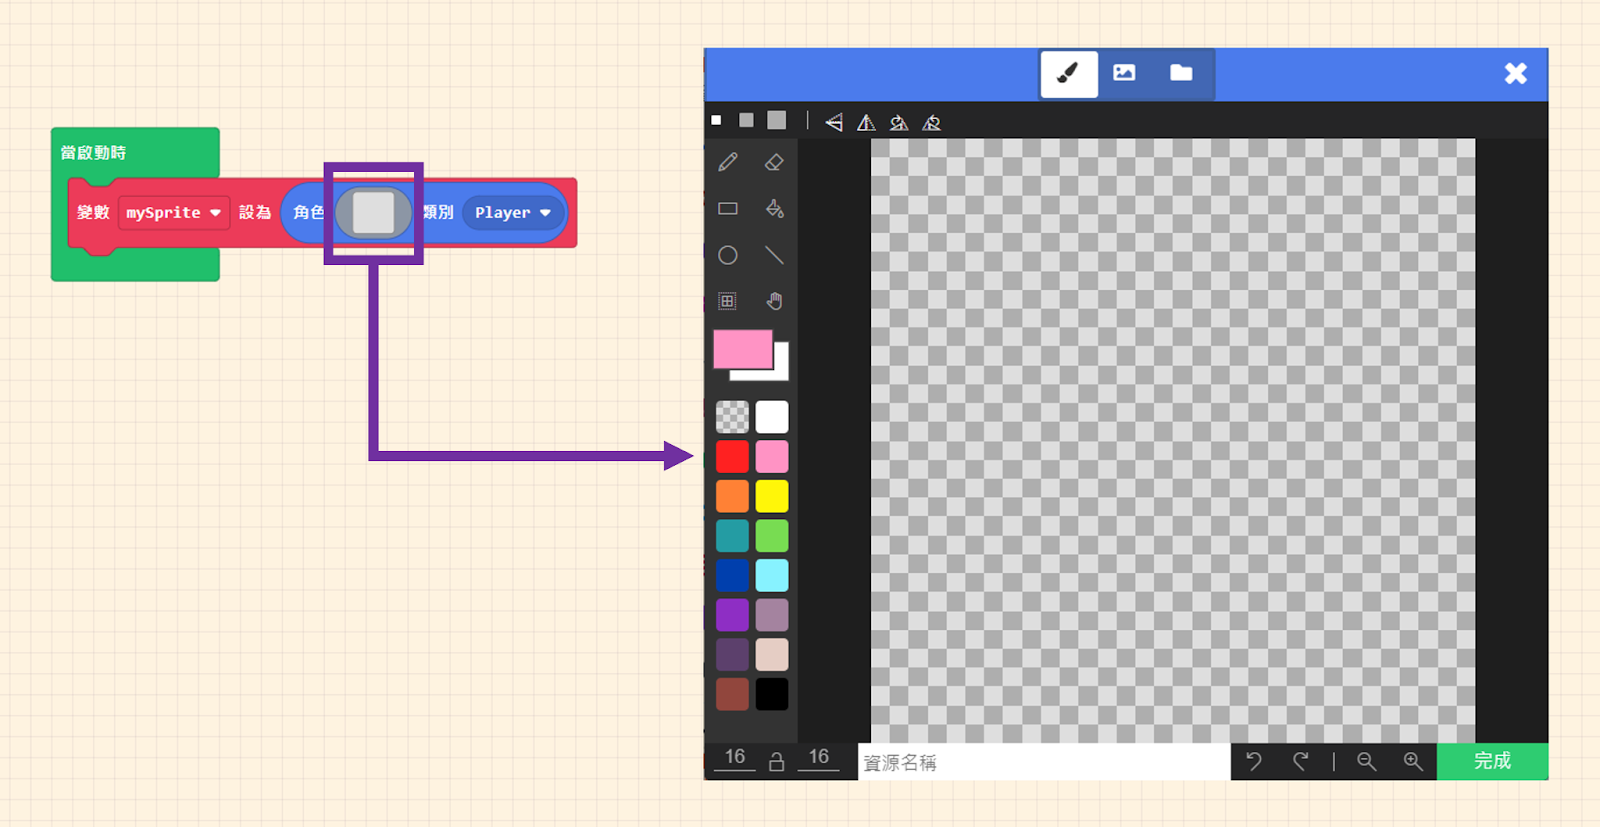
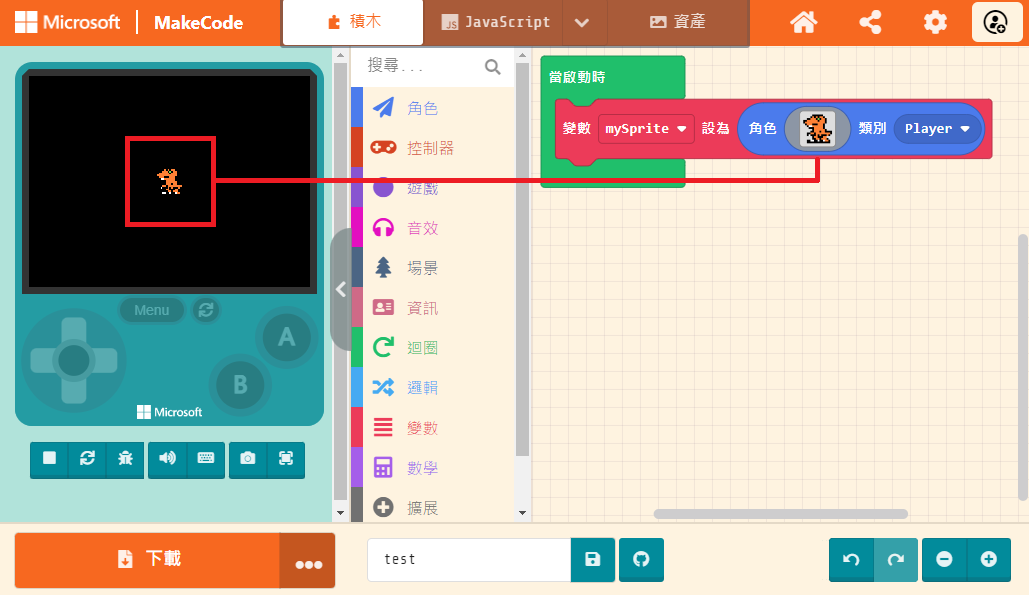
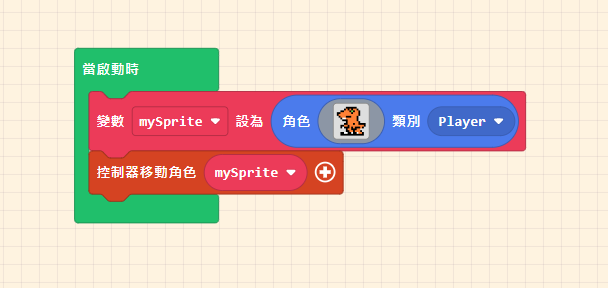
Drag the block “set [mySprite] to sprite [ ] of kind (Player)” into the “on start” block in the Workspace. This block helps us create a Sprite and store it in a container named a “Variable”. We will explain the concept of variables in later articles; for now, let’s focus on creating Sprites.
Click on the grey square pattern within the block. This will pop up the Image Editor window, allowing us to draw our Sprite. The interface is like standard drawing software: drawing tools and a color palette are on the left, while the canvas is on the right. The canvas displays a pixel grid to help us position and draw accurately.
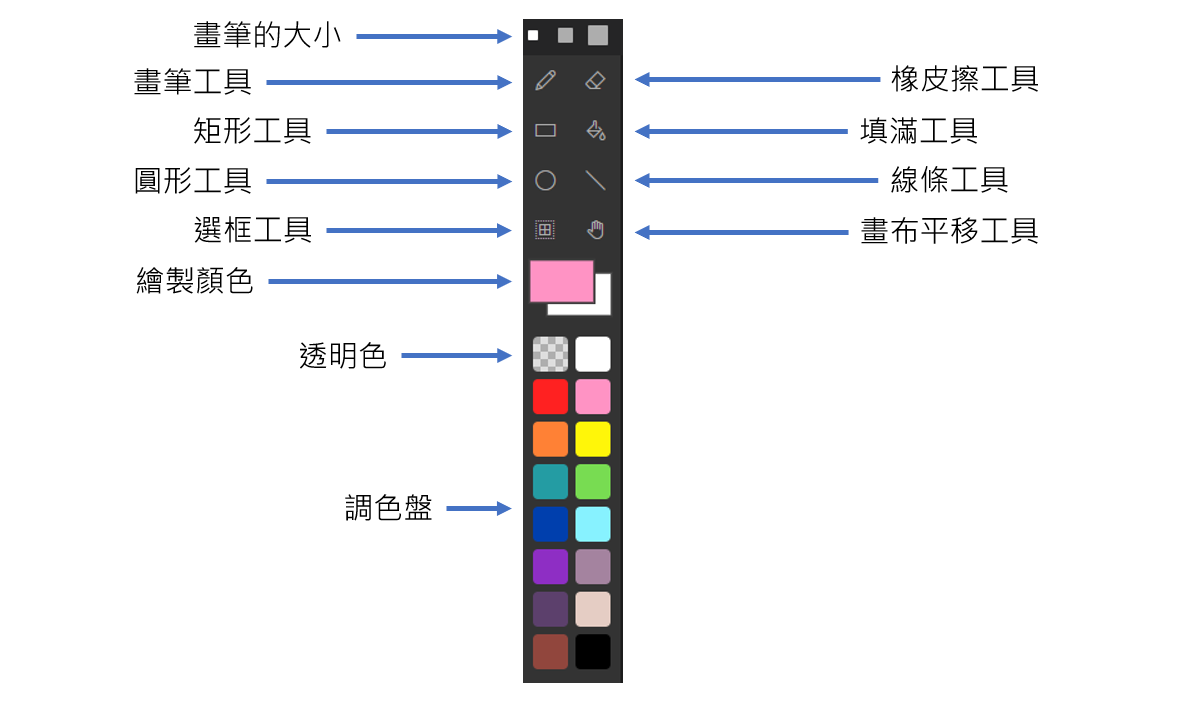
The details of the drawing tools are shown below. Although the functions are simple, they are more than enough to create a 2D pixel game.
Let’s start with the “Pencil Tool”. Try selecting the “Pencil Size” and test out the three different sizes by clicking the left mouse button on the canvas. You will see that the pencil sizes occupy “1 x 1,” “3 x 3,” and “5 x 5” areas on the canvas respectively.
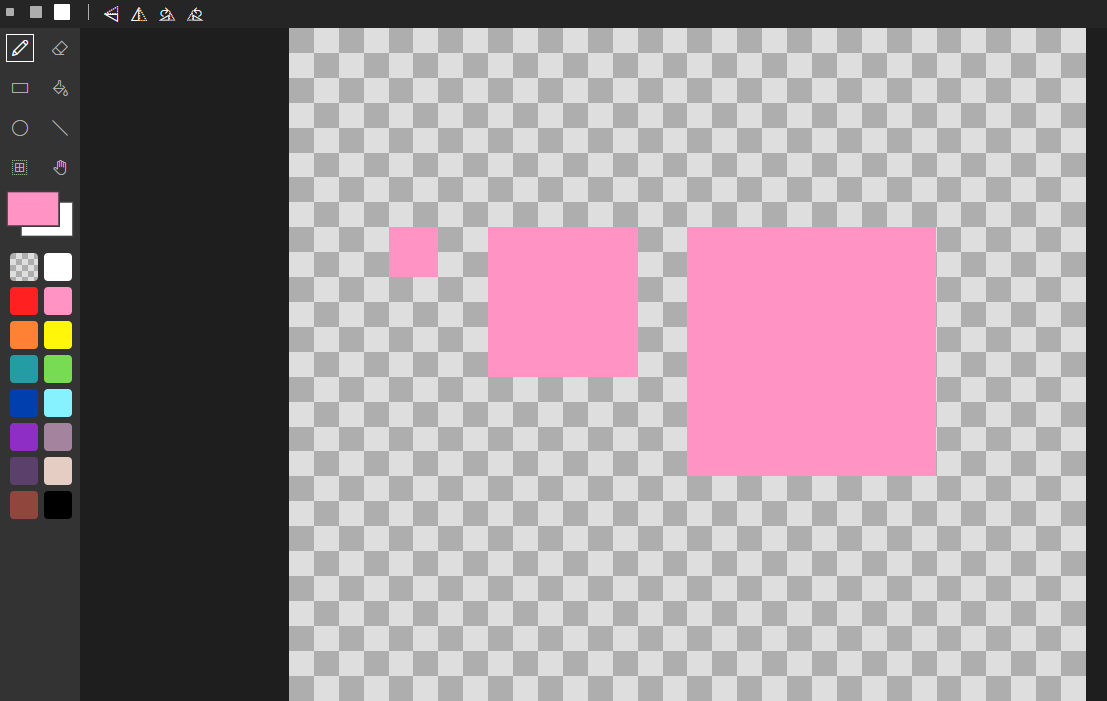
Note: The smallest “1 x 1” size covers a single unit on the checkerboard background (the white/grey grid). It doesn’t mean it covers just one grey block or one white block; it represents one pixel.

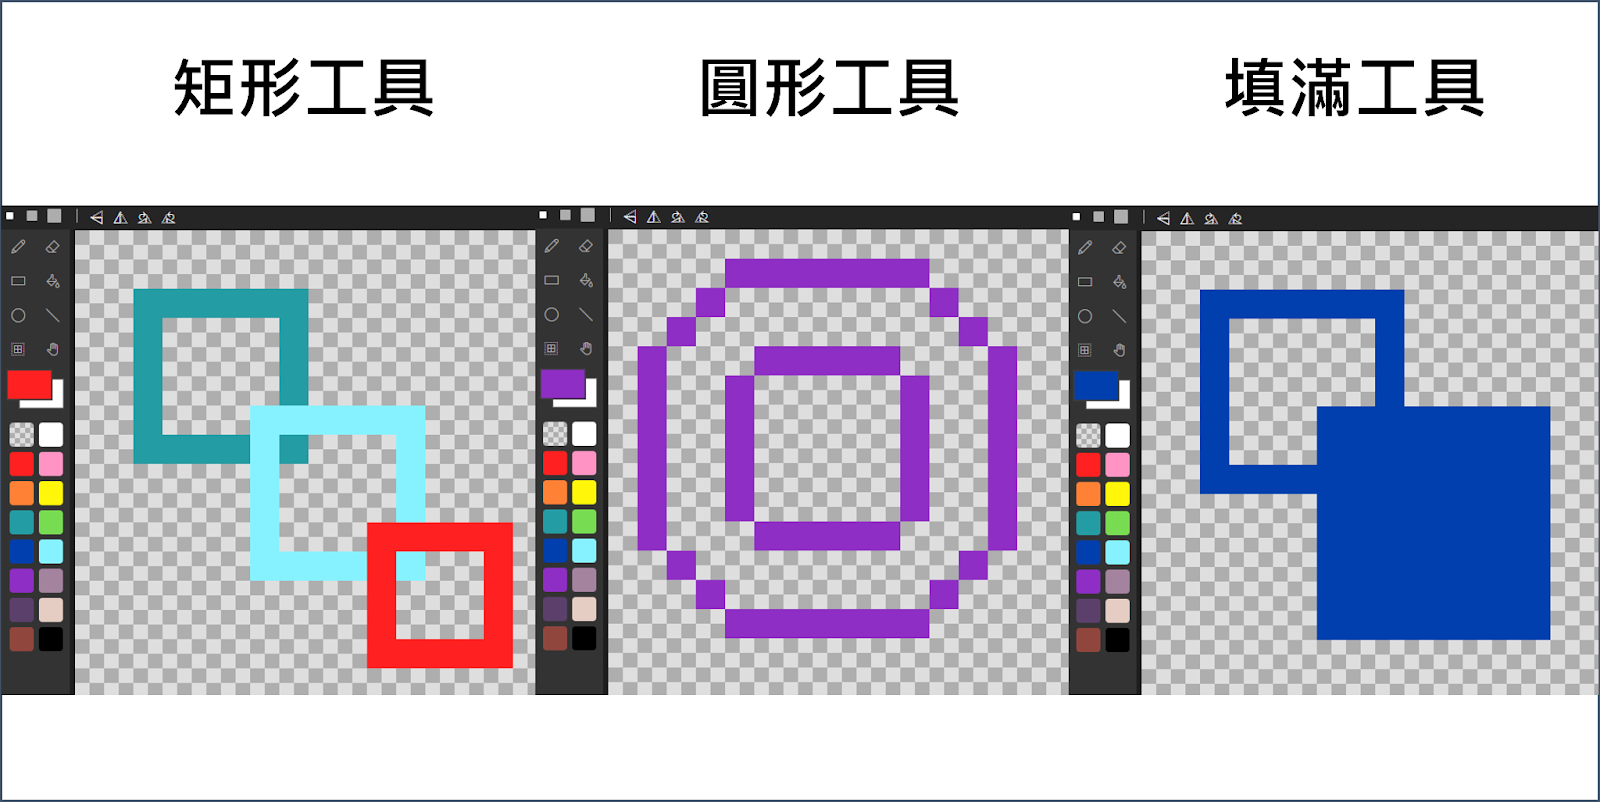
New lines will overwrite old ones. If you want to color a large area, you can use the “Fill Tool.” A special case is the “Circle Tool”: due to pixel limitations, it cannot draw perfect circles. Small circles might even look indistinguishable from squares.
As the saying goes, “With a pen and colors, creativity is limitless. 🎨” Now, let’s use our skills and creativity to draw our own Sprite.
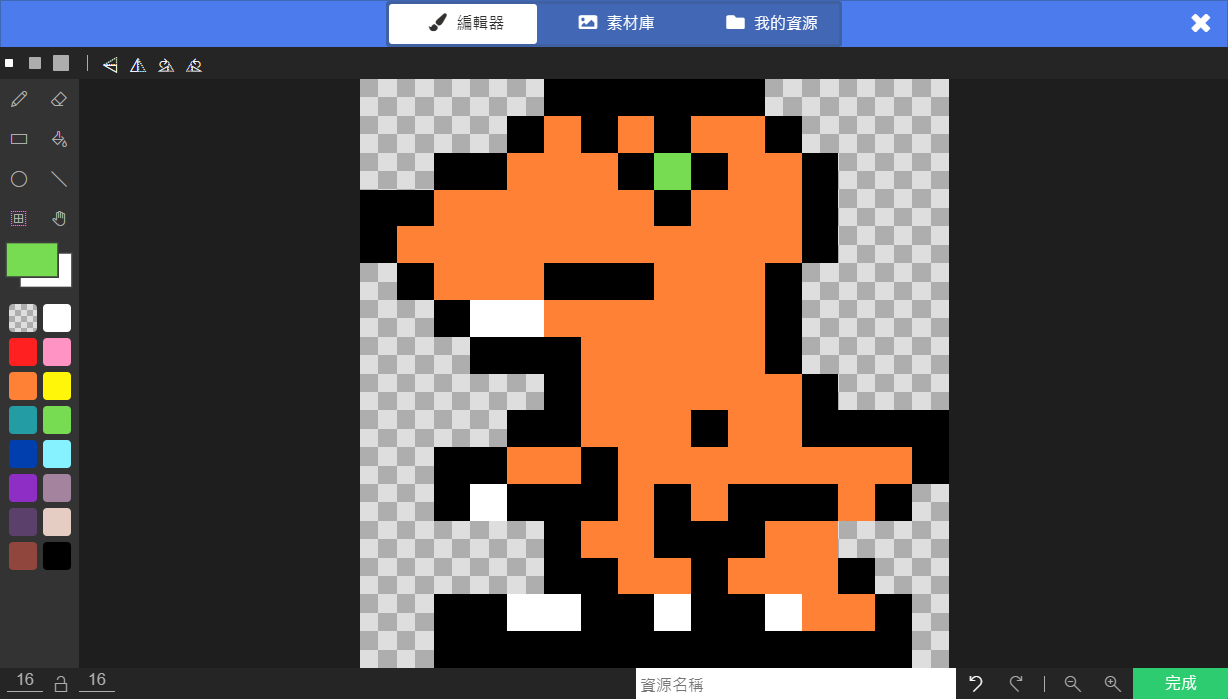
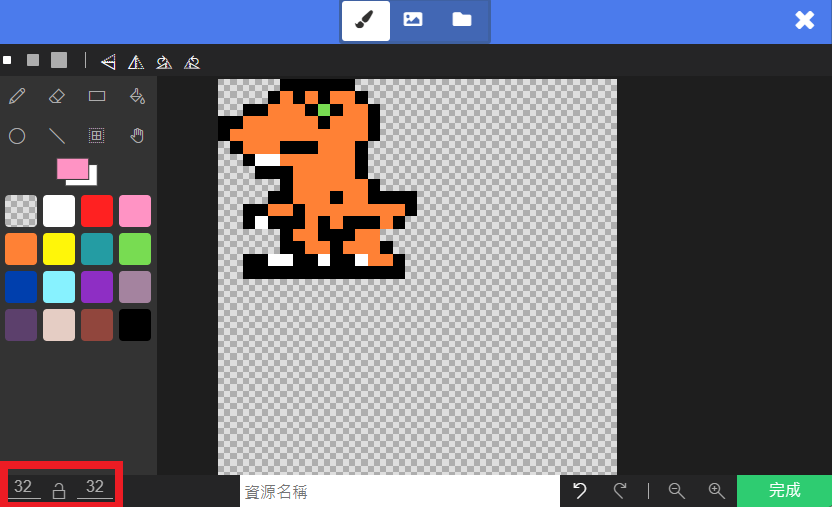
If you find the canvas too small, you can change the size in the bottom left corner—don’t let the canvas limit your creativity.
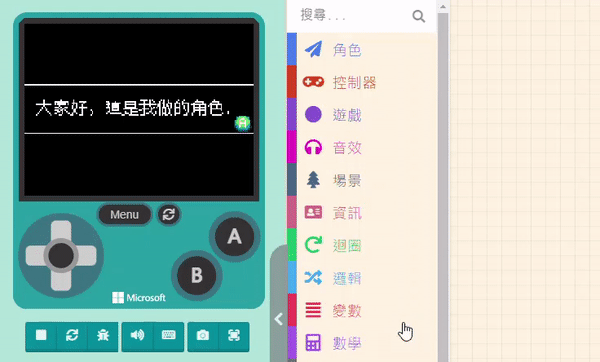
During the drawing process, you can use the “Line Tool” and “Fill Tool”, or you can simply draw pixel by pixel. Once finished, click the “Done” button in the bottom right corner, and you will see your Sprite 🦖 appear on the Game Simulator screen.
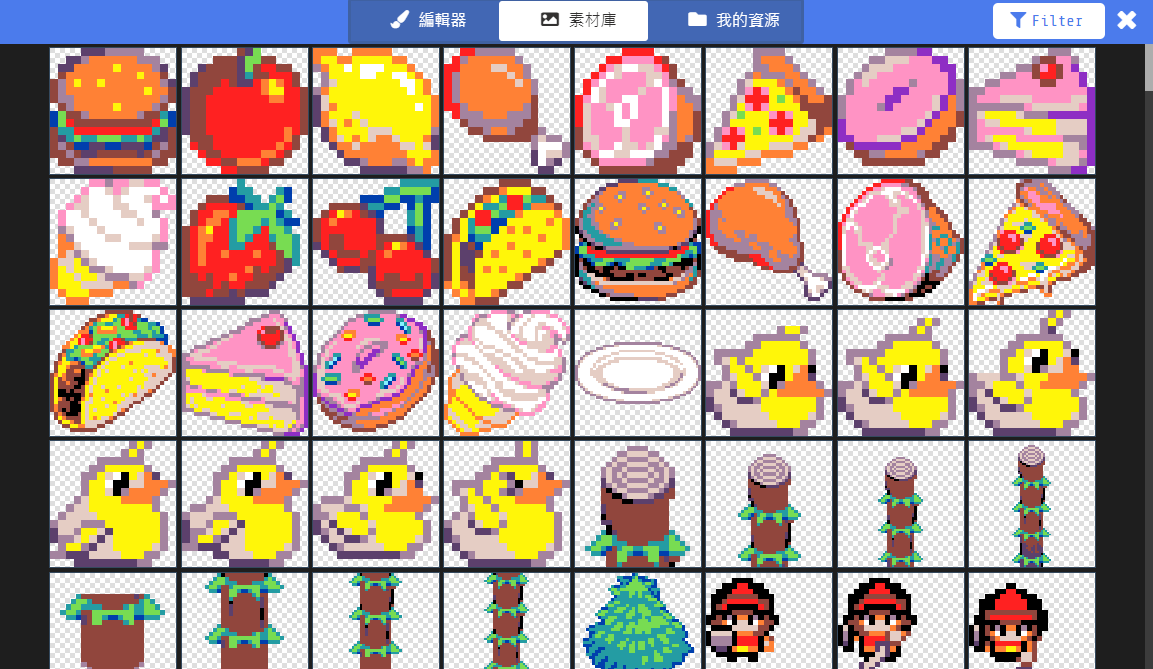
If you find drawing too troublesome, there is a ready-made library available. Please click on “Gallery” at the top of the editor.
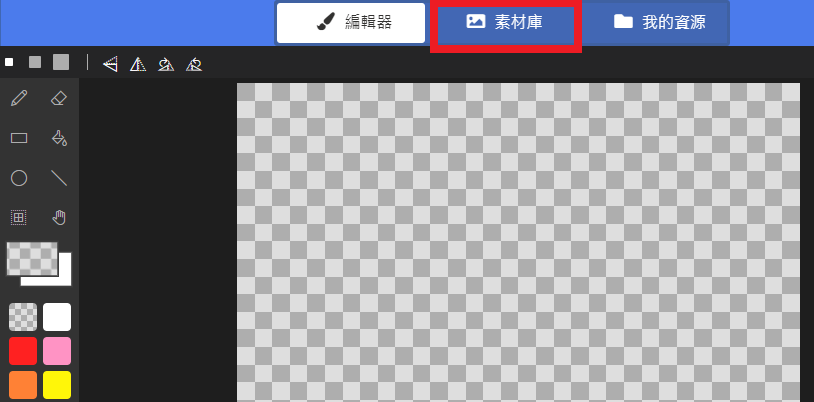
The existing assets are quite rich! If you don’t want to draw one yourself, just pick a character you like from here.
4.2 Controlling Your Sprite
Now that the Sprite is drawn, we can’t just let it sit motionless in the center of the screen, right?
Let’s make it move with the joystick immediately.
First, click on “Controller” in the Block Toolbox and select the “move [mySprite] with buttons” block.
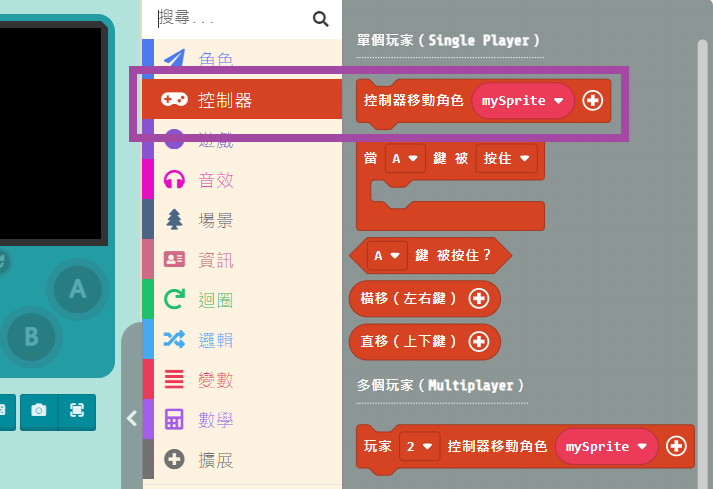
Drag this block into the “on start” block and place it under the Sprite creation block we just set up. This grants our Sprite the ability to move with the joystick!
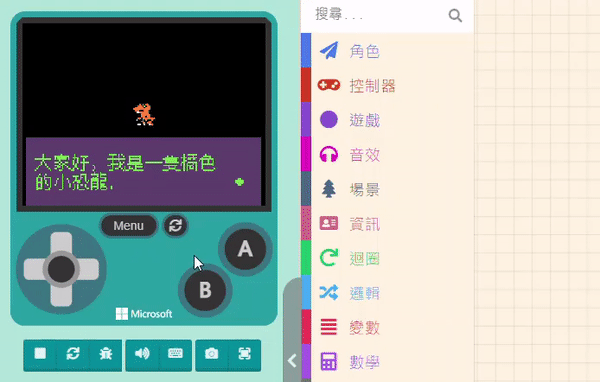
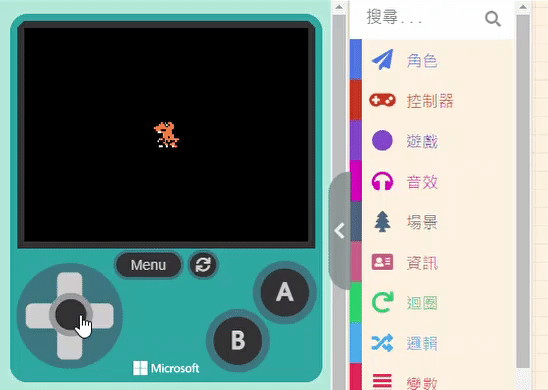
Try controlling the joystick in the Game Simulator, as shown below:
Almost all assets in a game are Sprites. You can use what you’ve learned in this unit to create the protagonist, level elements, buildings, or cute companions for your game. Besides joystick control, there are many other ways to interact. Please practice often and create your own game! 🎮🎮🎮