Before starting the “Dialog” function, to keep things clean, please reset your program to its initial state. The “Dialog” function is also located within the “Game” category in the Block Toolbox. Click it to find the relevant blocks. The first three blocks are for settings/configuration, and only the fourth one […]
Game:bit – Learning Computational Thinking Through Play
15 posts
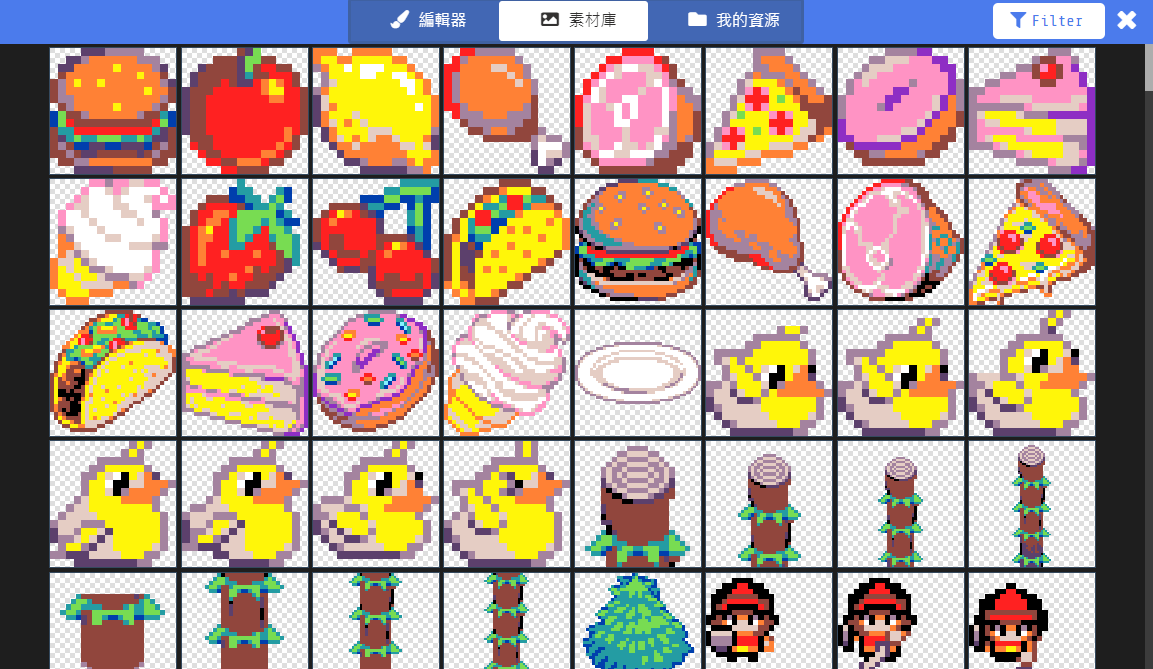
Please prepare the Sprite you created. Of course, you can also select one from the Gallery. The features related to “Prompts” are located within the “Game” category in the Block Toolbox. Click it to find the relevant blocks in the list that pops out on the right. First, let’s select […]
In game development, to help players understand the rules or enhance the gaming experience, we often use “Prompt” windows for introductions, questions, notifications, and transitions. For example, explaining the rules before the game starts, teaching players control keys, or providing hints during gameplay (secrets of a treasure, quest requirements, rewards […]
Now that the Sprite is drawn, we can’t just let it sit motionless in the center of the screen, right? Let’s make it move with the joystick immediately. First, click on “Controller” in the Block Toolbox and select the “move [mySprite] with buttons” block. Drag this block into the “on […]
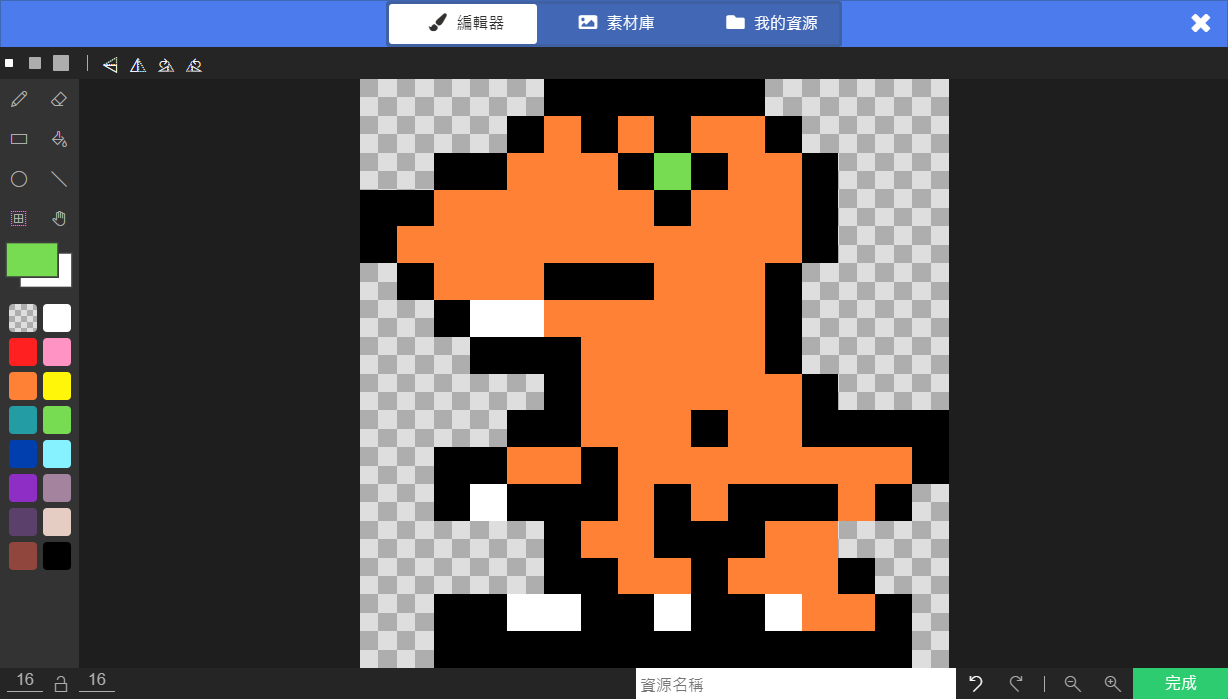
Open the URL:https://arcade.makecode.com/beta?hw=n3 Start a New Project and name it whatever you like. Once everything is ready, let’s create our first Sprite. Please click on “Sprites” in the Block Toolbox. Drag the block “set [mySprite] to sprite [ ] of kind (Player)” into the “on start” block in the Workspace. […]
Sprites are a crucial concept in MakeCode Arcade. In a game screen, any object that moves, can be touched, or changes appearance is considered a Sprite. For example, in the famous game “Super Mario”, Mario himself, the Goombas 🍄, Piranha Plants, Coins 🪙, and Lava 🔥 are all Sprites. In […]
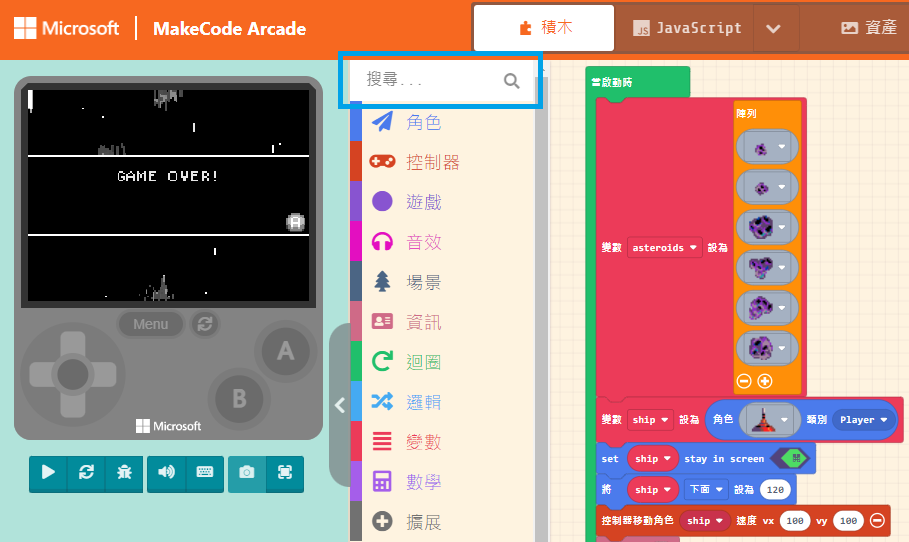
When learning from example programs, we often want to know which category a specific block comes from. The most intuitive method is, of course, to look through the options one by one, but that takes time—there are quite a few options! Sharp-eyed users may have already noticed the “Search” field. […]
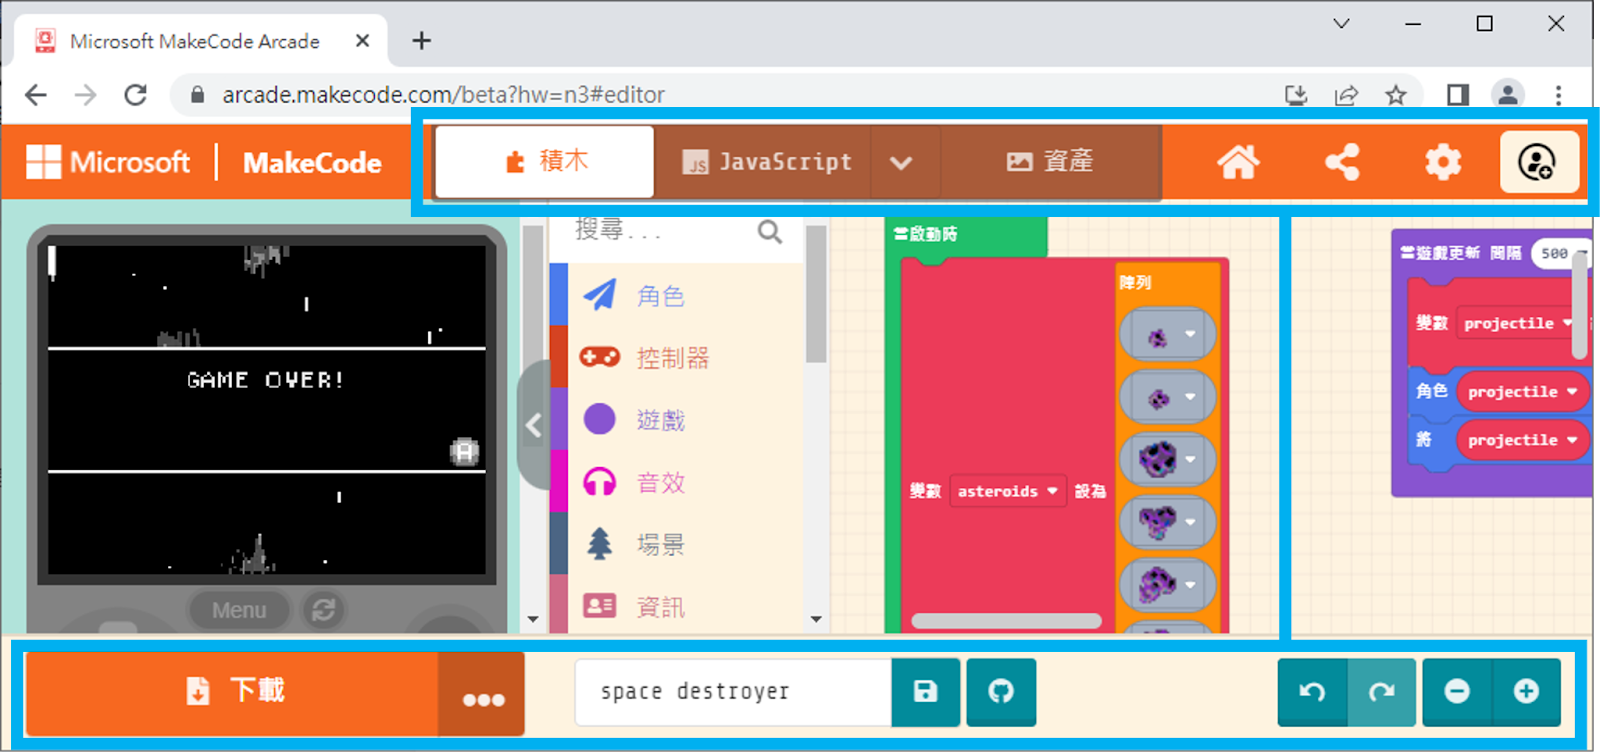
At the top and bottom of the interface, there are various operation options. Those who have used MakeCode before should be familiar with these: “Download”, “Save”, “Zoom Controls”, “Undo/Redo”, “Share Project”, and others. If you are a beginner, don’t worry. We will frequently use these options in future tutorials, so […]
The Workspace takes up the largest area of the interface. This is where you implement game functions by “assembling” code blocks. Once you drag a block into the Workspace, it becomes active.