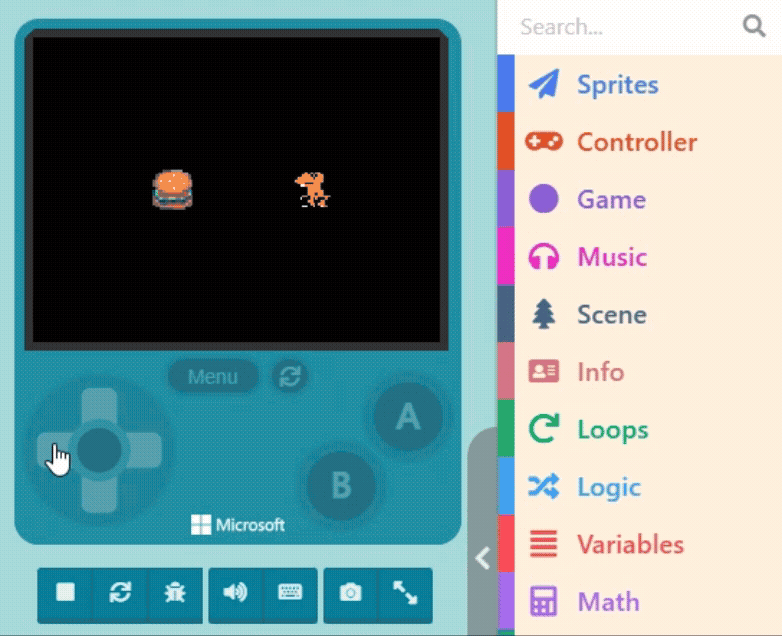
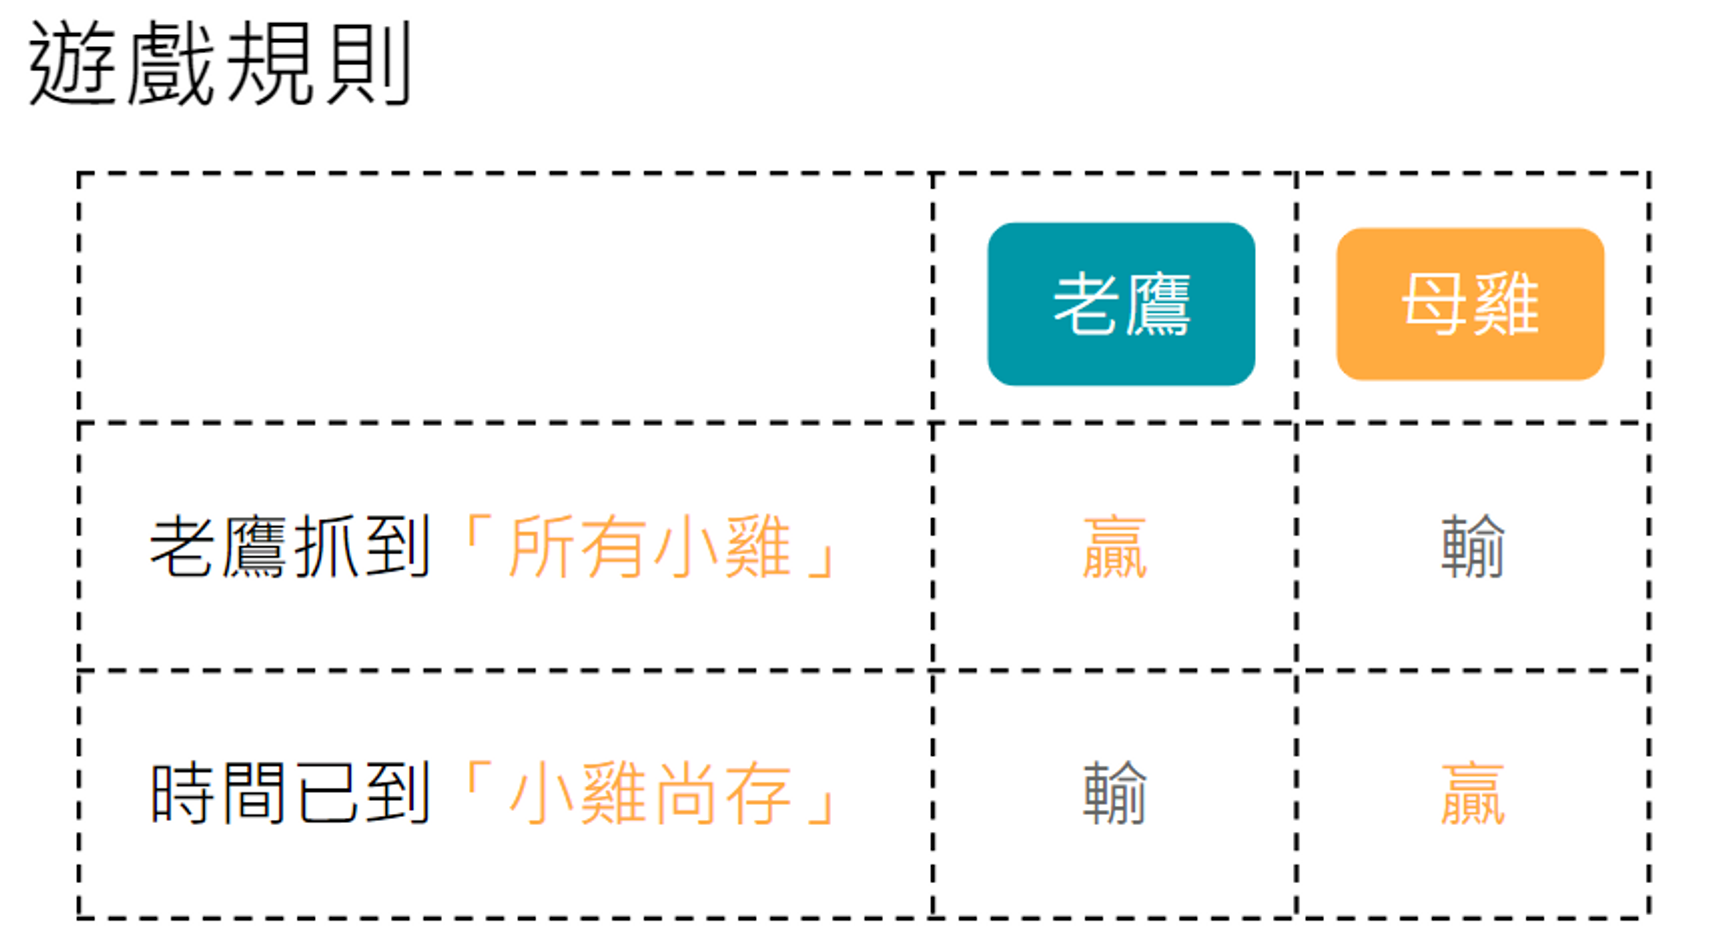
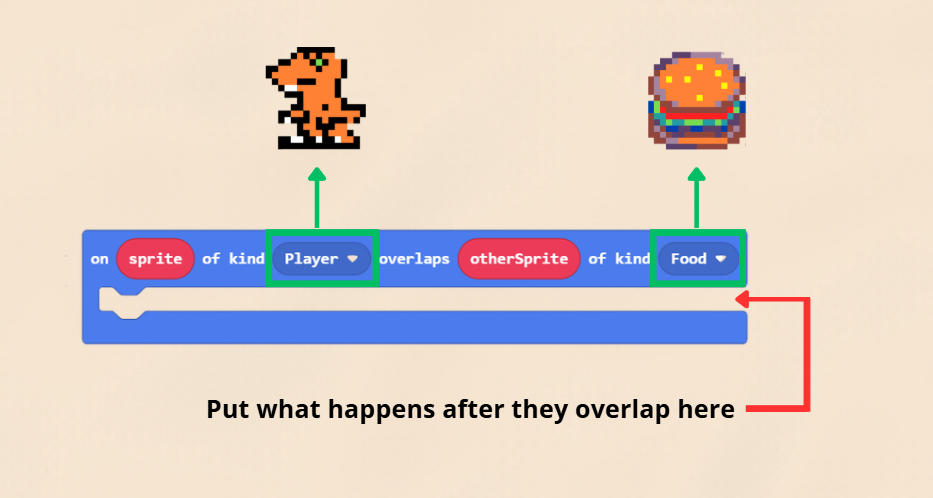
If we want the “Orange Dinosaur” to eat the “Burger“—meaning the Burger disappears when the Dinosaur “collides” with it—we need to use the concept of “Overlaps.” This allows us to program subsequent events when the images of two sprites overlap.
Please click on “Sprites” in the Block Toolbox, scroll down to find blocks related to “Overlaps,” and drag out the first block: “on sprite of kind (Player) overlaps otherSprite of kind (Player).”
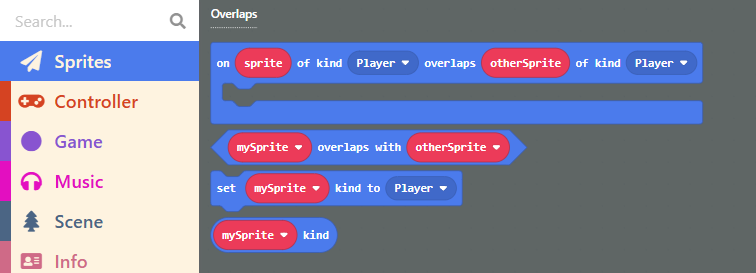
Place this block in the Workspace (empty area). Since this block functions similarly to “on start” (it is an event handler), it cannot be placed inside other blocks, but you can place other blocks inside it.
Let’s look closely at this block. It states that when a certain Kind “overlaps” with another Kind, it triggers the blocks inside it.
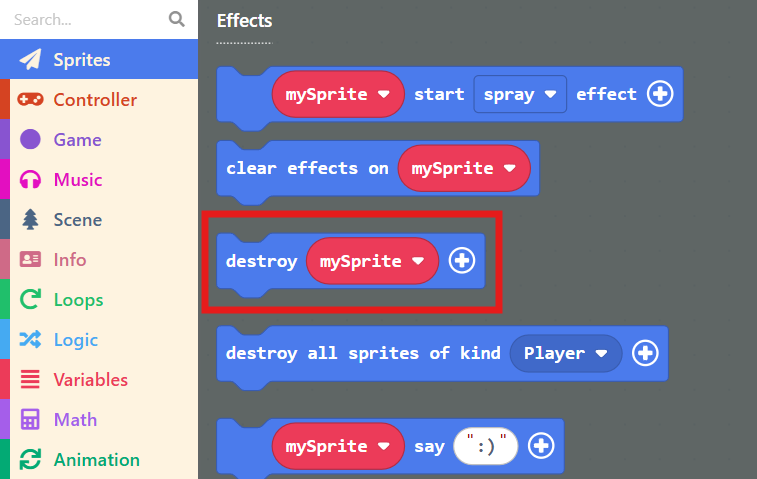
So, if we want the Burger to “disappear” when the “Orange Dinosaur” overlaps with the “Burger,” we can place the “destroy” block inside.
Making a specific sprite disappear is easy. In the “Sprites” list, there is a “destroy [mySprite]” block. This block will help us make the Burger vanish.
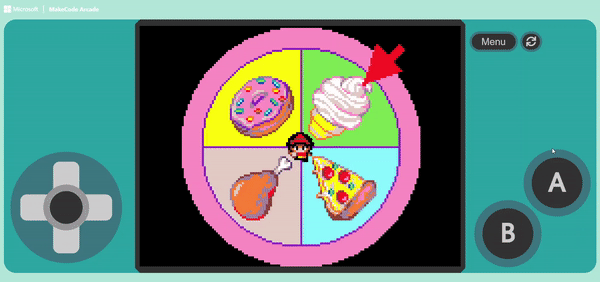
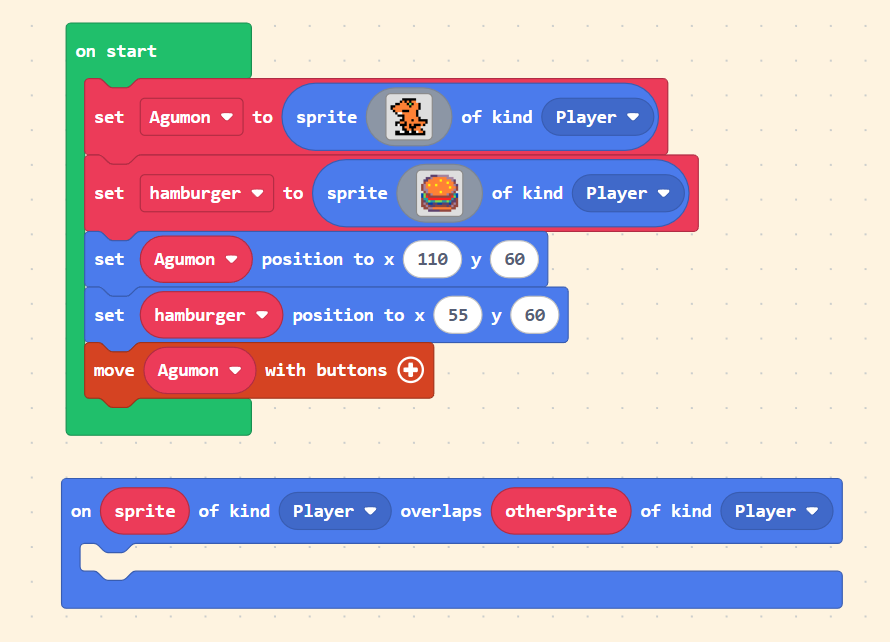
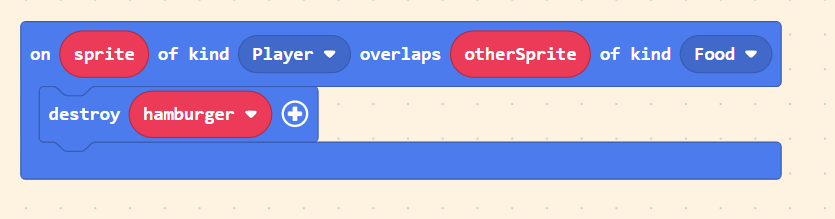
Crucial Step: We need to change the logic in the overlap block to: “on sprite of kind (Player) overlaps otherSprite of kind (Food).”
Then, inside the block, drag the “otherSprite” value (the red rounded block representing the specific Food that was hit) into the destroy block.
Or, ensure you select the correct variable name for the burger; otherwise, nothing will happen!
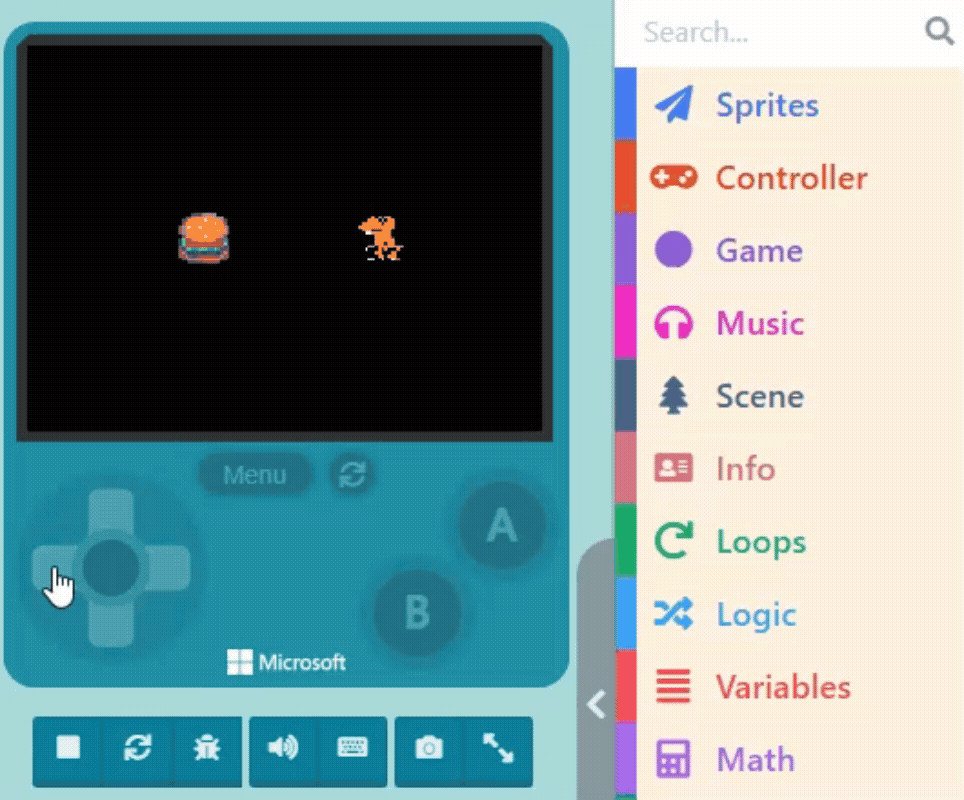
Once finished, run it in the Game Simulator.
The “destroy [mySprite]” block also allows you to adjust the special effect upon destruction. Click the “+” symbol at the end of the block to select an “effect” (like fire, spray) and adjust the “duration.”
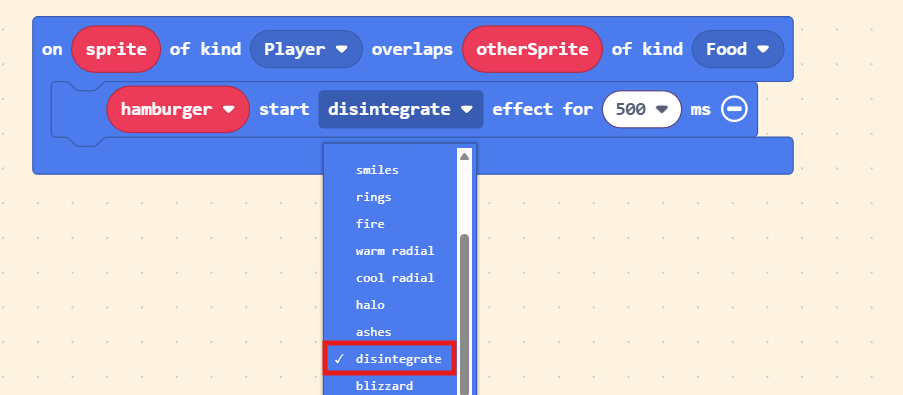
Test it again in the Game Simulator, try switching between different effects, and find the one you like best! (*´∀`)~♥