We have sprites, atmosphere, art, and music. Now it’s time to learn a crucial programming concept: Variables.
Those who have learned programming before are surely familiar with variables. If you haven’t, don’t worry! You have actually used them in previous units; you just didn’t realize they were “Variables.”
Besides explaining variables, we will also learn about handling “Collision Events” in this unit—that is, programming what happens when two sprites touch. For example, in the “Snake” game, when the snake touches food, the food disappears, and the snake grows. Or in our “Space Destroyer” example, when a meteor hits the fighter jet, the jet explodes, and health decreases.
7.1 Understanding Variables
A “Variable” is a medium used to store data. You can imagine a variable as a box. This box can store any type of data. We can put the Orange Dinosaur inside, or we can put pizza or fried chicken in it.
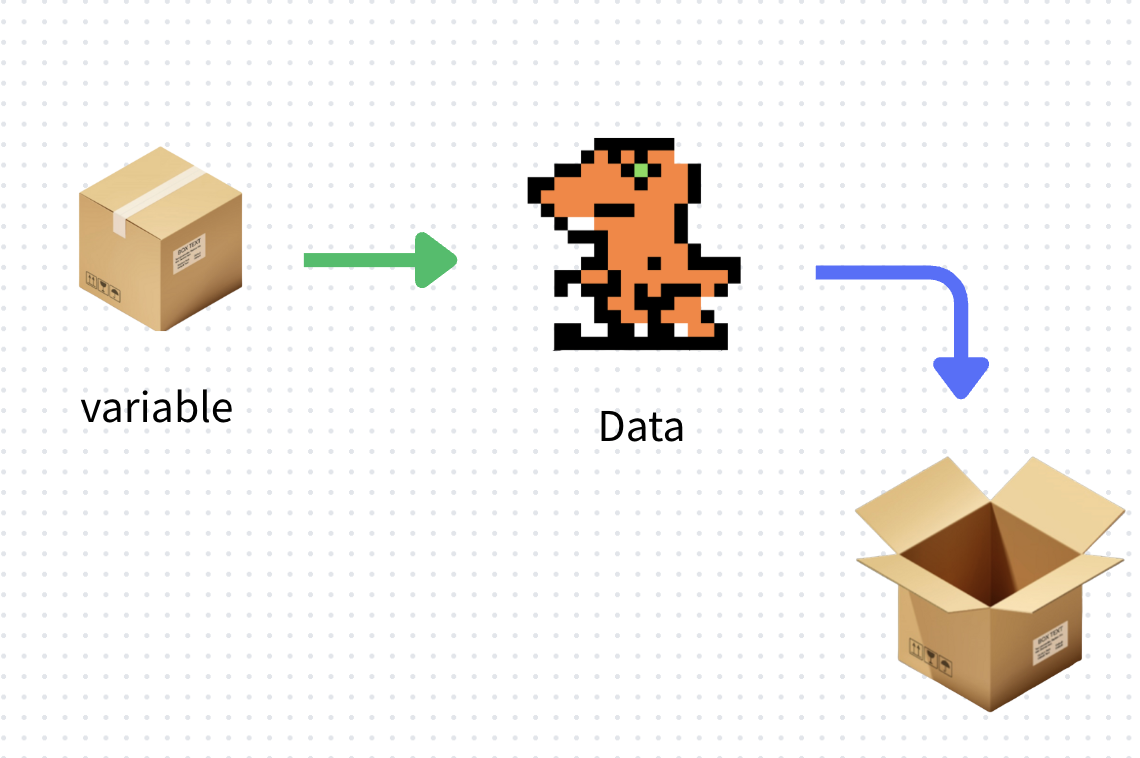
This “Variable” box can be passed around. The recipient can open the box to retrieve the data inside or replace it with new data.
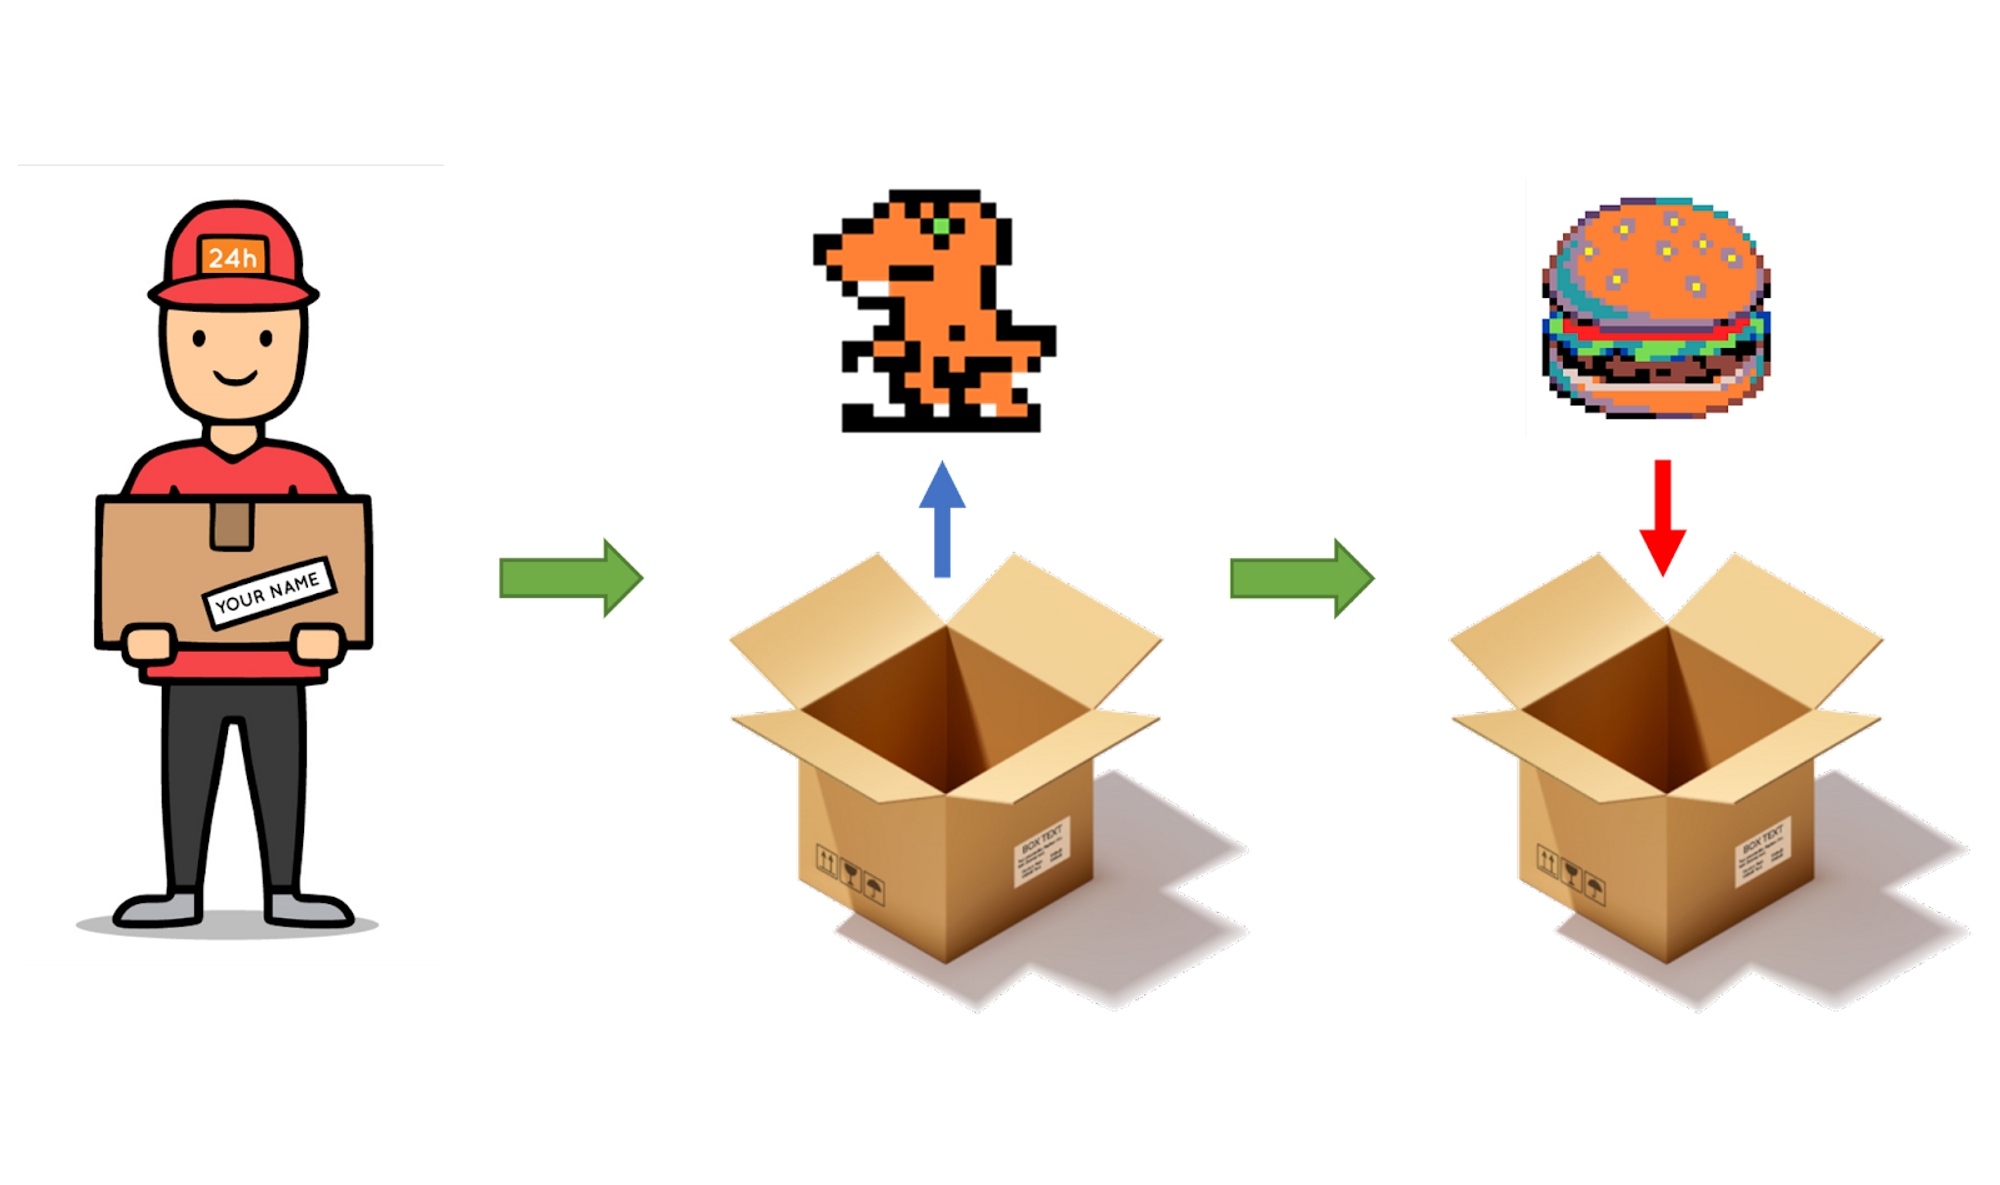
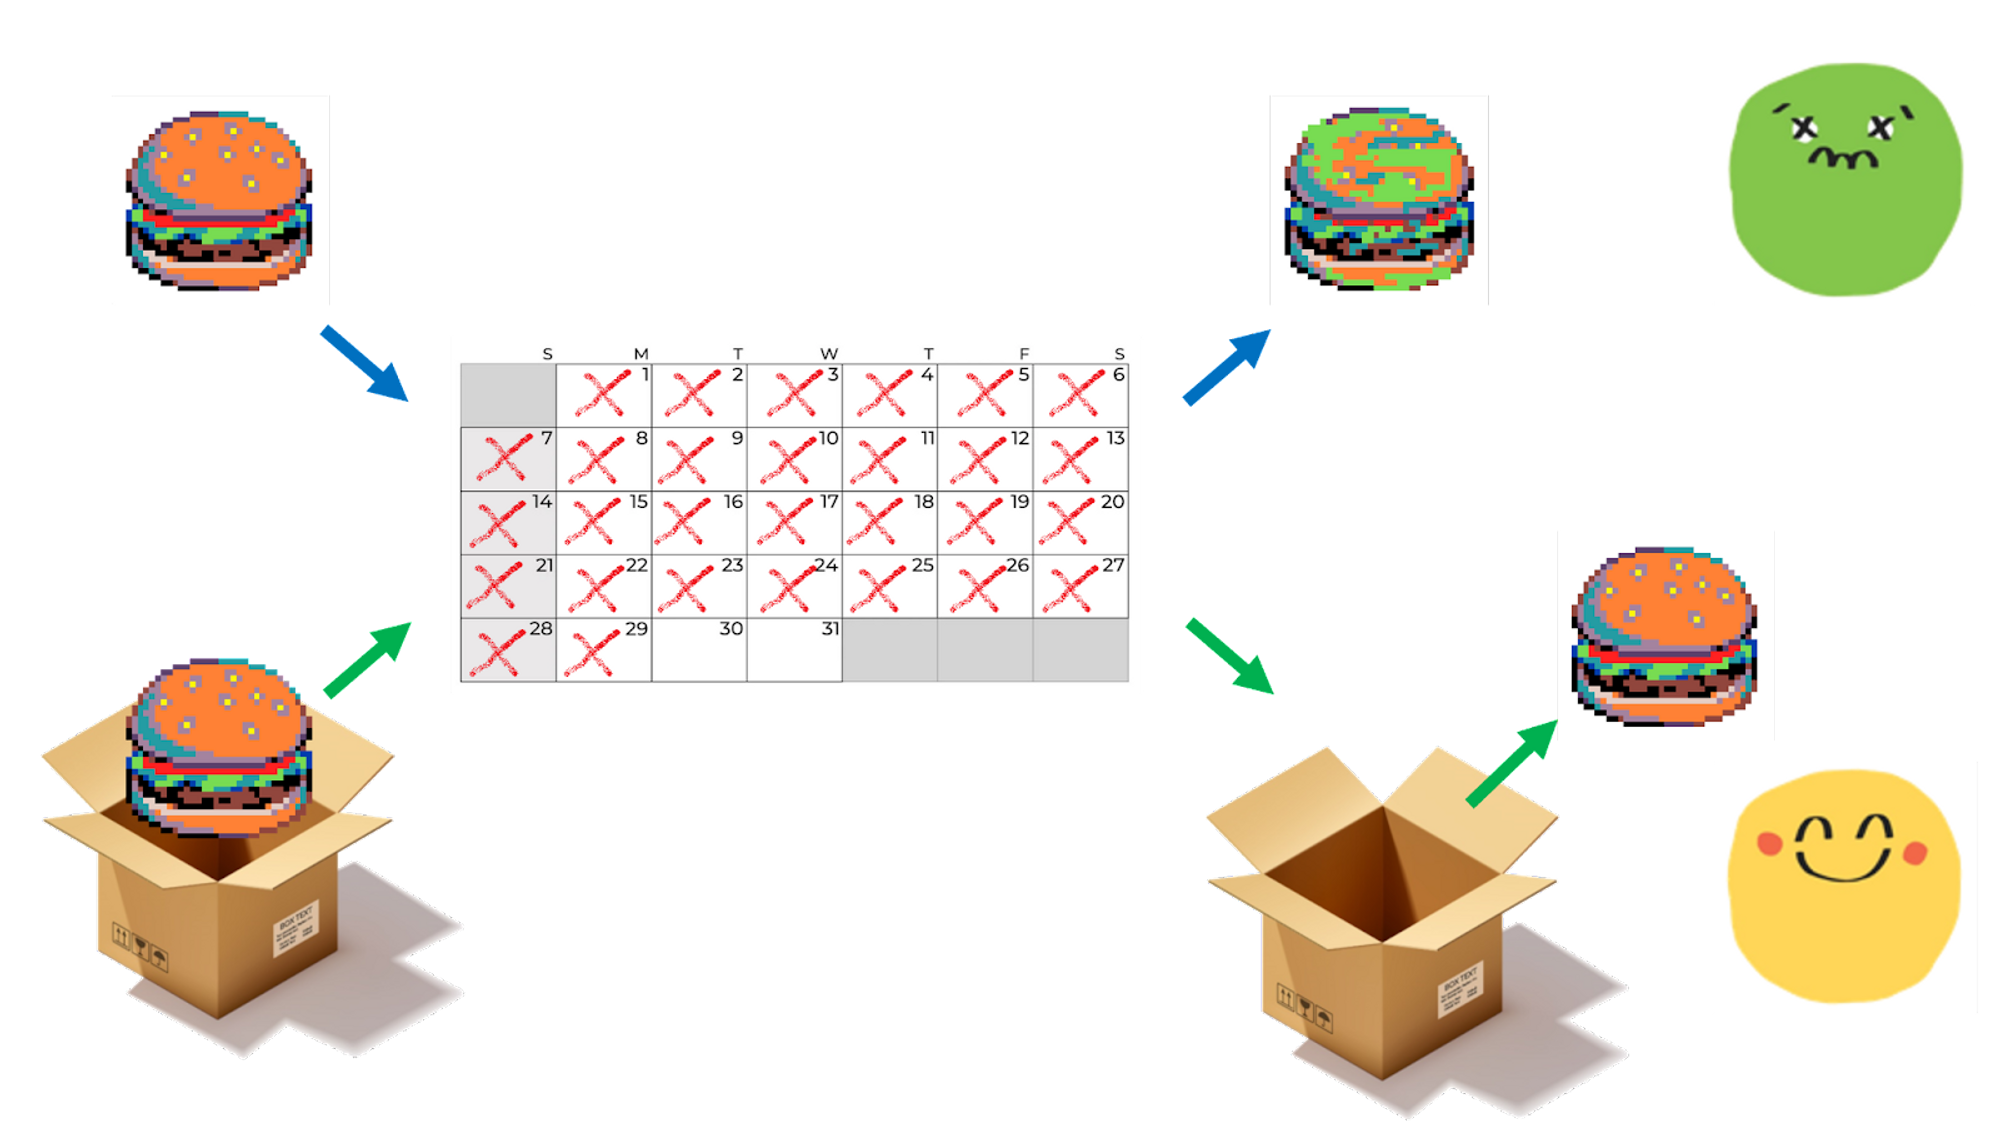
Once data is stored, it remains in its last saved state unless we change it.
7.2 How to Use Variables
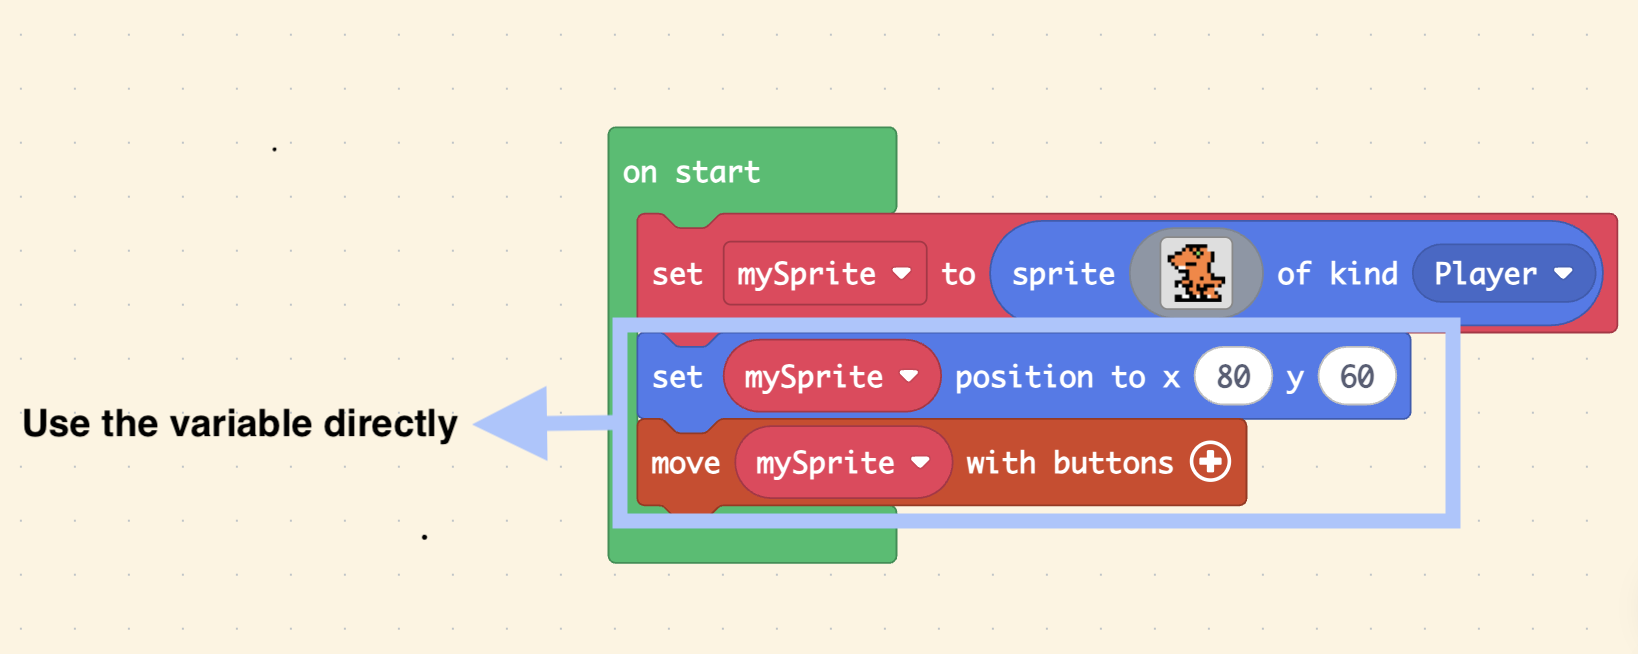
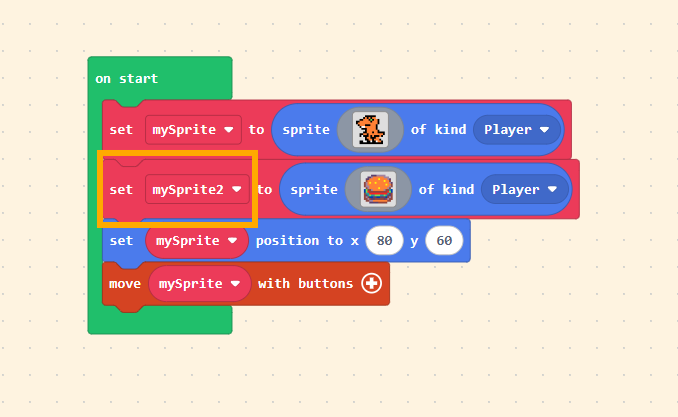
Let’s return to the code. During the sprite creation process, we placed our designed sprite into a “Variable.” Just like our understanding of the box metaphor: once the sprite is stored, the data won’t change unless we modify it.
You can see that this variable has a name. To avoid picking up the wrong “box” when passing variables around, we give it a name. By default, the program names it “mySprite.”
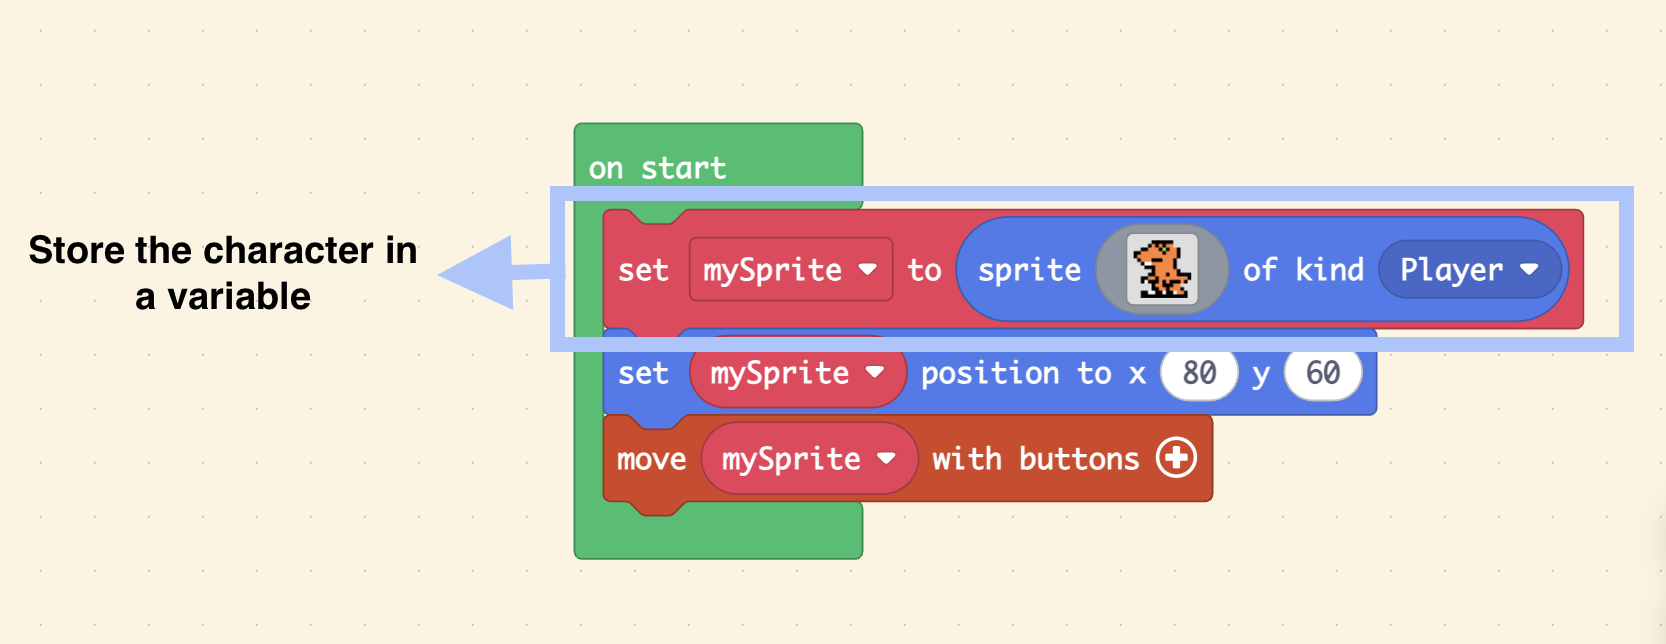
We can understand that the variable “mySprite” is equivalent to the “Sprite (Orange Dinosaur).” So, when we set the position of “mySprite” or use the controller to move “mySprite,” we are effectively controlling the “Sprite (Orange Dinosaur).”
At this point, quick thinkers might ask: “Why can’t I just do this?” (referring to using the “create sprite” block directly in every command).
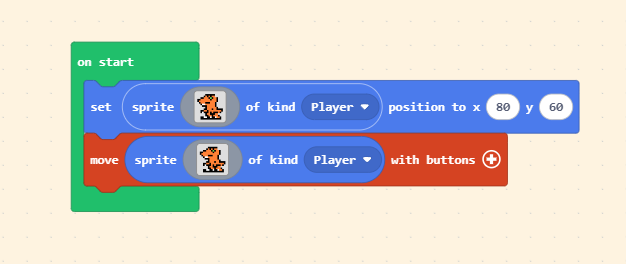
If you write the code as shown in the hypothetical image above, running it will reveal a surprise: there are two sprites! One is controllable, and the other is not.
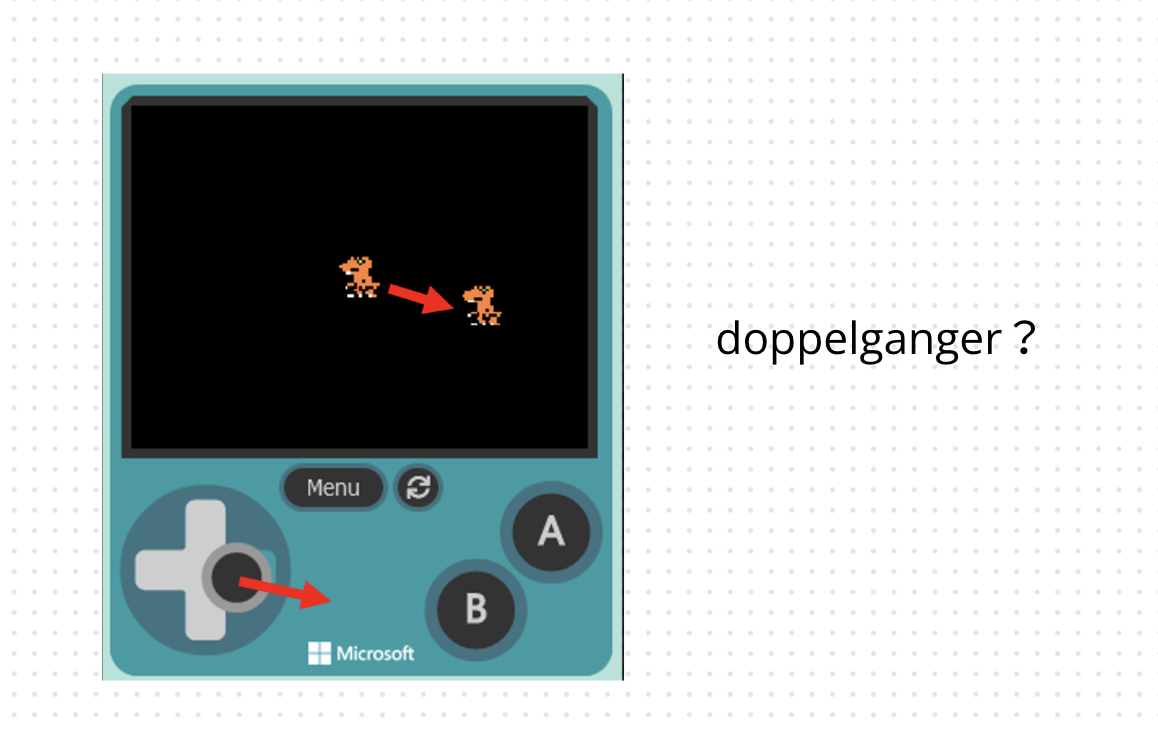
This is because the block “sprite [ ] of kind (Player)” essentially means “Create a NEW Sprite.” If you use this block again in a movement command, you are creating a second sprite—one positioned at (x: 80, y: 60), and another separate one that moves with the controller. This is why you see a “shadow clone” (duplicate) in the Game Simulator.

Although creating a variable seems like an extra step, think of it this way: the named variable is like giving your sprite a specific name. When you want to control it, you call it by its name.
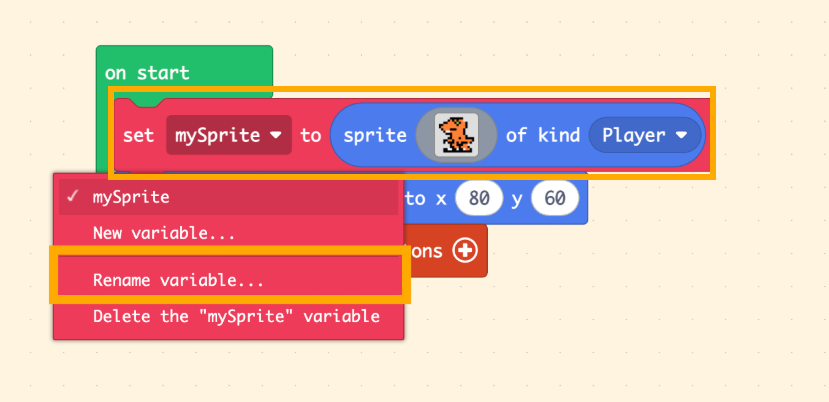
Click on the variable name within the block, and select “Rename variable…” from the dropdown menu to give it a new name.
7.3 Creating Another Sprite
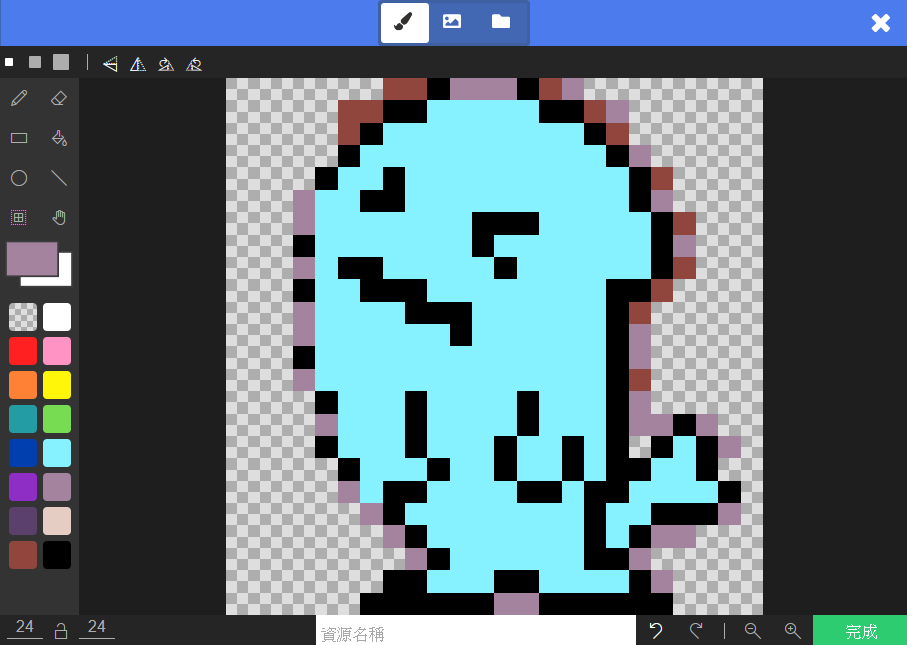
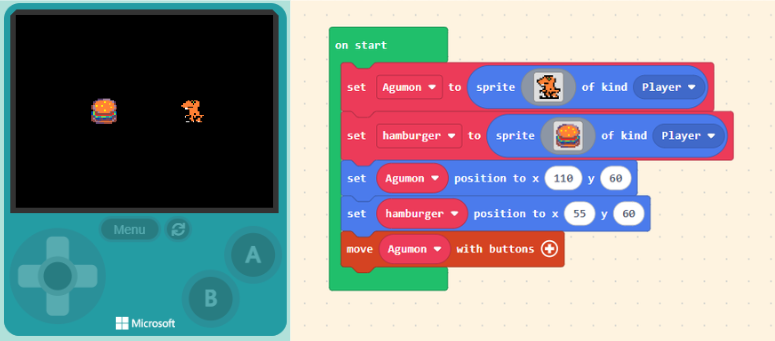
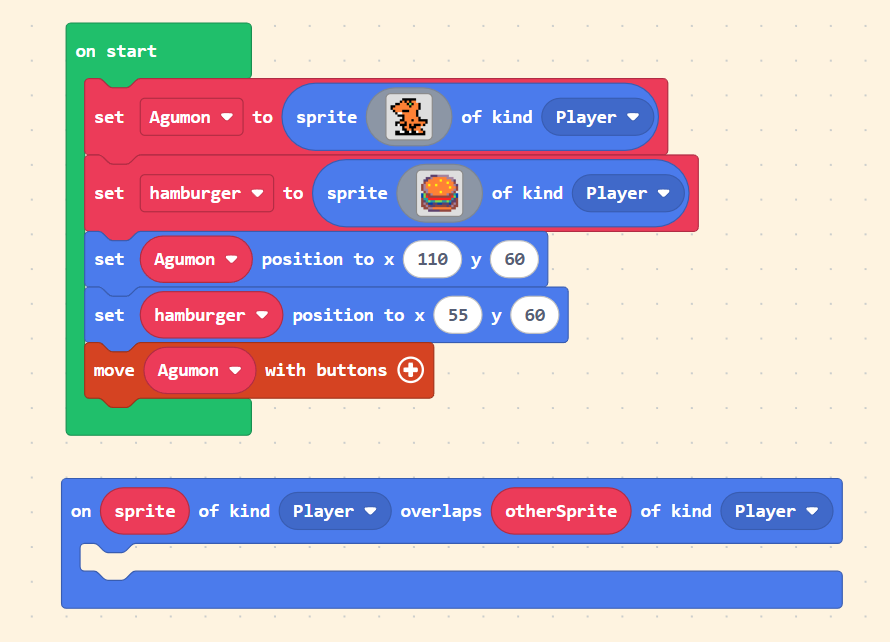
Next, let’s create a second sprite. Click on “Sprites” in the Block Toolbox, use the create sprite block, place it inside “on start,” and design its appearance (in this example, we selected a Burger from the Gallery).
You will notice that the default “Variable Name” has changed automatically. The editor does this to prevent errors.
Let’s give these variables meaningful names! The sprite generated by default appears in the center of the screen. Let’s use the “set [mySprite] position to x ( 0 ) y ( 0 )” block we learned earlier to change the positions of these two sprites.
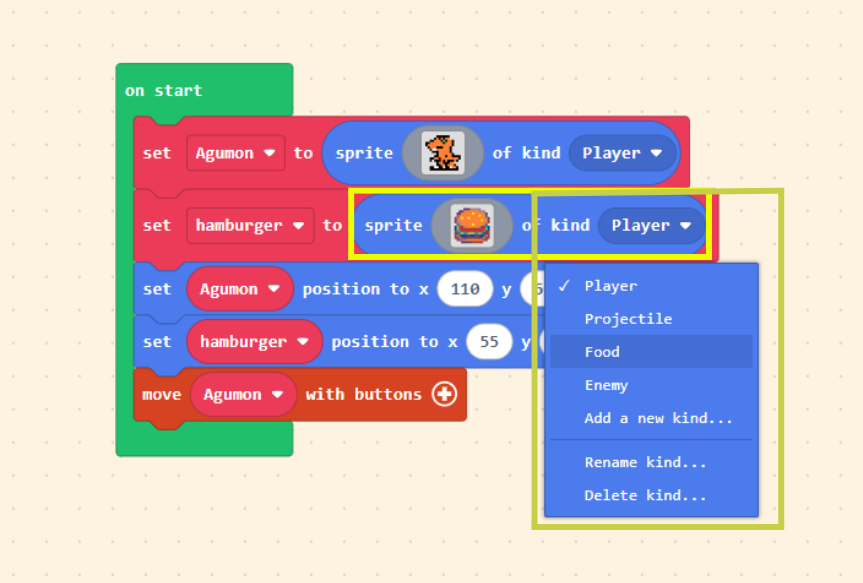
We can categorize sprites into groups to facilitate group control later. In this example, we set the Orange Dinosaur’s kind to “Player” and the Burger’s kind to “Food.” You can define these Kind names yourself.
7.4 Sprite Overlaps
If we want the “Orange Dinosaur” to eat the “Burger“—meaning the Burger disappears when the Dinosaur “collides” with it—we need to use the concept of “Overlaps.” This allows us to program subsequent events when the images of two sprites overlap.
Please click on “Sprites” in the Block Toolbox, scroll down to find blocks related to “Overlaps,” and drag out the first block: “on sprite of kind (Player) overlaps otherSprite of kind (Player).”
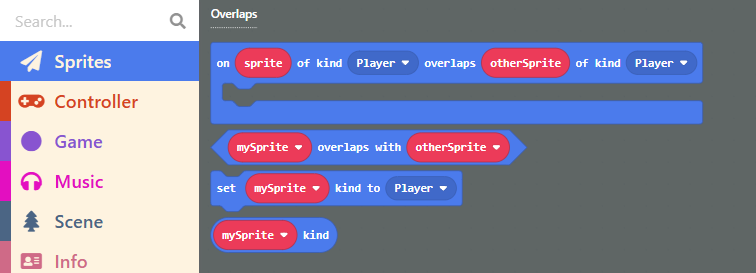
Place this block in the Workspace (empty area). Since this block functions similarly to “on start” (it is an event handler), it cannot be placed inside other blocks, but you can place other blocks inside it.
Let’s look closely at this block. It states that when a certain Kind “overlaps” with another Kind, it triggers the blocks inside it.
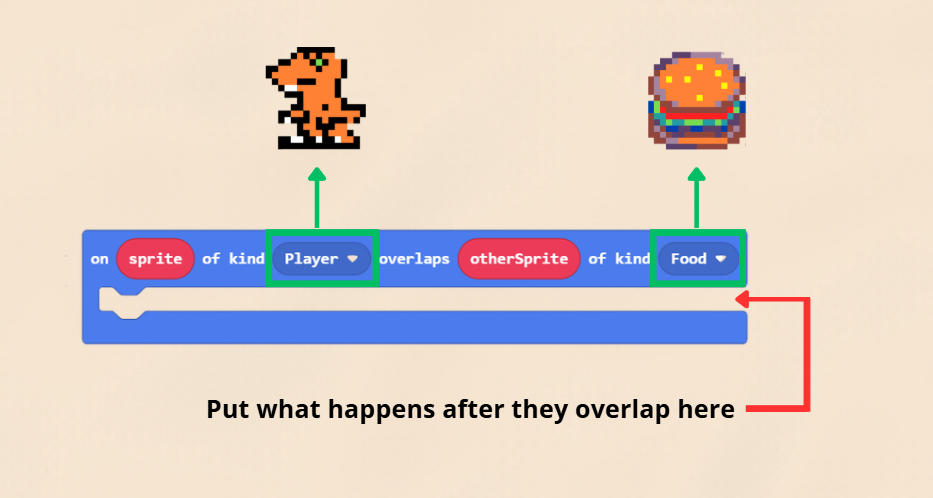
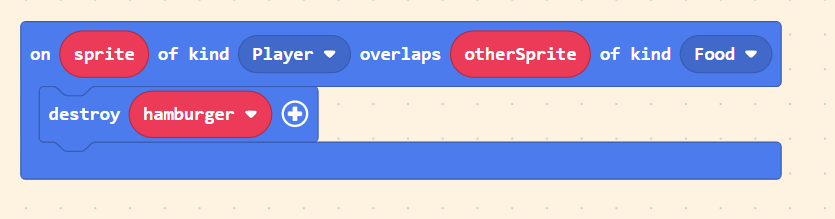
So, if we want the Burger to “disappear” when the “Orange Dinosaur” overlaps with the “Burger,” we can place the “destroy” block inside.
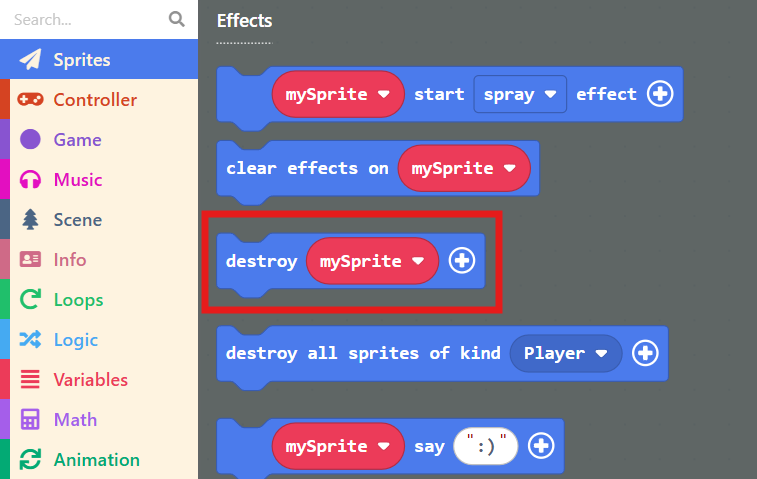
Making a specific sprite disappear is easy. In the “Sprites” list, there is a “destroy [mySprite]” block. This block will help us make the Burger vanish.
Crucial Step: We need to change the logic in the overlap block to: “on sprite of kind (Player) overlaps otherSprite of kind (Food).”
Then, inside the block, drag the “otherSprite” value (the red rounded block representing the specific Food that was hit) into the destroy block.
Or, ensure you select the correct variable name for the burger; otherwise, nothing will happen!
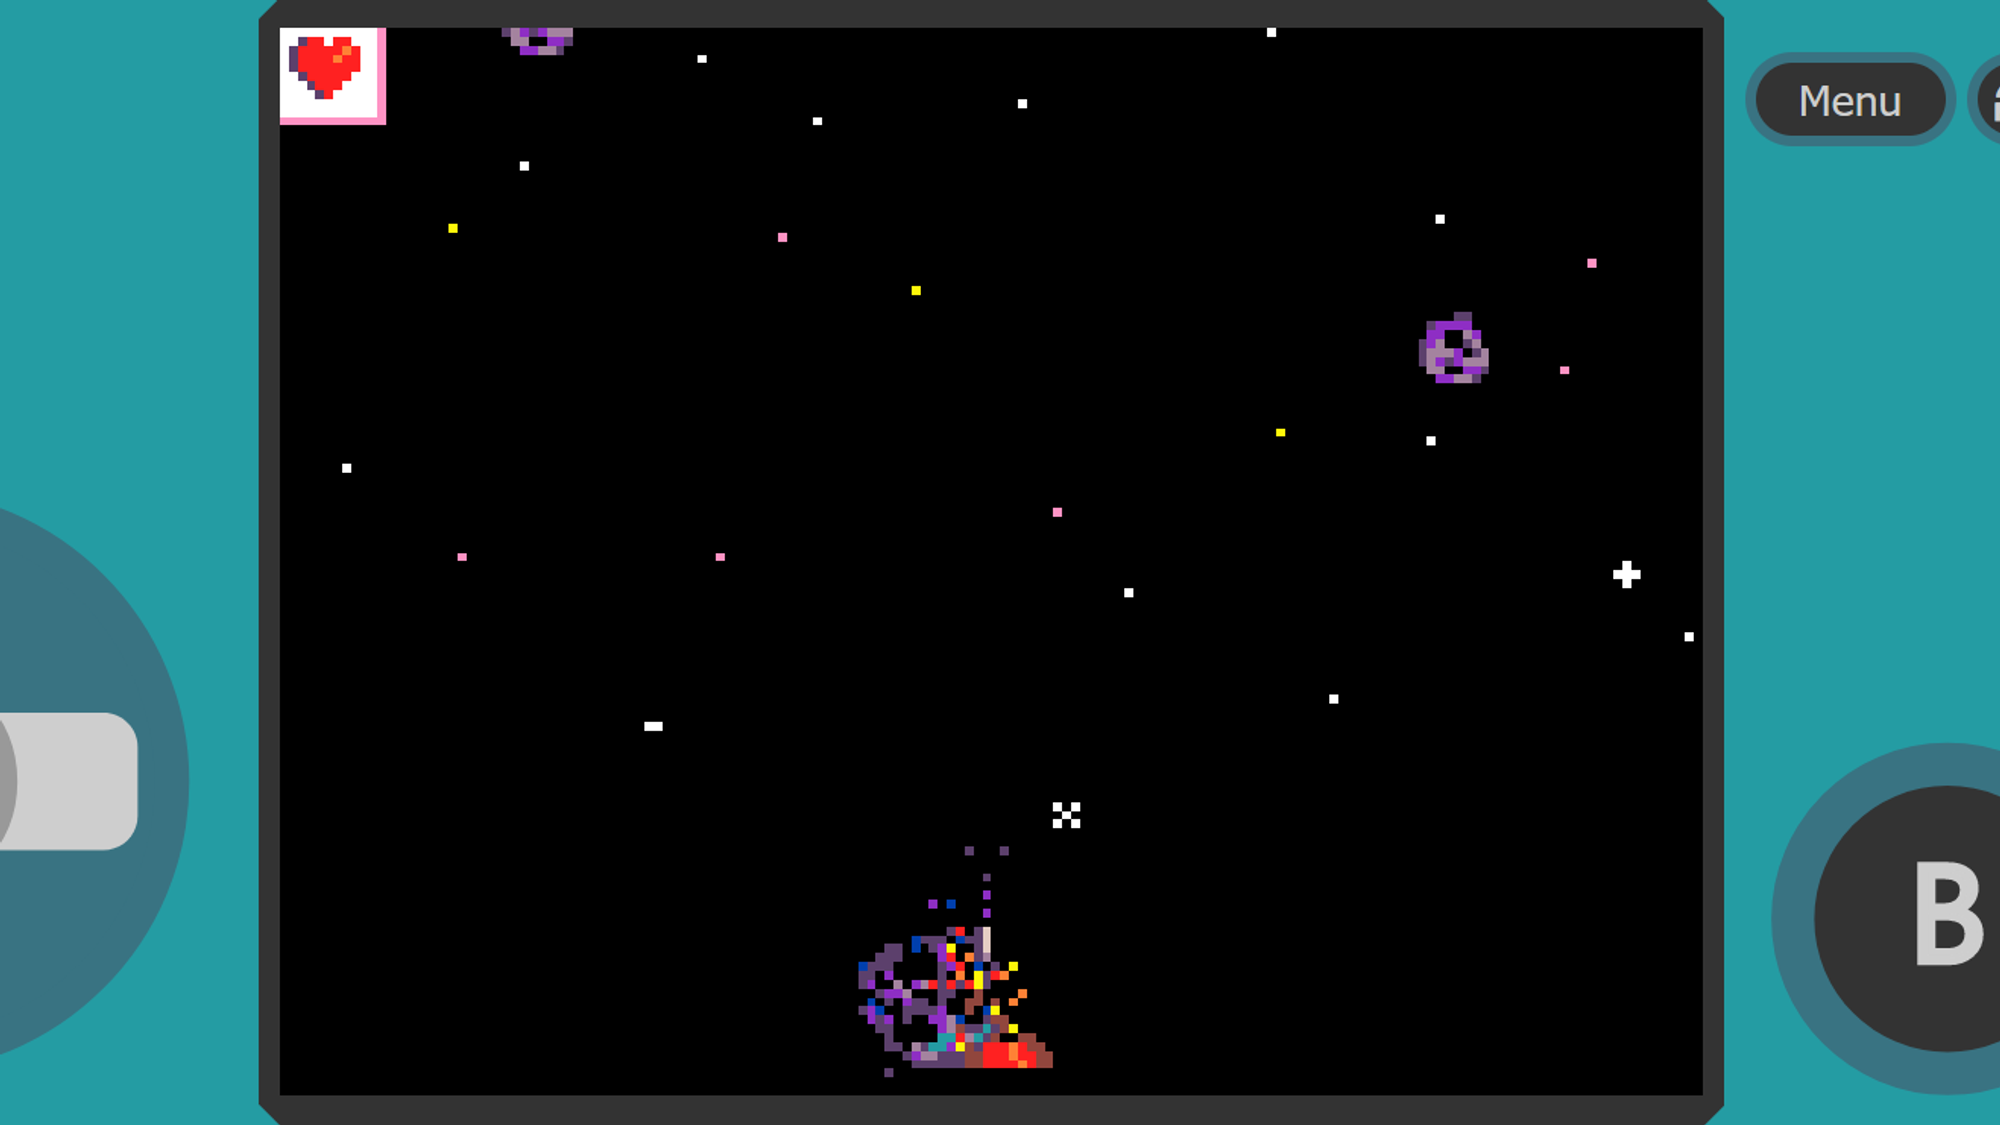
Once finished, run it in the Game Simulator.
The “destroy [mySprite]” block also allows you to adjust the special effect upon destruction. Click the “+” symbol at the end of the block to select an “effect” (like fire, spray) and adjust the “duration.”
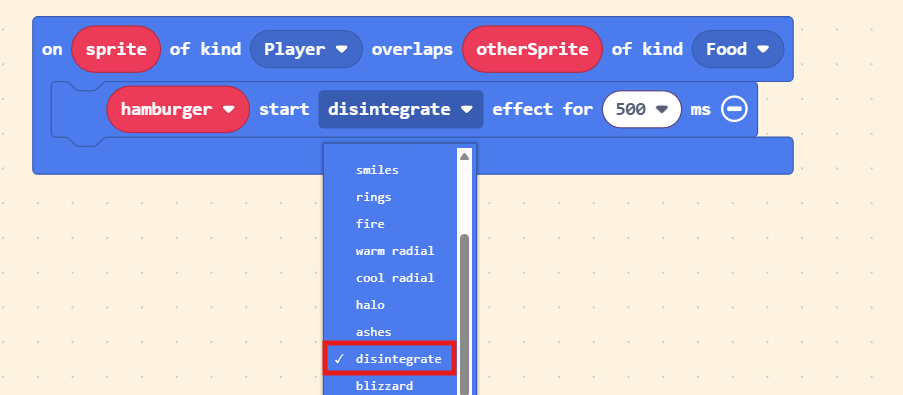
Test it again in the Game Simulator, try switching between different effects, and find the one you like best! (*´∀`)~♥