In game development, to help players understand the rules or enhance the gaming experience, we often use “Prompt” windows for introductions, questions, notifications, and transitions. For example, explaining the rules before the game starts, teaching players control keys, or providing hints during gameplay (secrets of a treasure, quest requirements, rewards obtained, etc.). “Prompts” are indispensable features for improving the user experience.
For story-driven games, the “Dialog” function is just as important as prompts. In these games, players primarily act as the protagonist, piecing together the complete plot through conversations and choices.
5.1 Learning to Use “Prompts” (Splash) to Display Messages
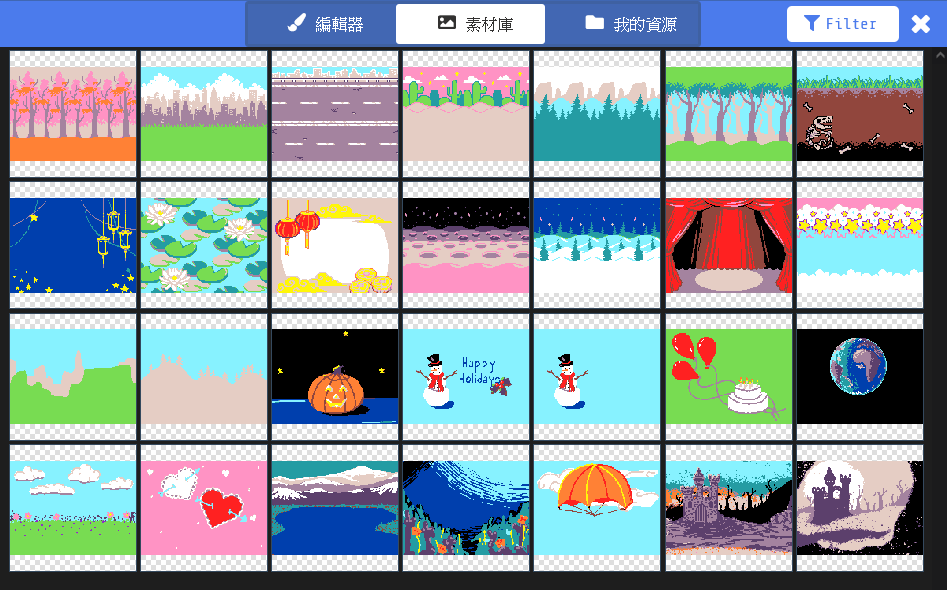
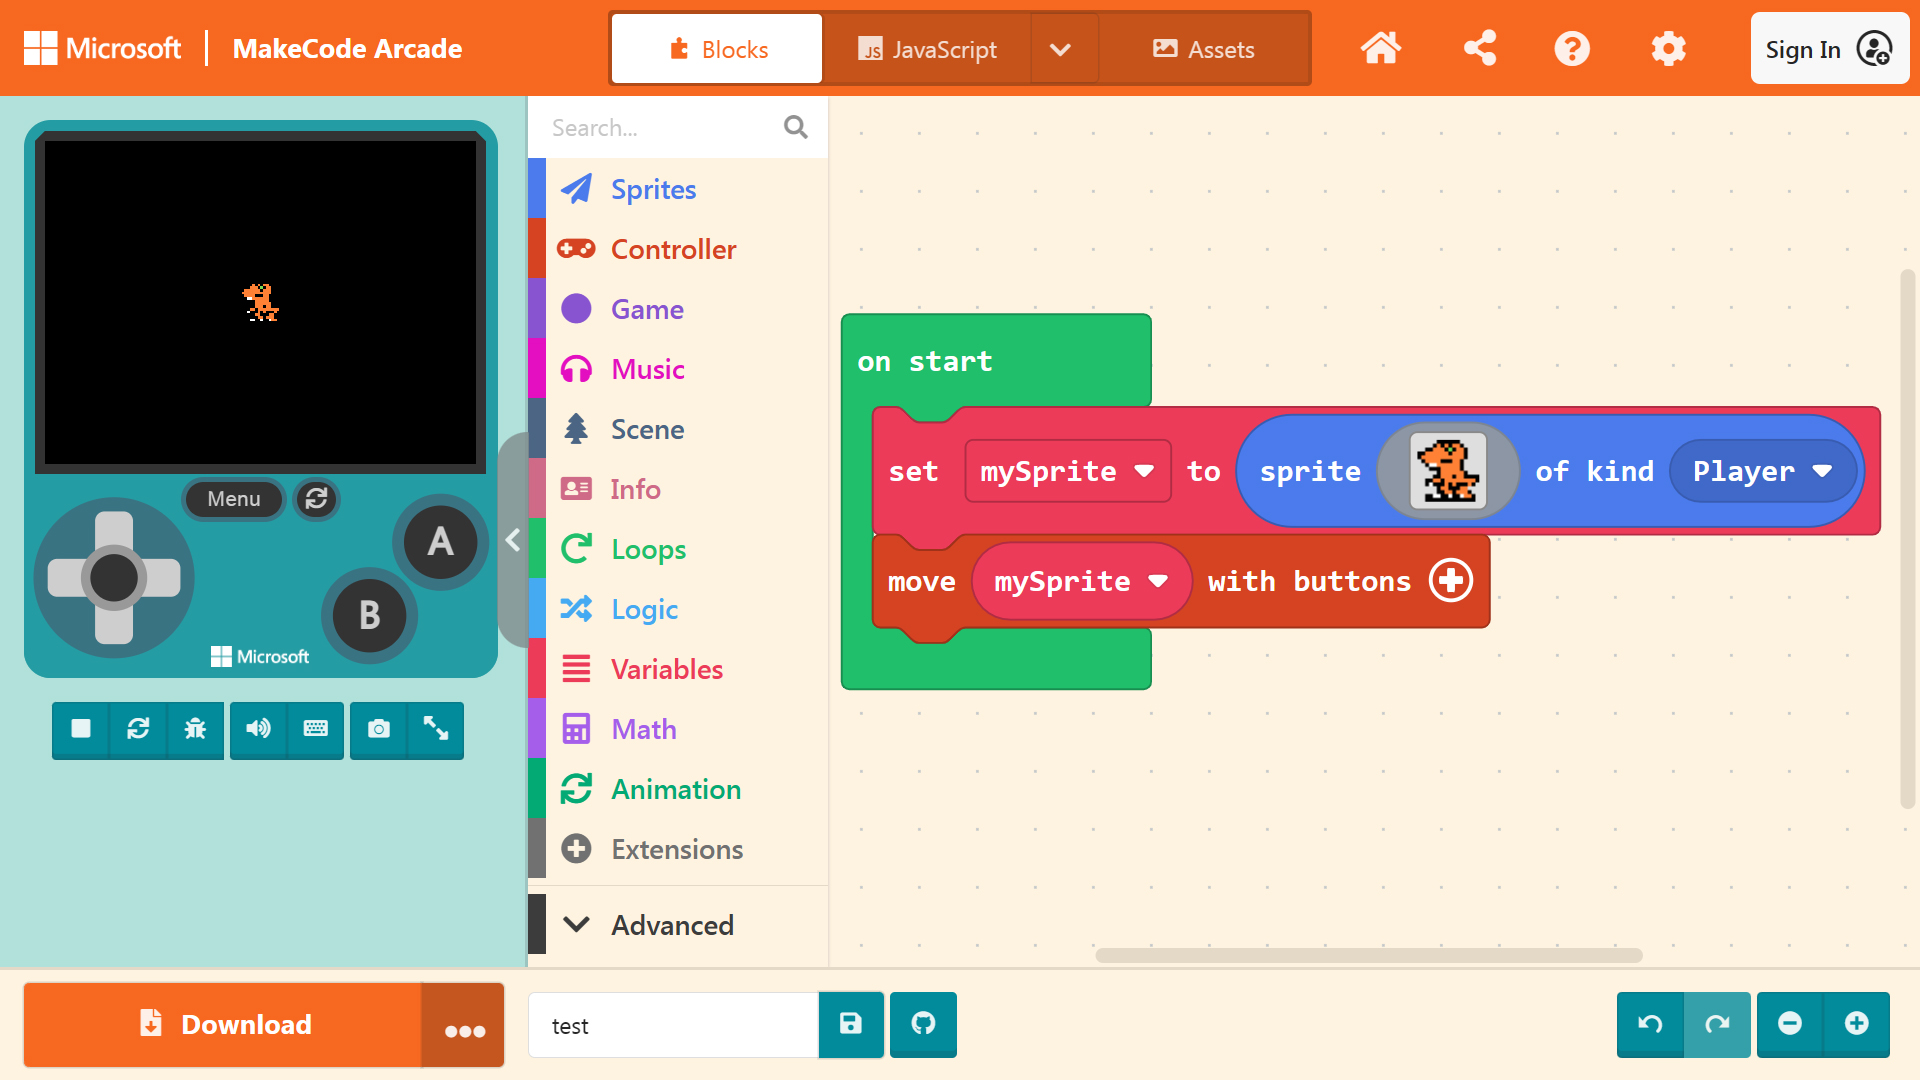
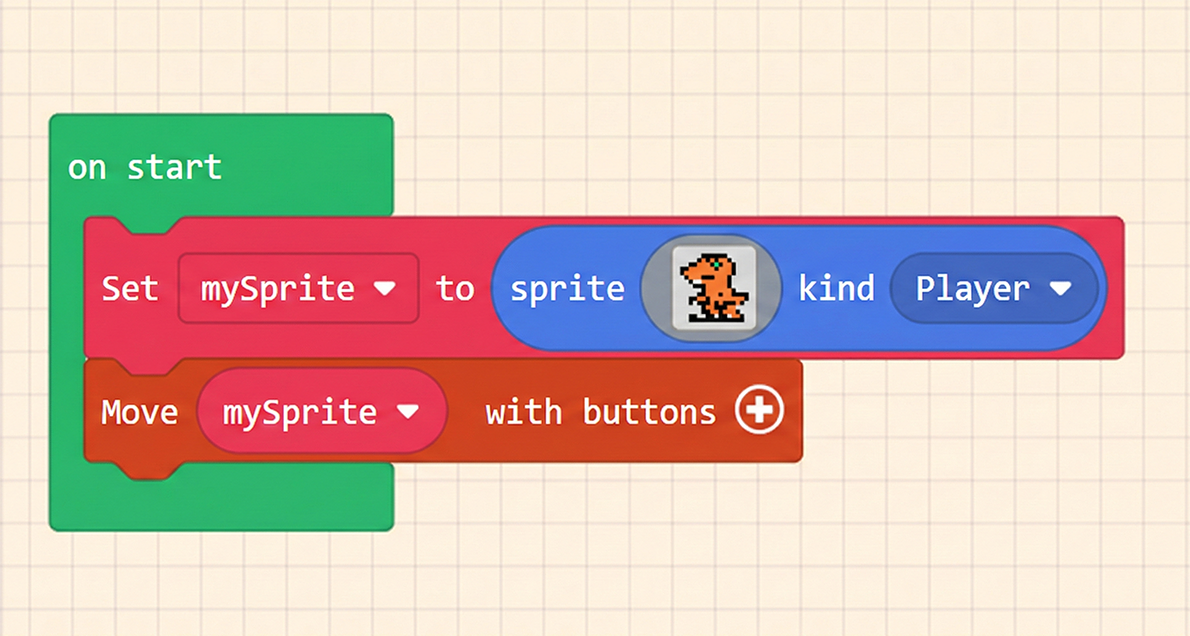
Please prepare the Sprite you created. Of course, you can also select one from the Gallery.
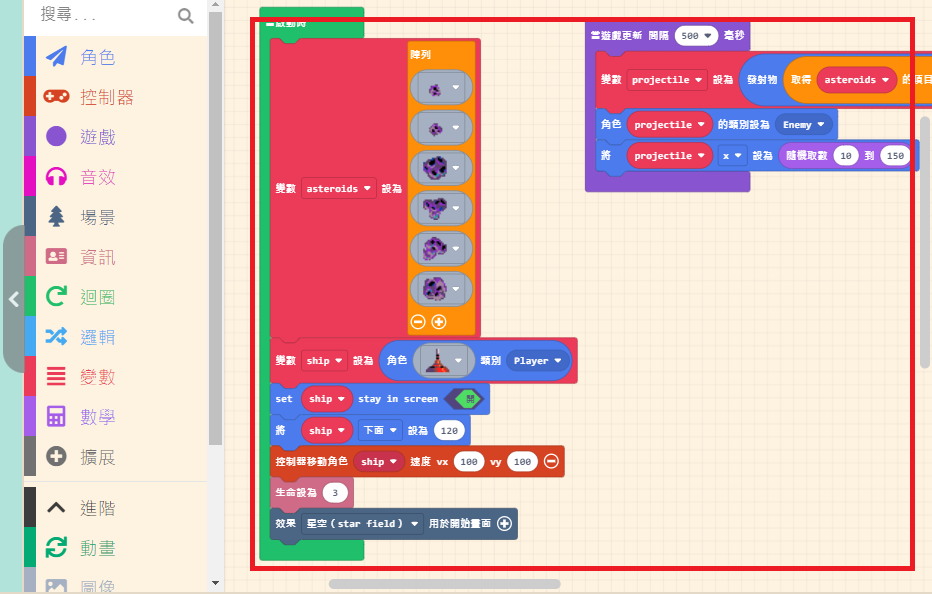
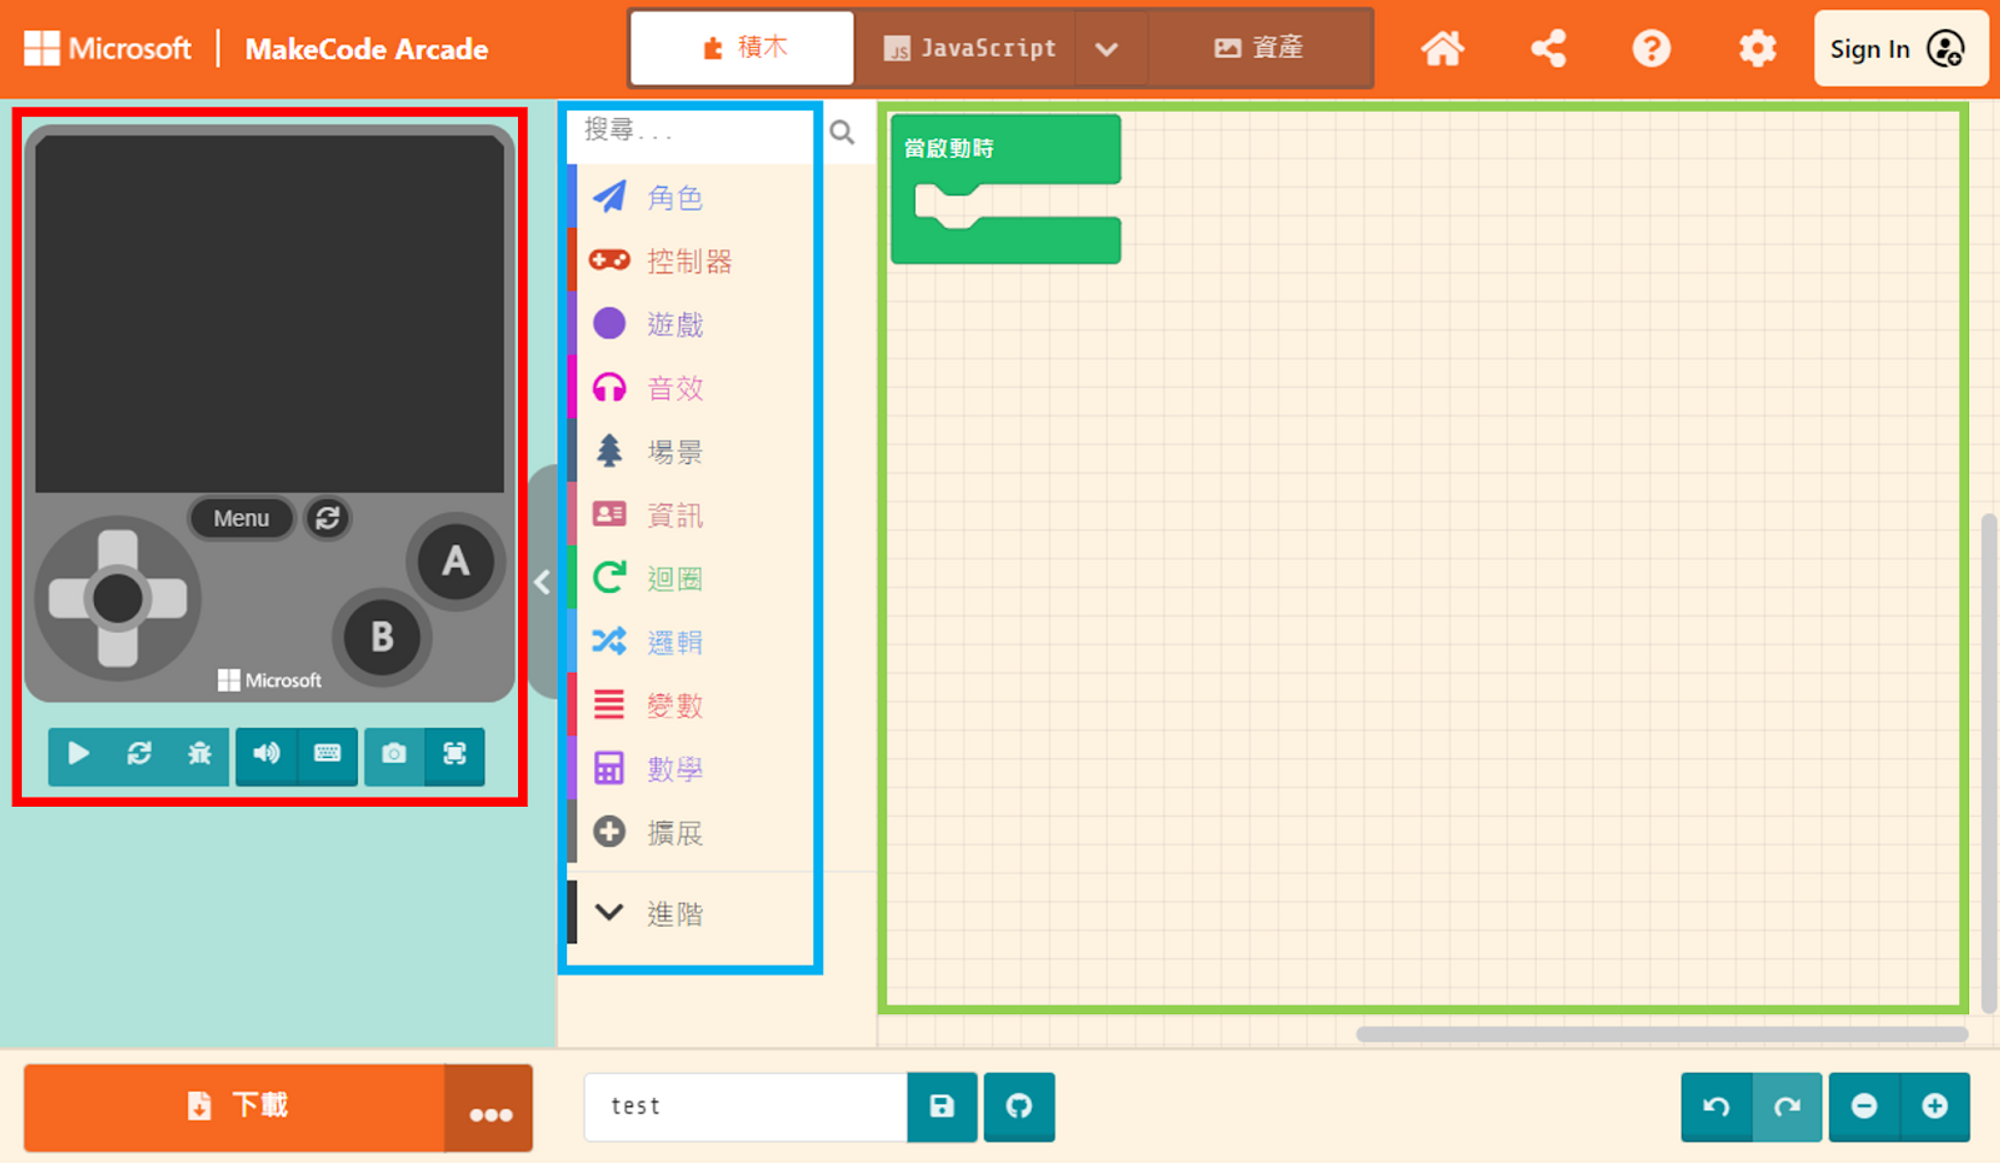
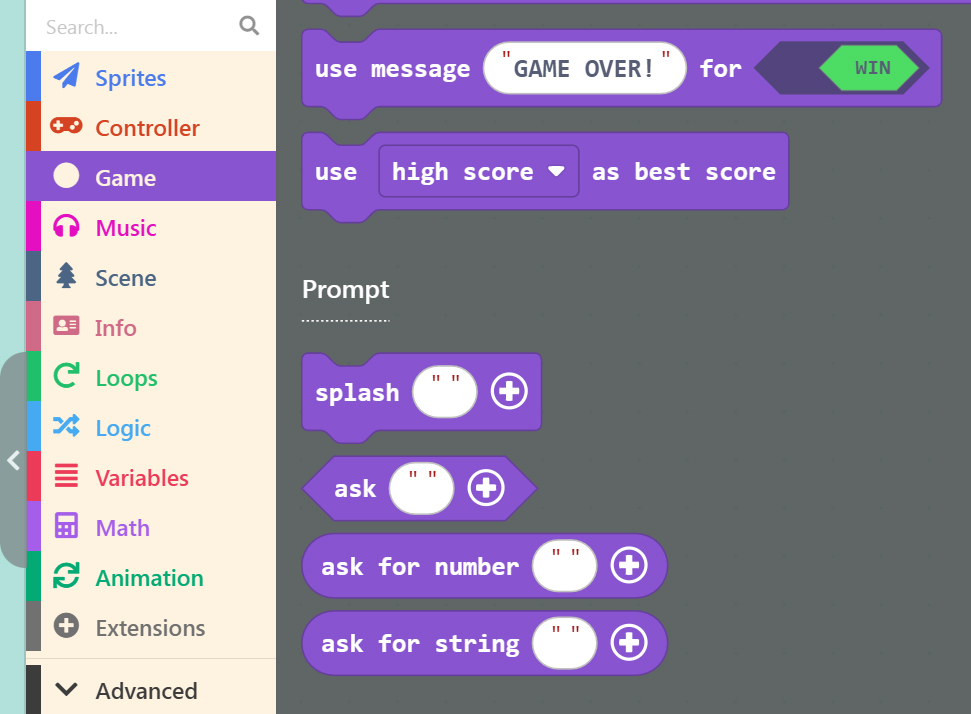
The features related to “Prompts” are located within the “Game” category in the Block Toolbox. Click it to find the relevant blocks in the list that pops out on the right.
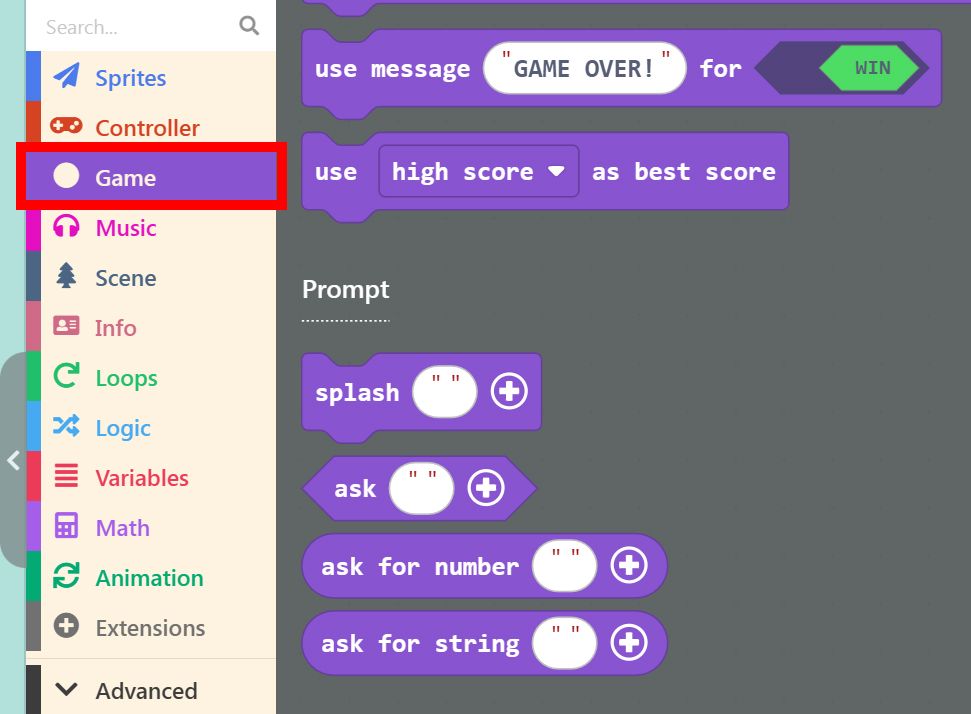
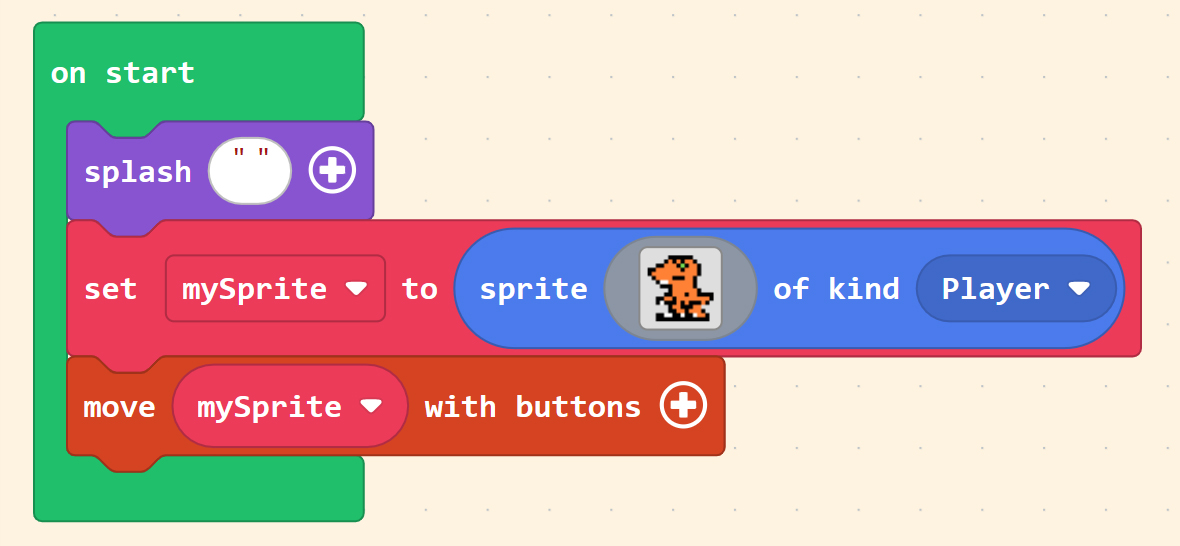
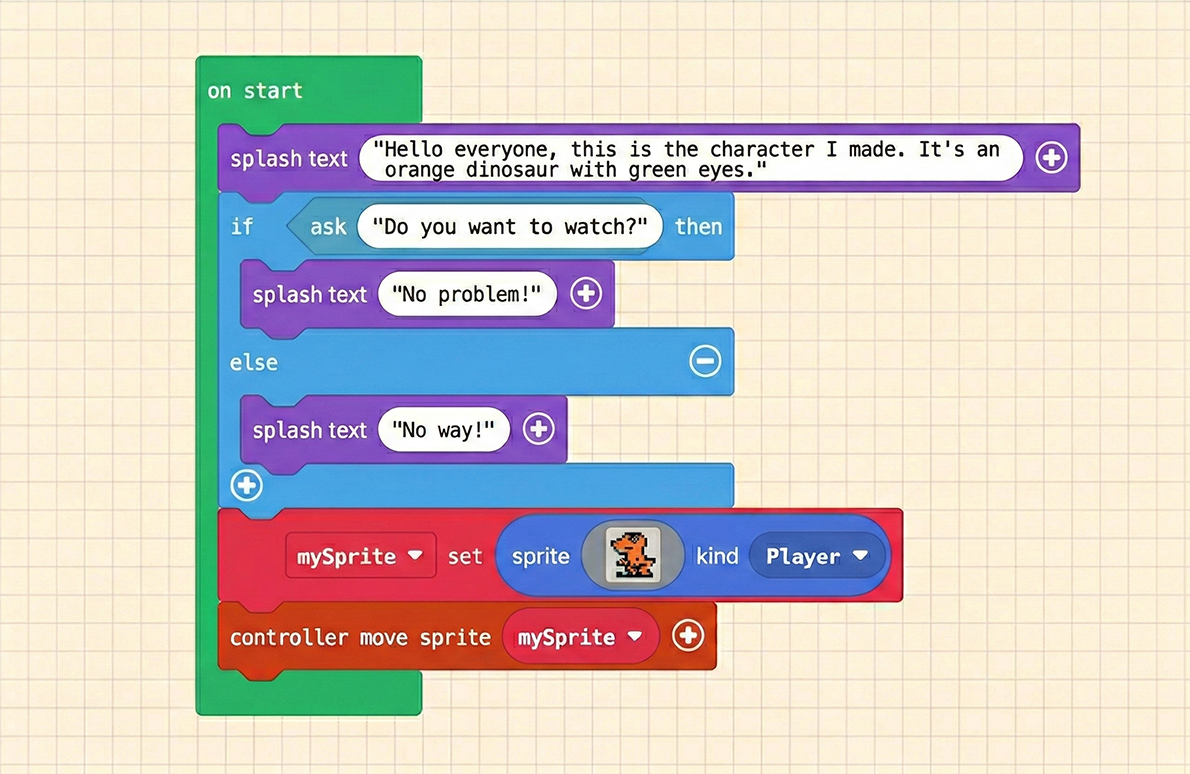
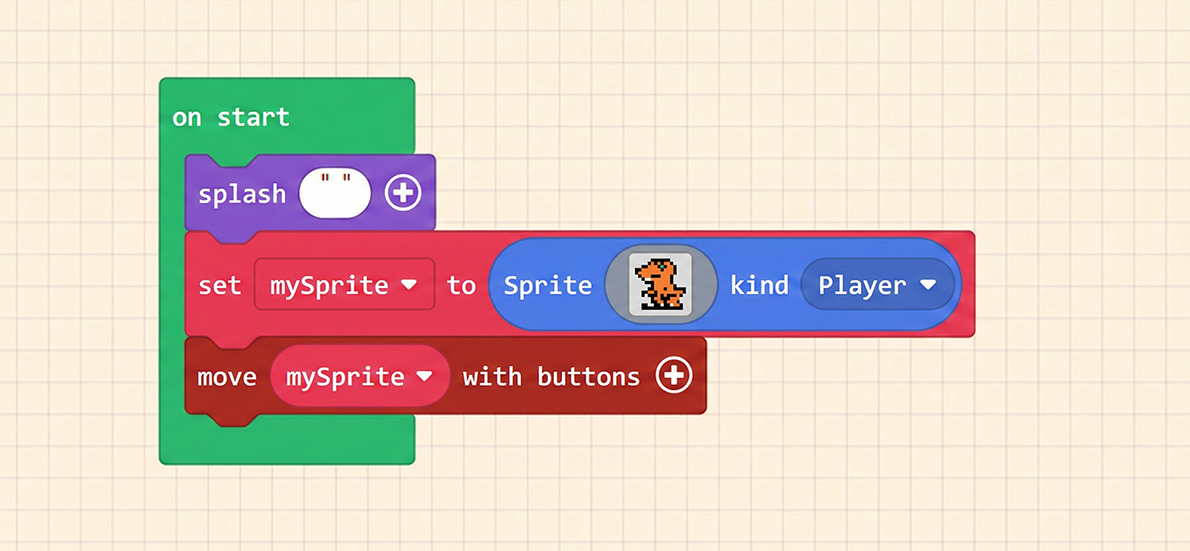
First, let’s select the “splash (” “) “ block and place it at the very top inside the “on start” block.
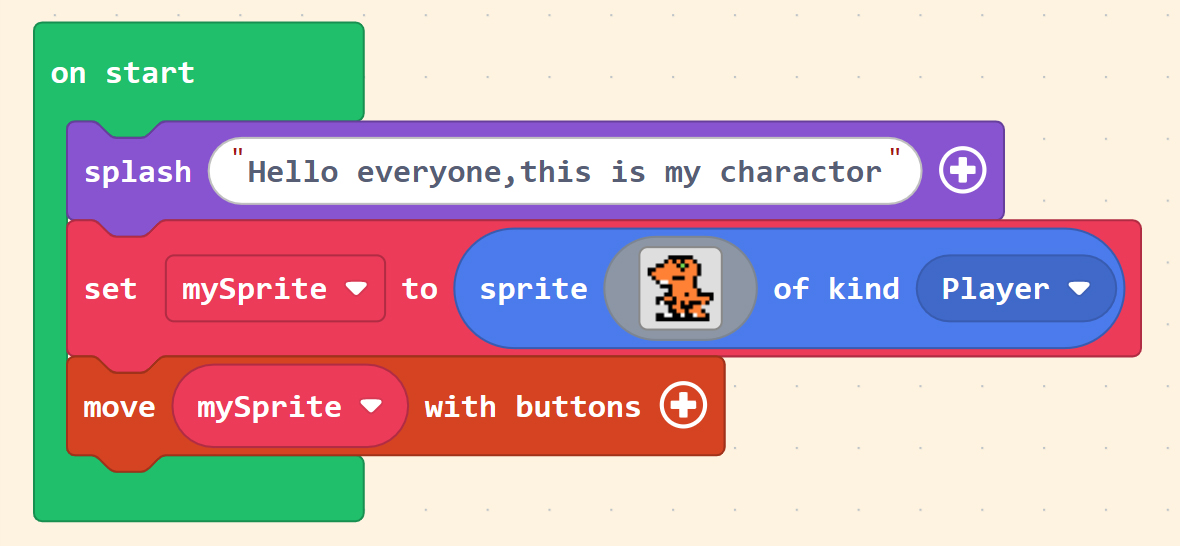
We can type some messages into this block; both Chinese and English are supported. Here, we demonstrate by typing some introductory text for the character, as shown below:
In the Game Simulator, we can see that after the game starts, a “Prompt” pops up immediately, waiting for the player to press the “A button”. The message displayed is the text we just entered.

Before the A button is pressed, the “Prompt” screen will remain. The subsequent code will only execute after the button is pressed.
If the message you set is long, it will scroll to display the content. The display will pause briefly at the beginning, then scroll to the end of the message, repeating this cycle until you press the button, as shown below:
Besides displaying messages, “Prompts” also come with three “Ask” functions. Let’s start with the first one: “ask (” “)”.
If you are a familiar MakeCode user, you shouldn’t be strangers to “blocks with pointy ends” or “blocks with round ends” These types of blocks usually need to be combined with other blocks to function.
Hexagonal blocks (Pointy ends): Usually perform judgment functions and return two results: “True” or “False”.
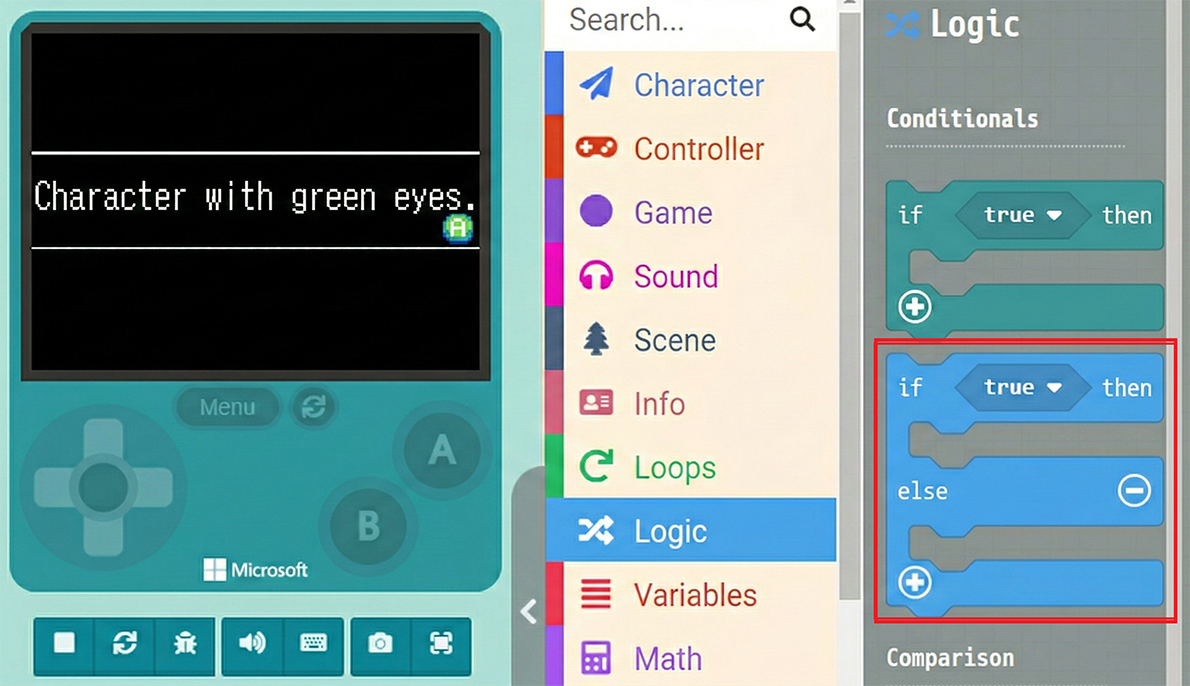
Please click “Logic” in the Block Toolbox and select the “if <true> then… else…” block.
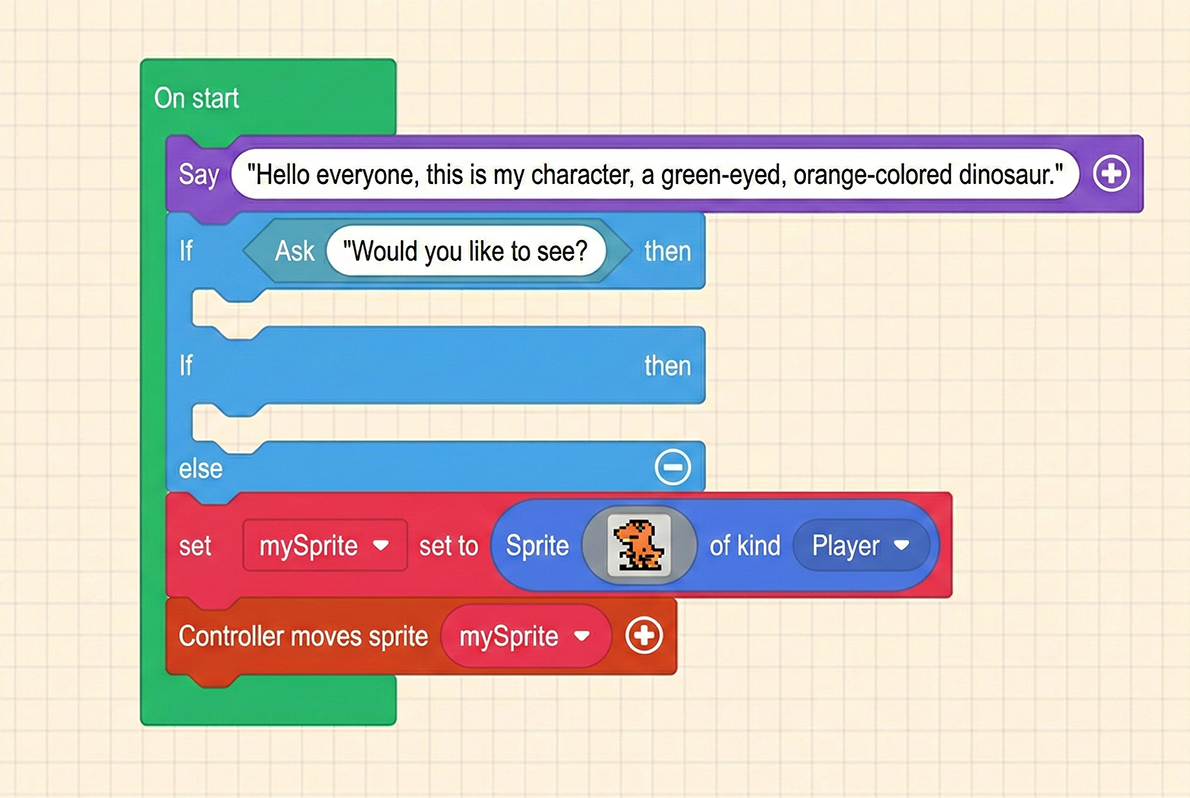
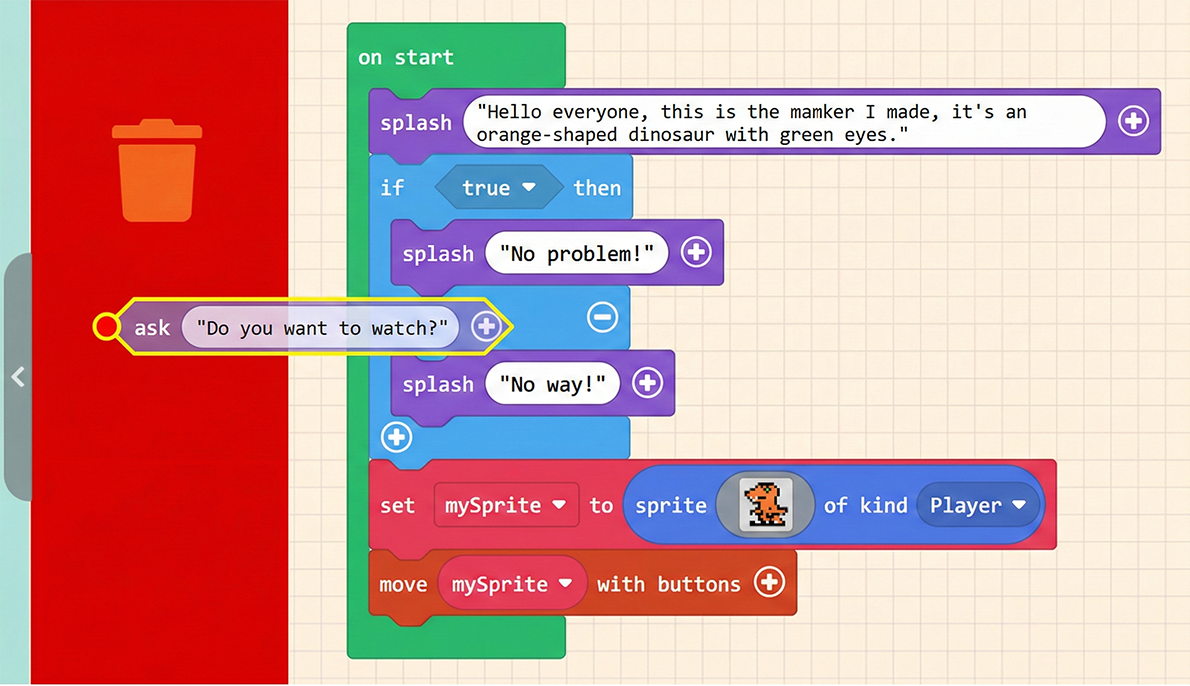
Combine them and place them as the second item inside “on start”, as shown below:
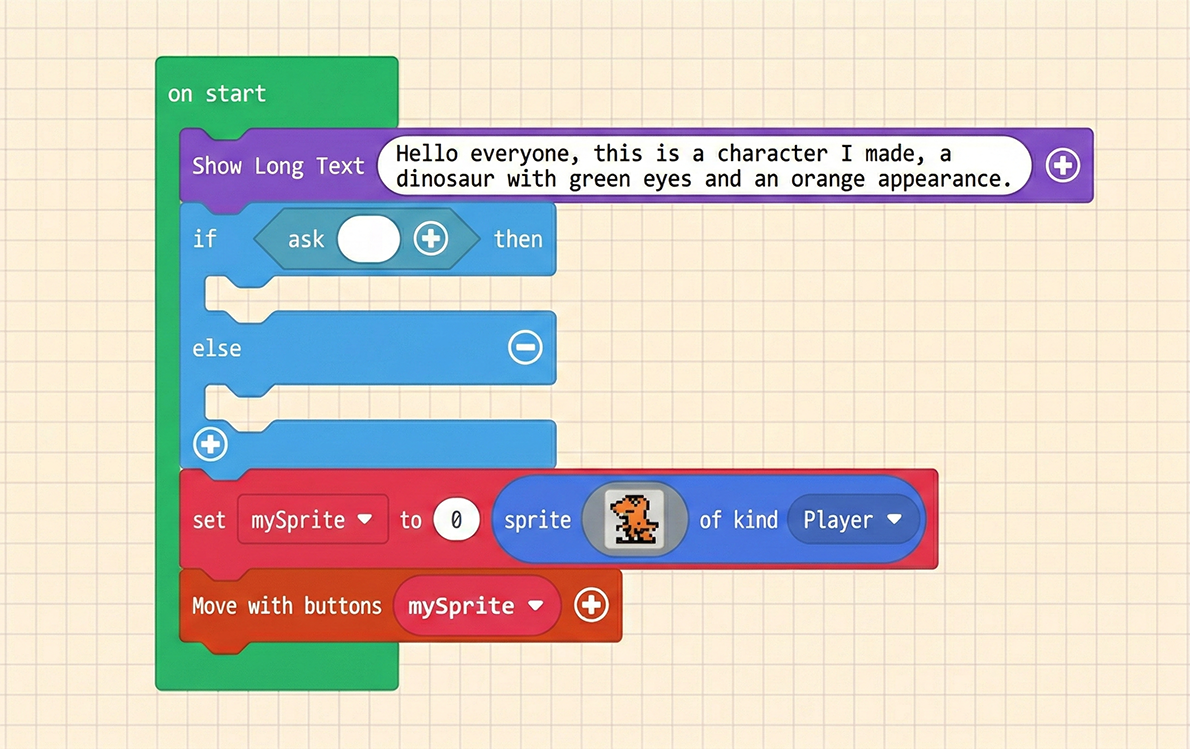
Enter a message inside the “ask (” “)” block, such as asking whether to view the character we made.
When we use “ask”, a window will pop up asking you to choose “OK” or “CANCEL”.
Choosing “OK” returns a “True” result.
Choosing “CANCEL” returns a “False” result.
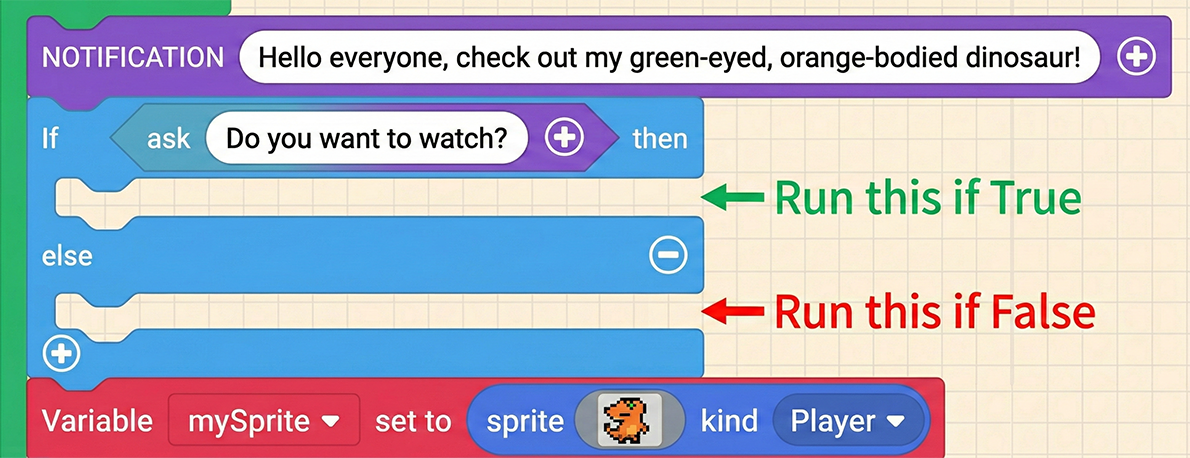
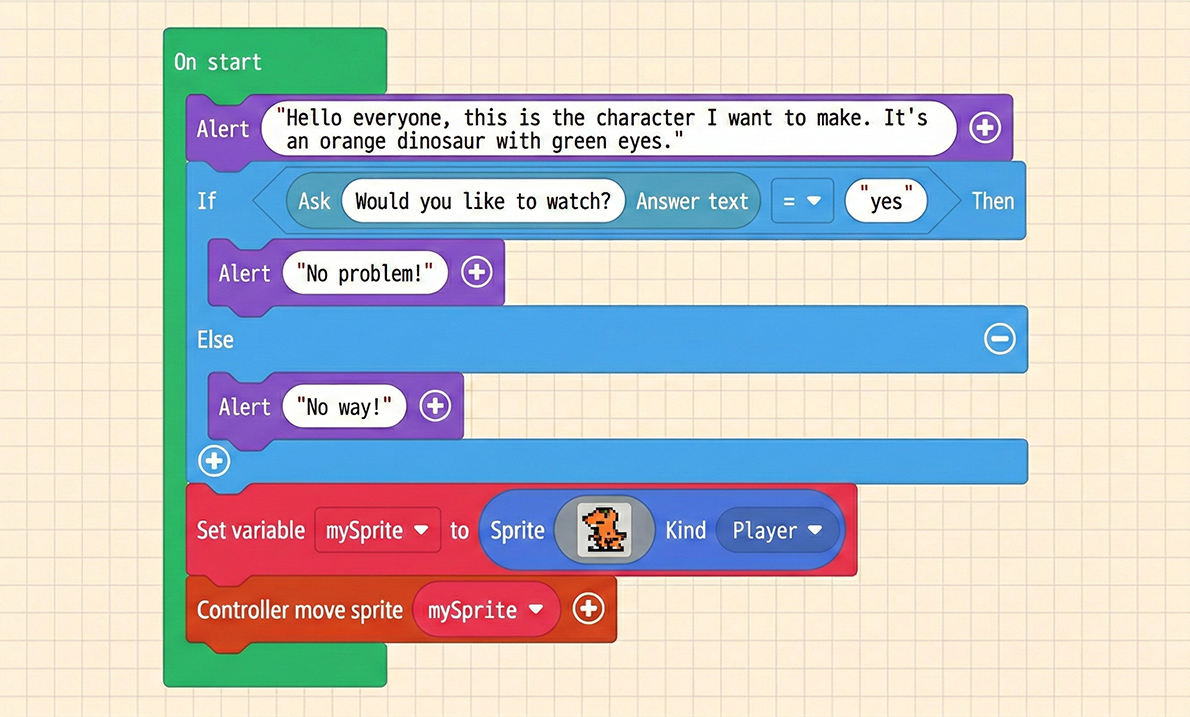
We can then fill in the corresponding follow-up messages in the appropriate positions, as shown below:
Once finished, test it in the Game Simulator.
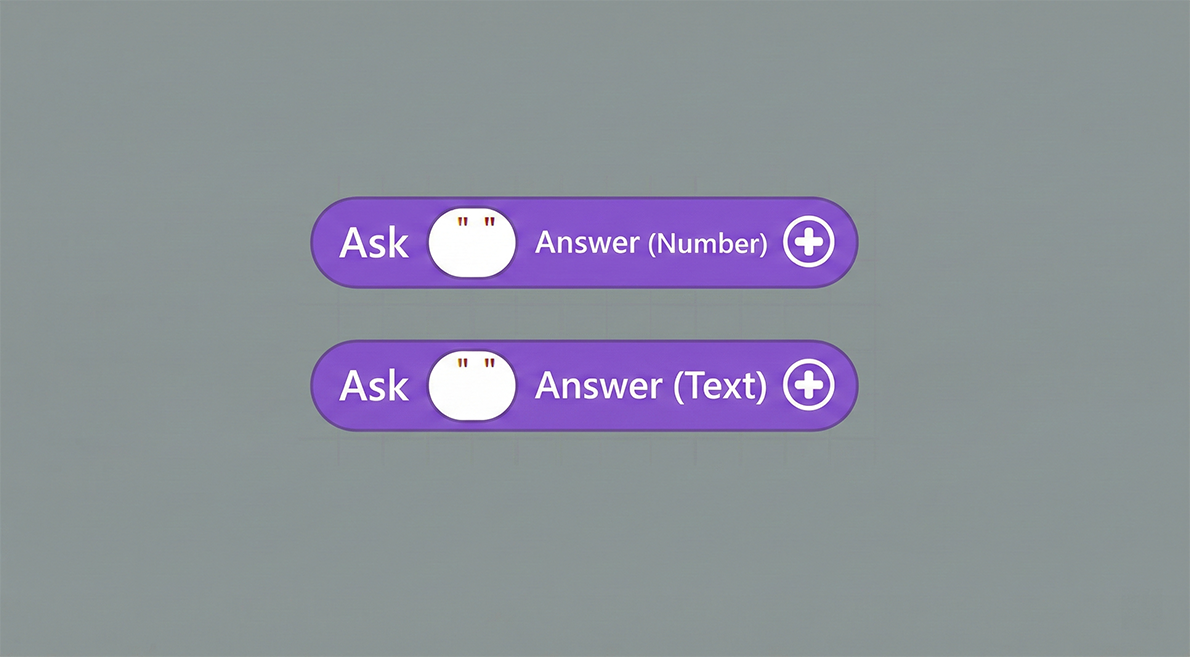
The other two “Ask” functions are similar, but they retrieve input content from the user. Let’s take “ask (” “) for string” as an example.
To facilitate the next steps, let’s first delete the “ask (” “)” block we just used.
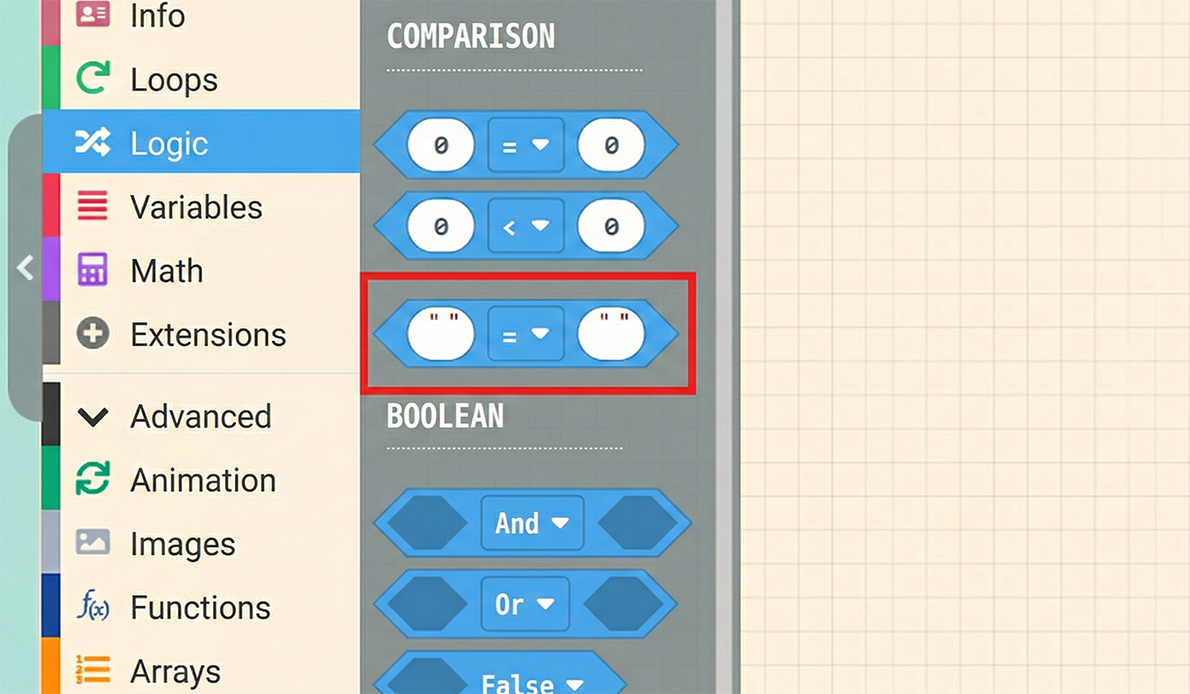
First, click “Logic” in the Block Toolbox and select the block highlighted in the image below (Comparison Block). This block allows us to compare if two texts match.
Next, combine the “text comparison” block with the “ask (” “) for string” block, and place it inside the “if… then…” block, as shown below:
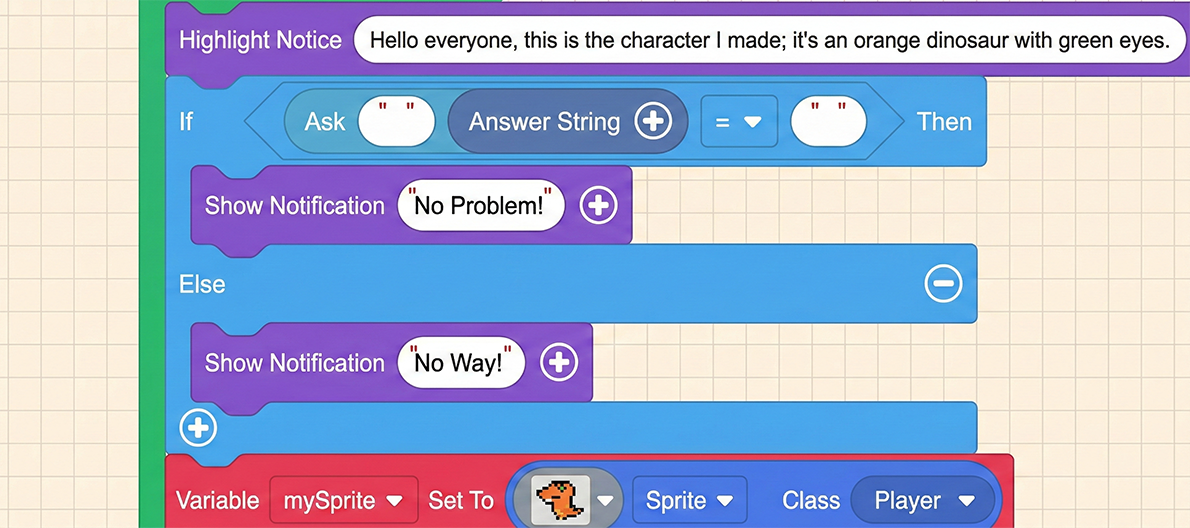
We can type our question inside the “ask” block and type the correct answer on the right side of the “equals sign”. Note that text input only supports English.
If the input content matches the answer, the program will execute the prompt “No problem!“.
Once finished, test it in the Game Simulator. You can also try entering the wrong message to see the result.
5.2 Learning to Use “Dialogs” to Interact with Sprites
Before starting the “Dialog” function, to keep things clean, please reset your program to its initial state.
The “Dialog” function is also located within the “Game” category in the Block Toolbox. Click it to find the relevant blocks.

The first three blocks are for settings/configuration, and only the fourth one is for actually displaying content. Regarding the configuration blocks, please place all three of them inside the “on start” block.
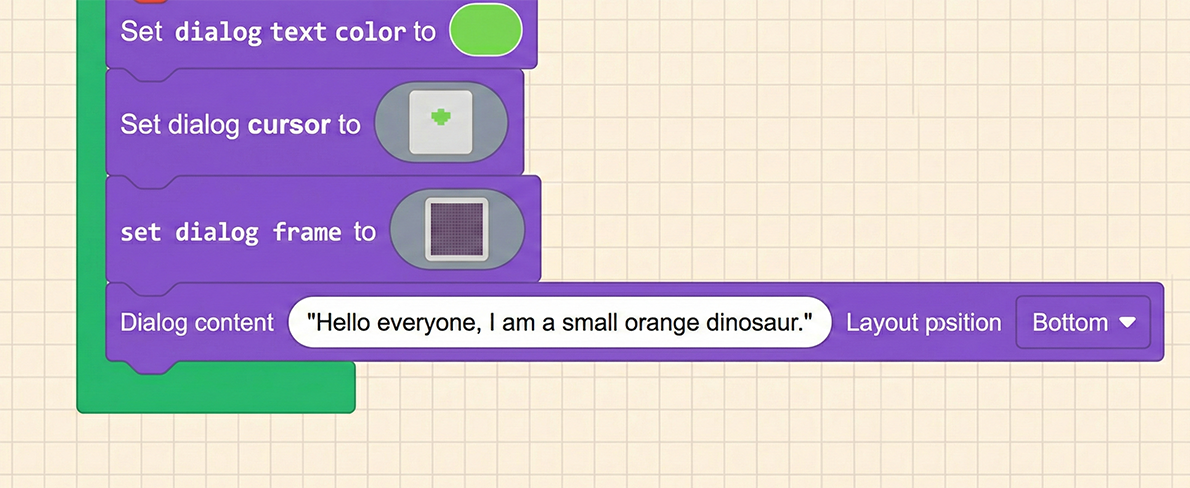
set dialog text color to ( ): This block changes the text color. Clicking the grey square will pop up a color palette where you can choose your preferred color.

set dialog cursor to ( ): This block allows you to draw the cursor icon that appears at the bottom right of the dialog window. Of course, you can also choose one from the Gallery.

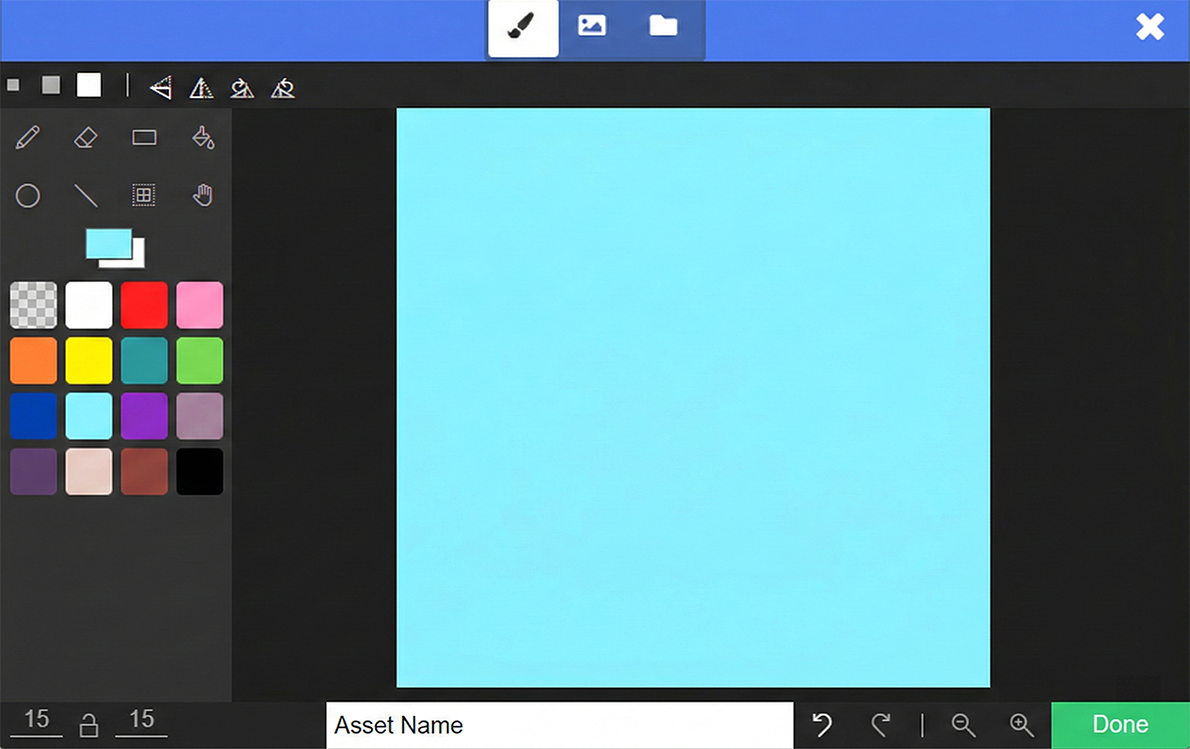
set dialog frame to ( ): This block acts like drawing the background for the dialog window. However, you only draw a small section, and it automatically tiles (repeats) it to fill the window frame. If you want a solid color background, you can fill the whole square. (You can try drawing a simple pattern to experiment).
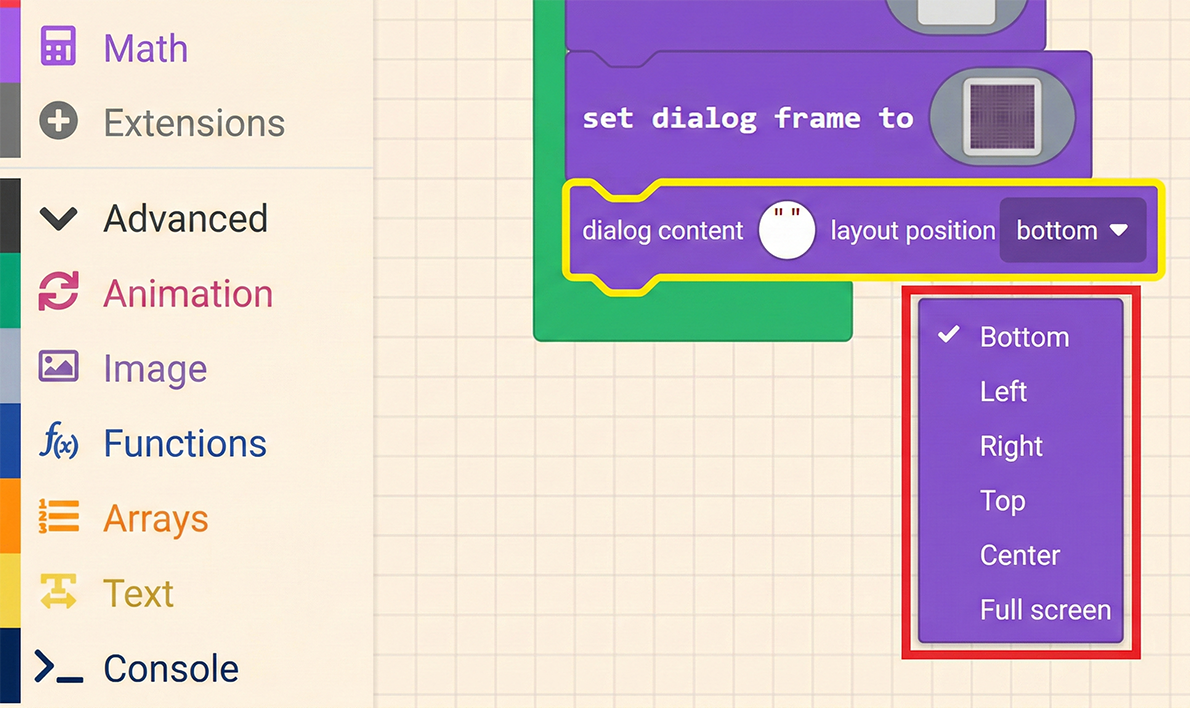
After completing the settings in order, let’s talk about the “show long text ” ” at [bottom]” block. Place it below the blocks we just added. The dropdown menu allows you to choose the position; here we demonstrate using the default “bottom”.
Next, we can fill in the dialog content we want to present. The editor writes: “Hello, I am an orange little dinosaur.”
Once finished, test it in the Game Simulator. When the “Dialog Window” opens, it behaves like the “Prompt Window”—you need to press a button to close it and execute the subsequent code.

You can add more “show long text” blocks to make the conversation richer. With the dialog window, doesn’t it feel like the little dinosaur has come alive?