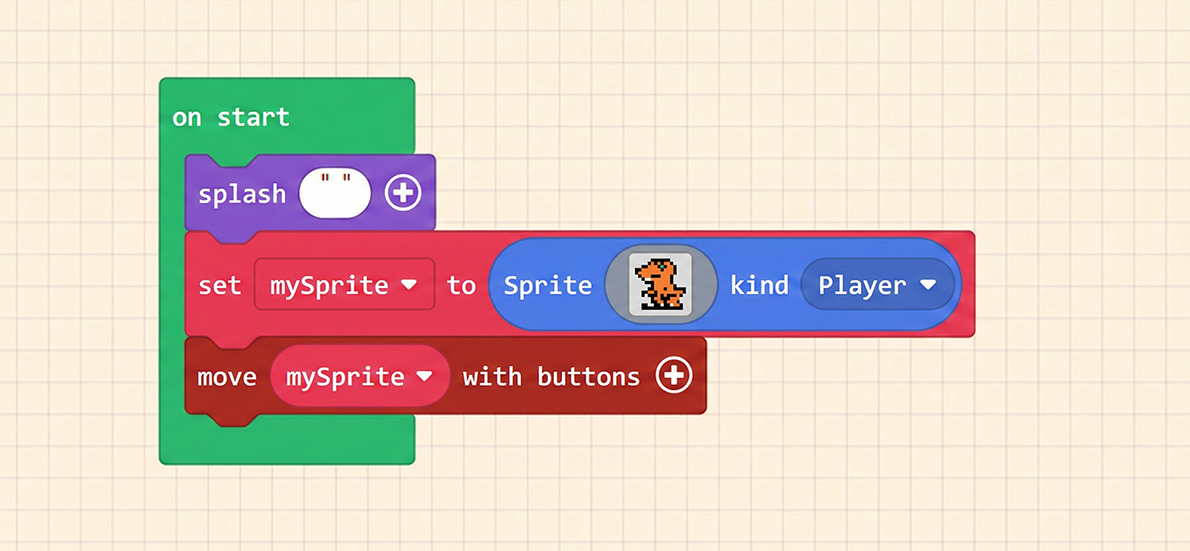
Before starting the “Dialog” function, to keep things clean, please reset your program to its initial state.
The “Dialog” function is also located within the “Game” category in the Block Toolbox. Click it to find the relevant blocks.

The first three blocks are for settings/configuration, and only the fourth one is for actually displaying content. Regarding the configuration blocks, please place all three of them inside the “on start” block.
set dialog text color to ( ): This block changes the text color. Clicking the grey square will pop up a color palette where you can choose your preferred color.

set dialog cursor to ( ): This block allows you to draw the cursor icon that appears at the bottom right of the dialog window. Of course, you can also choose one from the Gallery.

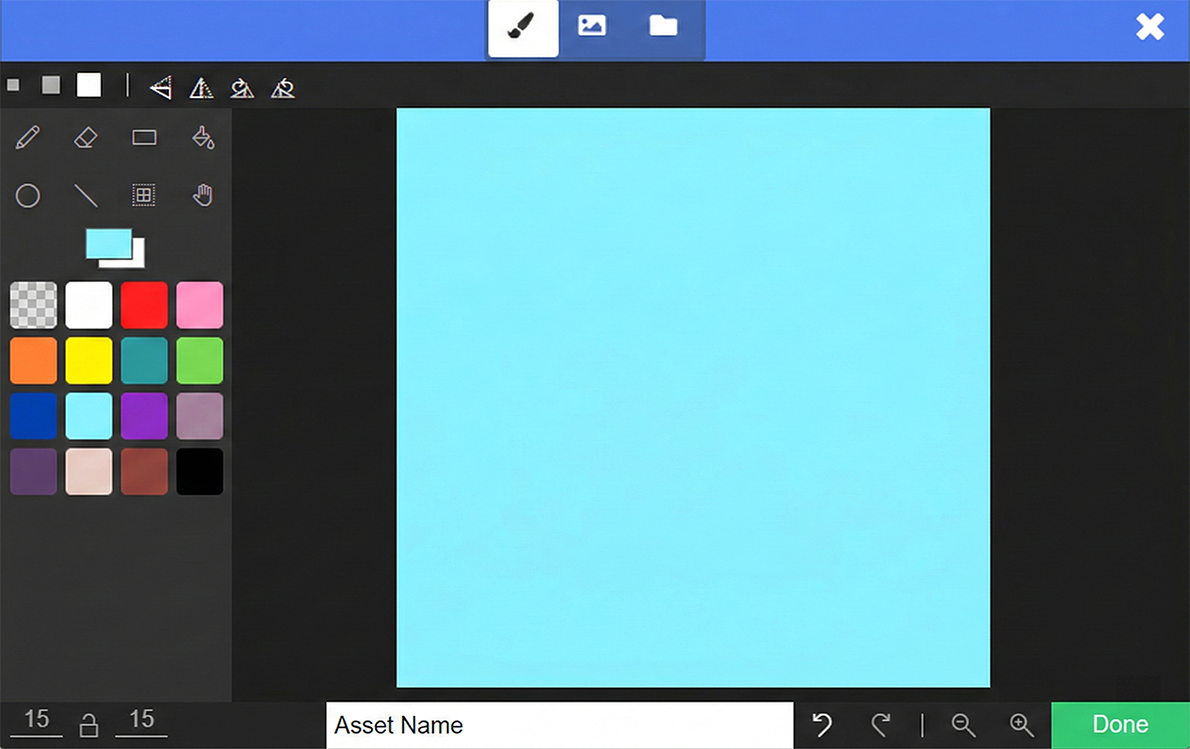
set dialog frame to ( ): This block acts like drawing the background for the dialog window. However, you only draw a small section, and it automatically tiles (repeats) it to fill the window frame. If you want a solid color background, you can fill the whole square. (You can try drawing a simple pattern to experiment).
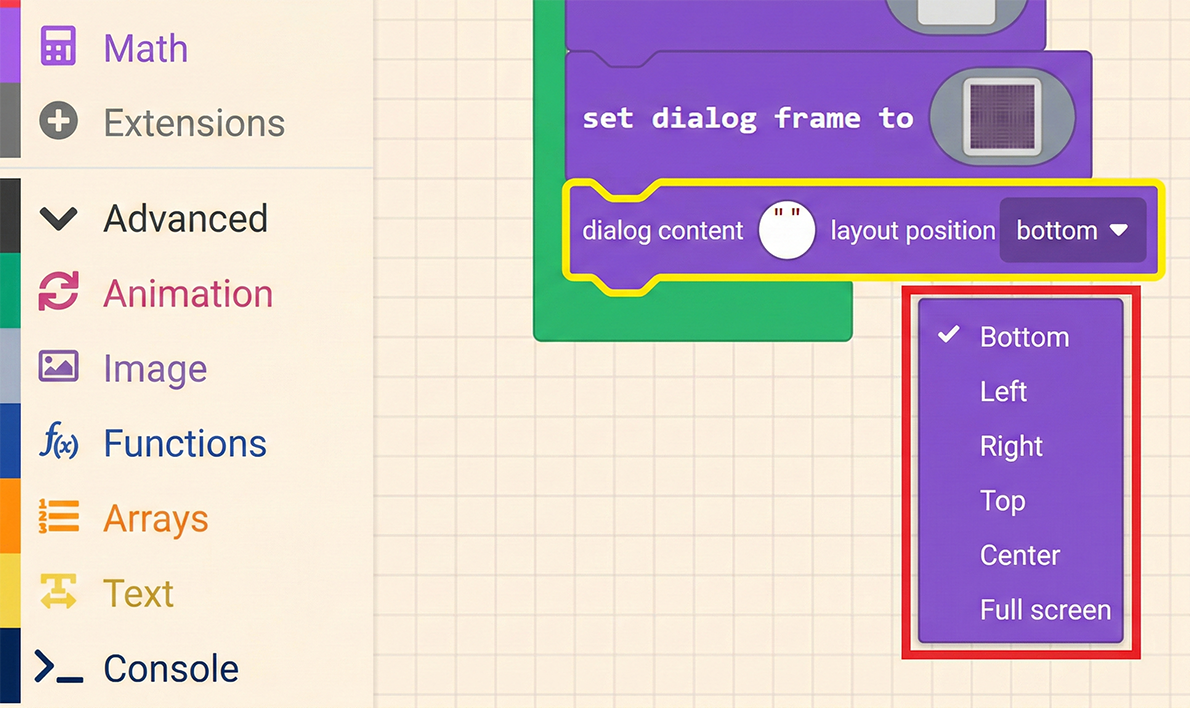
After completing the settings in order, let’s talk about the “show long text ” ” at [bottom]” block. Place it below the blocks we just added. The dropdown menu allows you to choose the position; here we demonstrate using the default “bottom”.
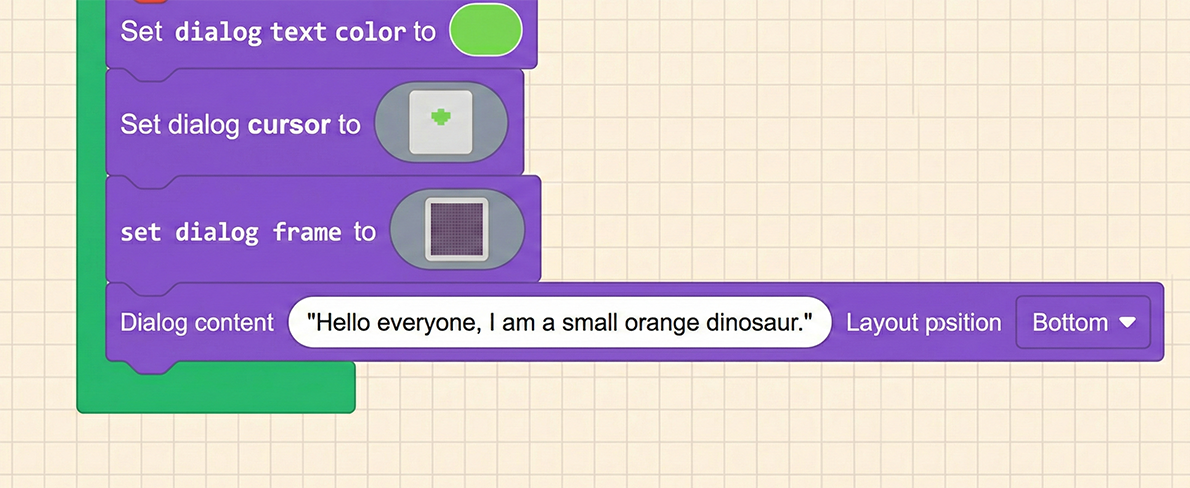
Next, we can fill in the dialog content we want to present. The editor writes: “Hello, I am an orange little dinosaur.”
Once finished, test it in the Game Simulator. When the “Dialog Window” opens, it behaves like the “Prompt Window”—you need to press a button to close it and execute the subsequent code.

You can add more “show long text” blocks to make the conversation richer. With the dialog window, doesn’t it feel like the little dinosaur has come alive?