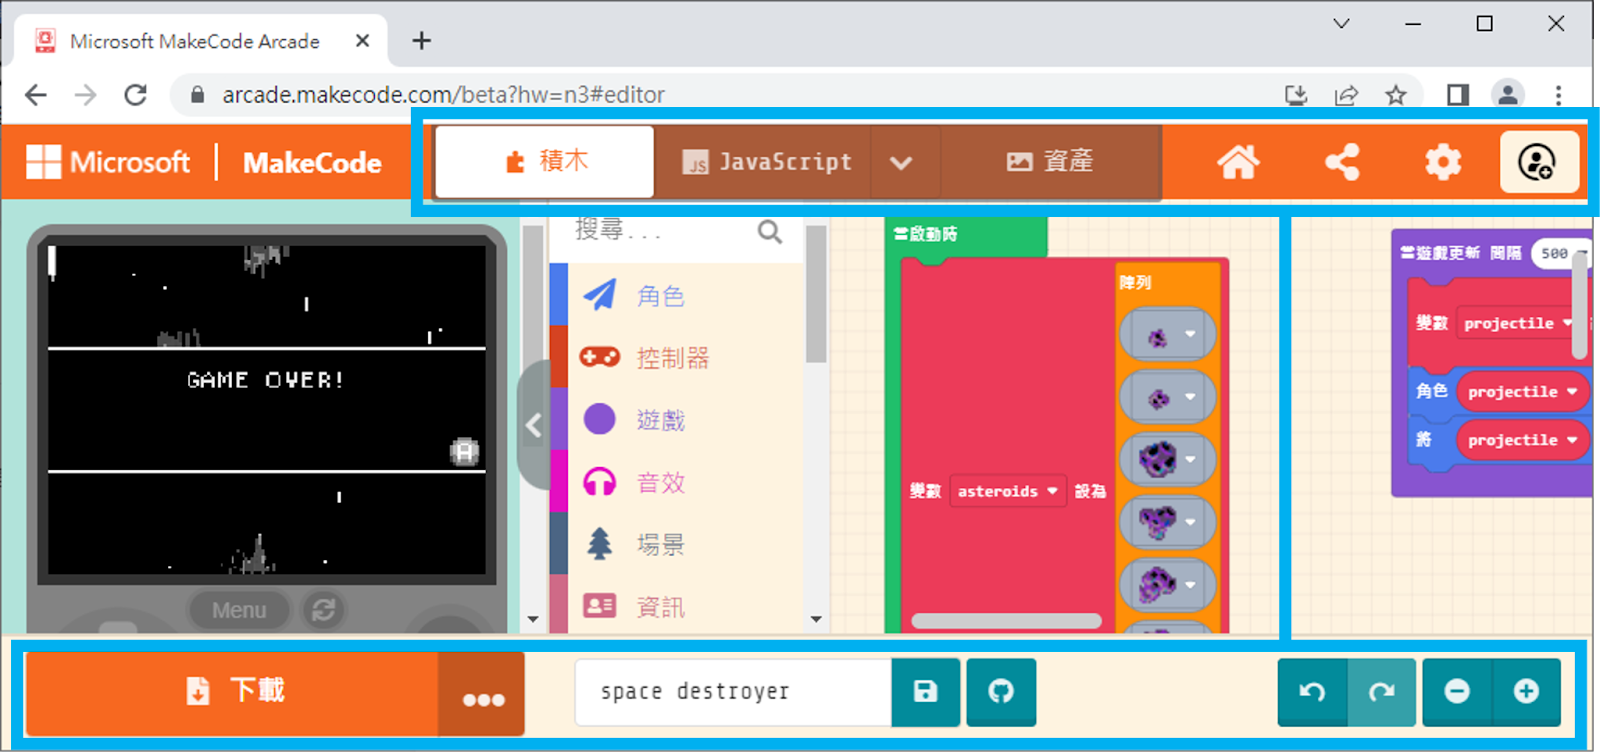
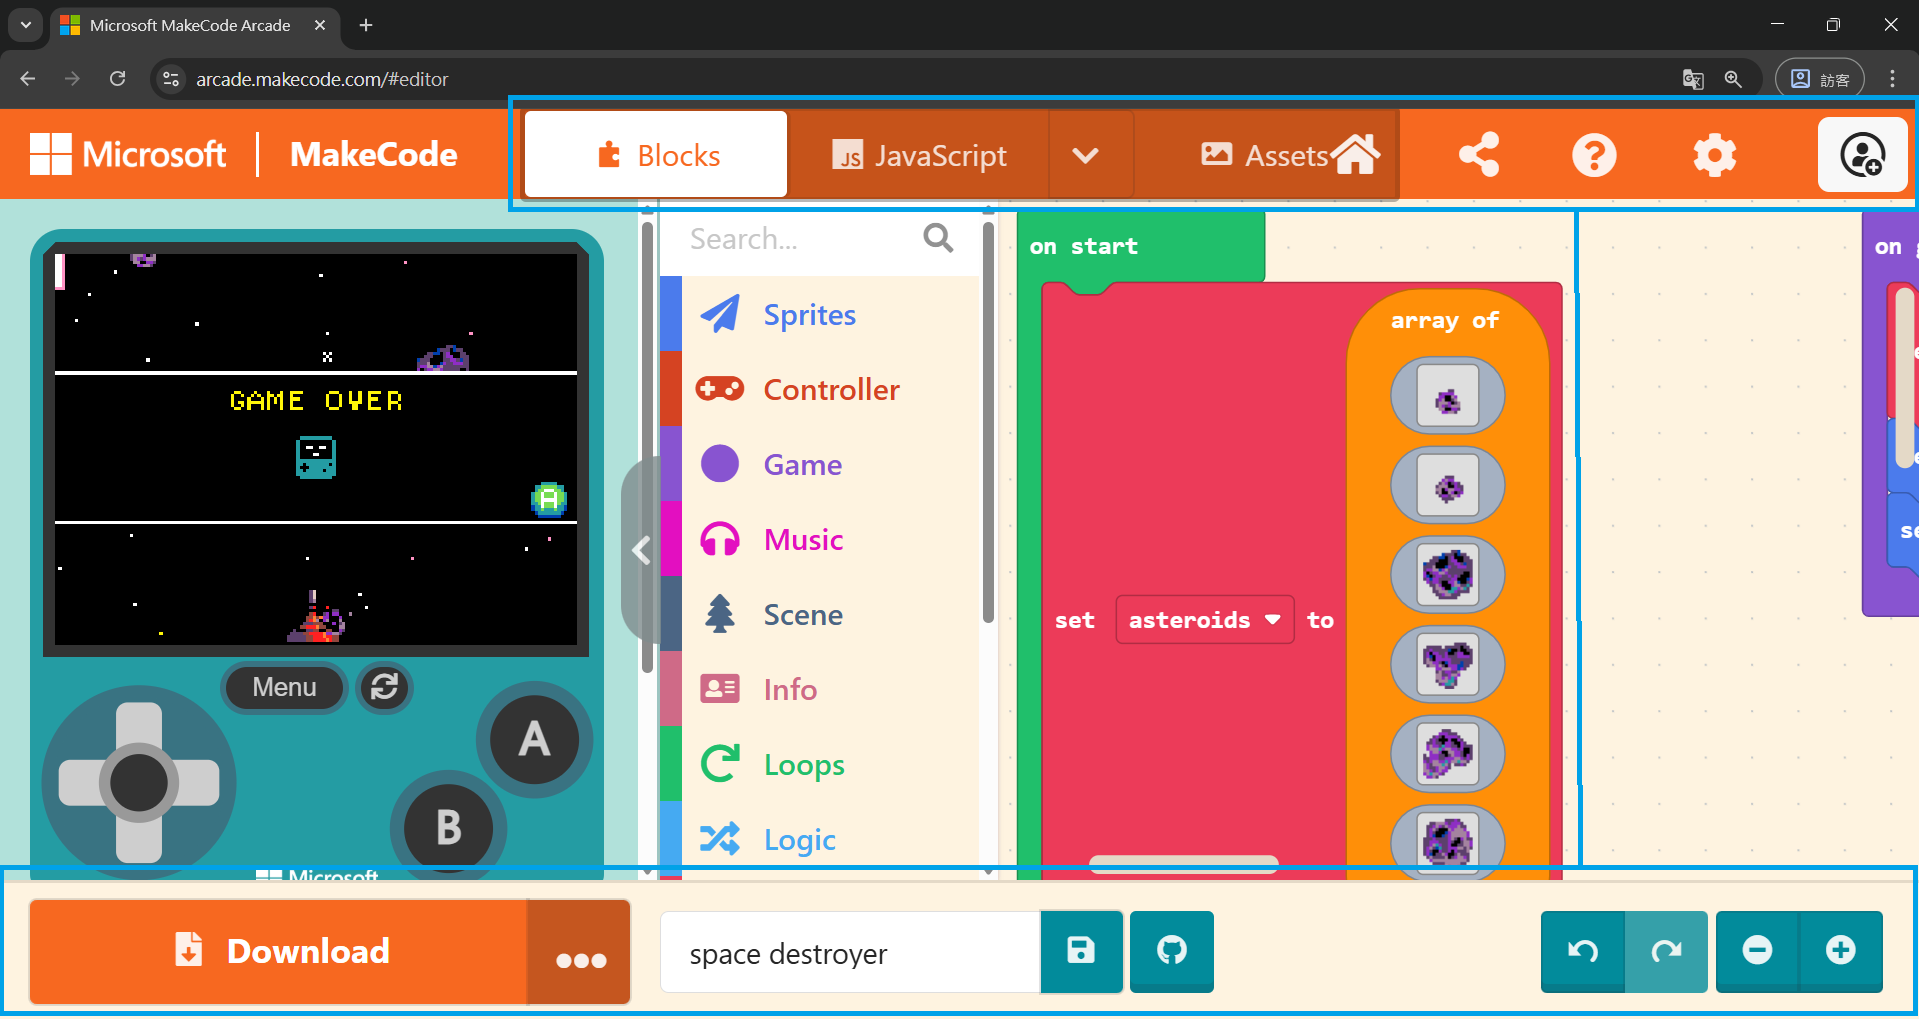
3.1 Getting to Know the Interface
MakeCode Arcade is primarily divided into three main sections. From left to right, they are the Game Simulator, the Block Toolbox , and the Workspace.
3.1.1 The Game Simulator
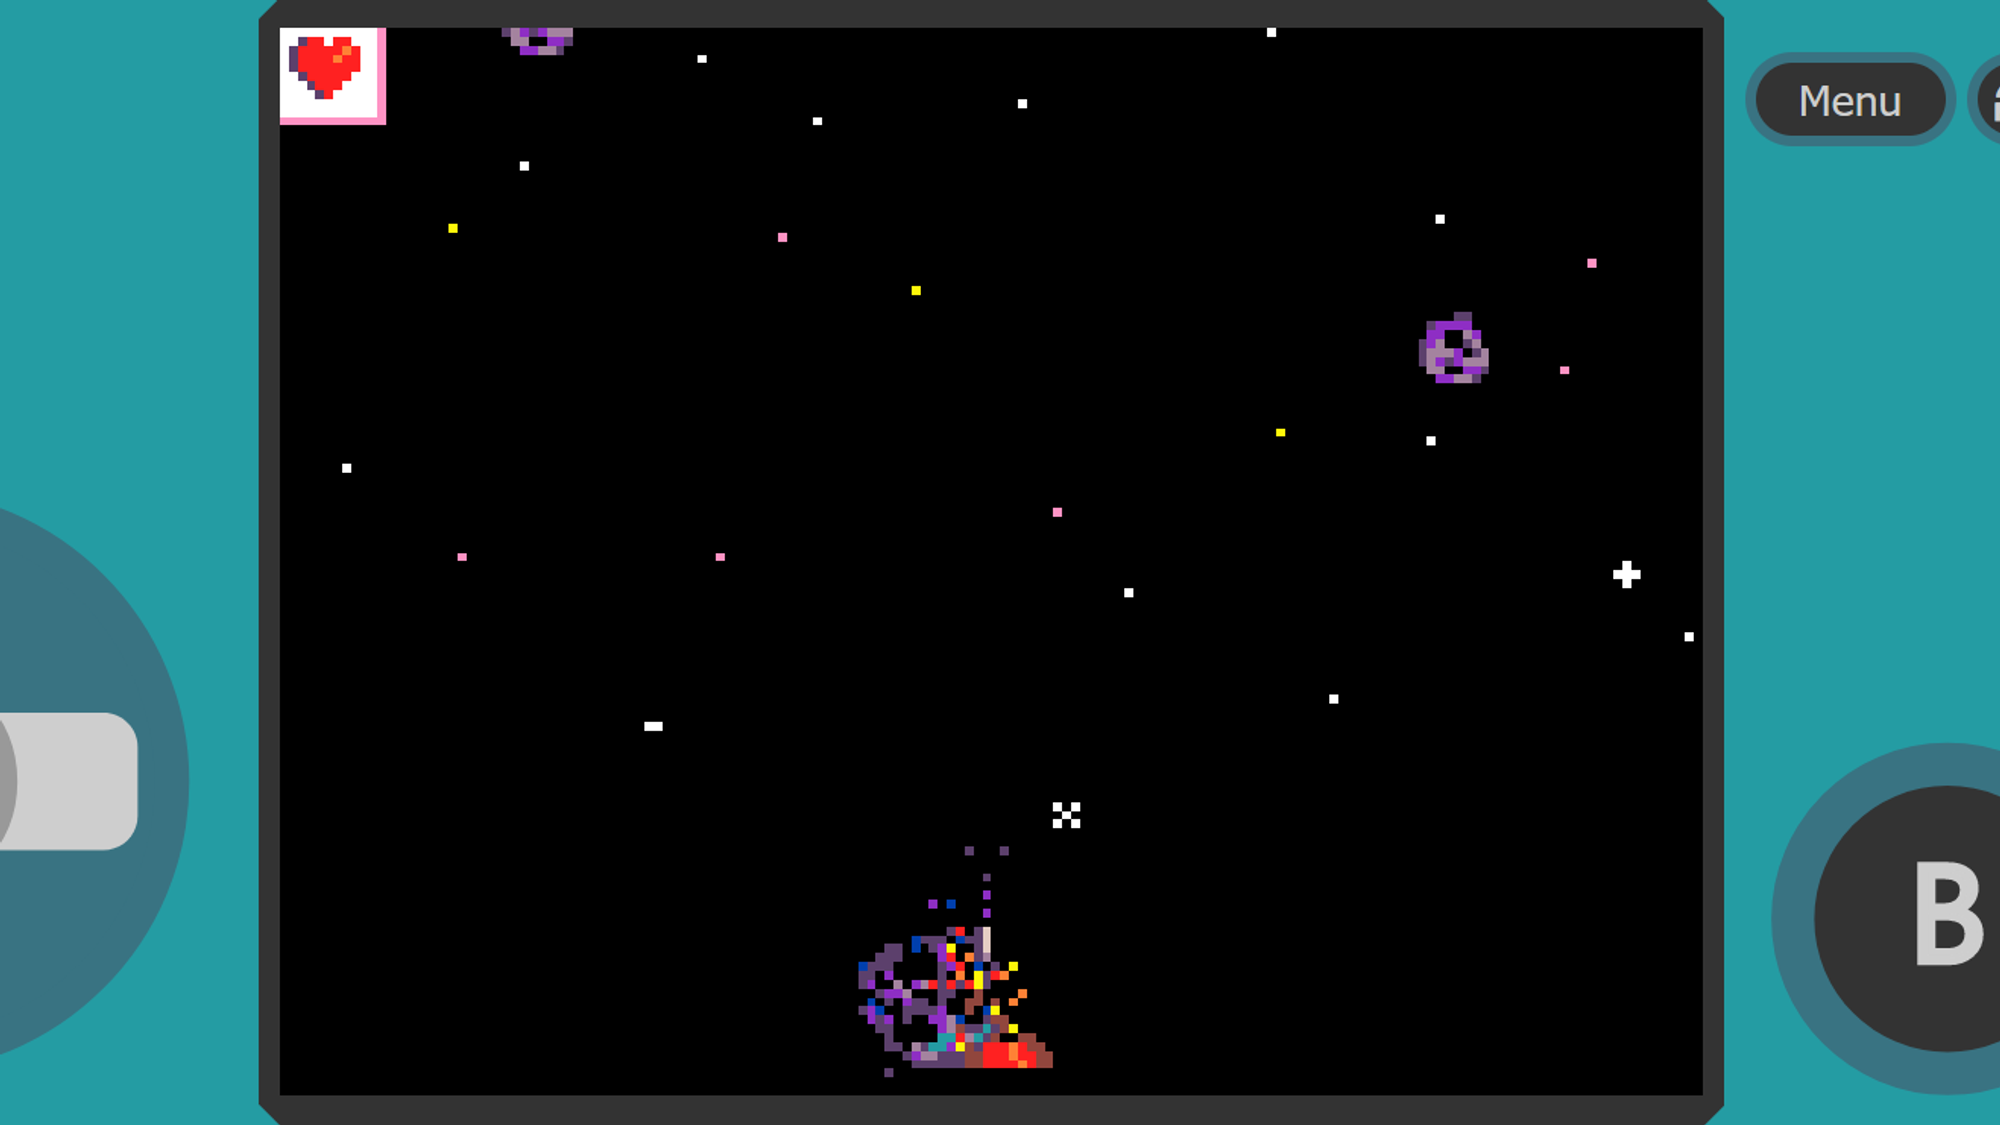
As the name suggests, this is where you can instantly play your game. It allows you to verify if your code is working correctly—for example, checking if the character moves when a button is pressed, or if a projectile follows the intended path.
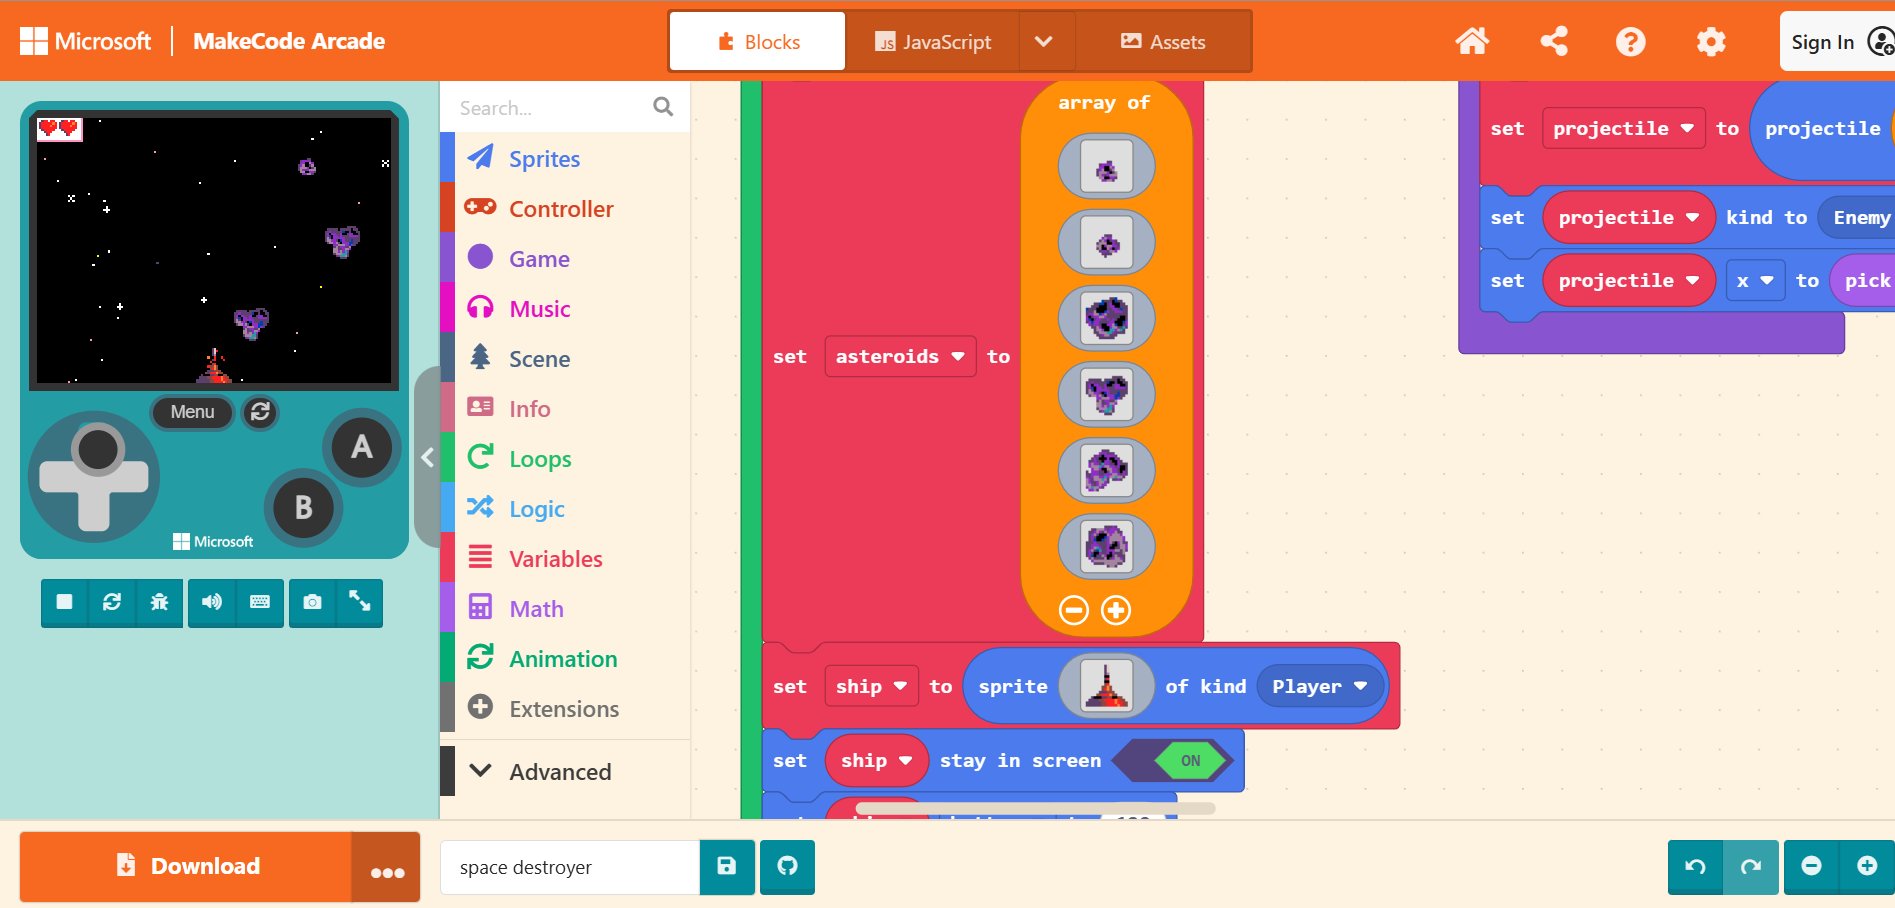
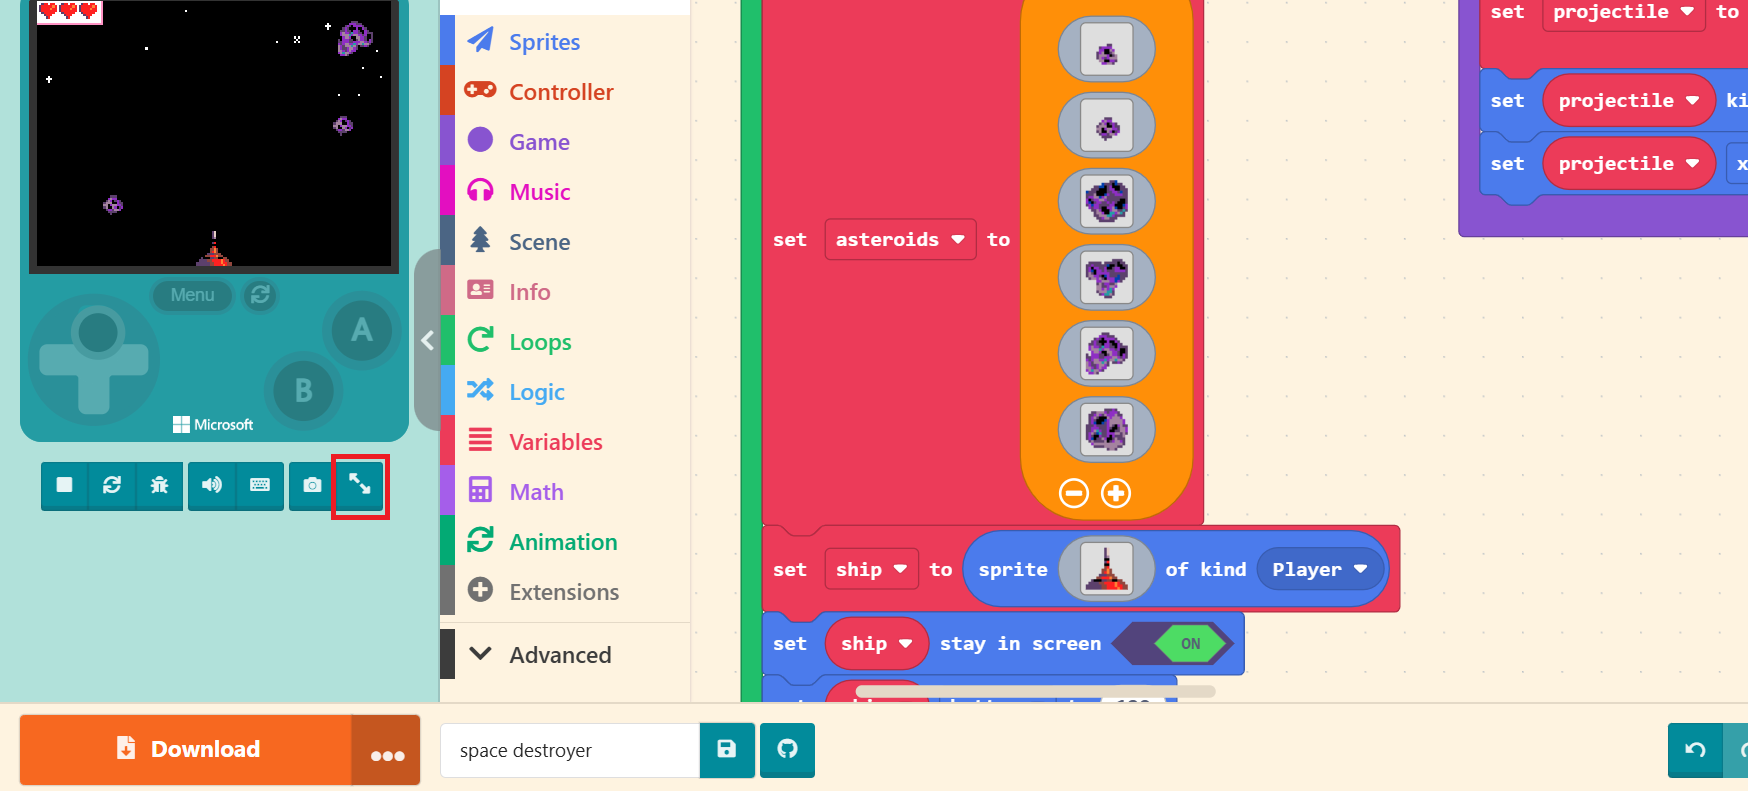
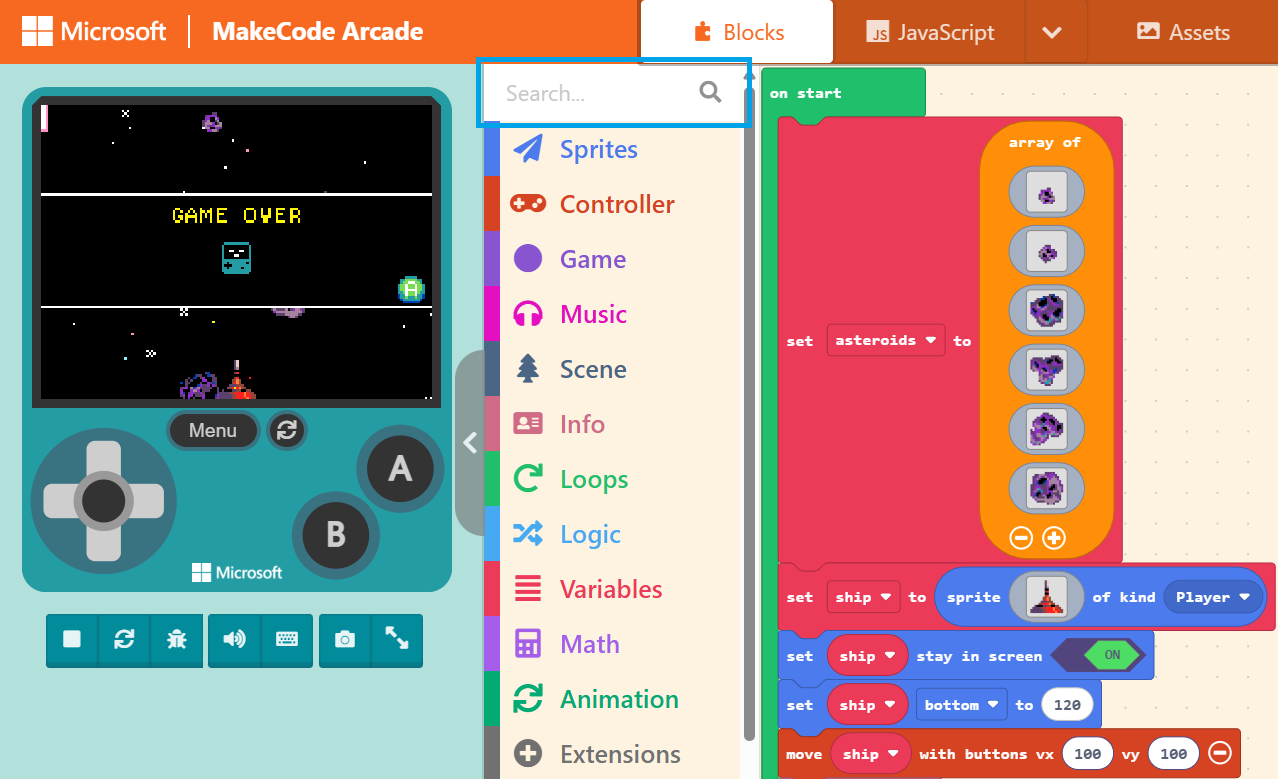
First, let’s follow the method taught in the previous unit and open the example program “Space Destroyer” to demonstrate.
Once the webpage finishes initializing, we can click the buttons and joystick on the simulator to start enjoying the game. However, before you even play, your first impression might be: “The screen is too small, isn’t it?” Playing games shouldn’t be a struggle. Below the console image, there is a row of Control Buttons. The rightmost one is the “Toggle Full Screen” button. Please click it. The game screen will expand to fit your browser window size. You can adjust the window size yourself after finishing your game design.
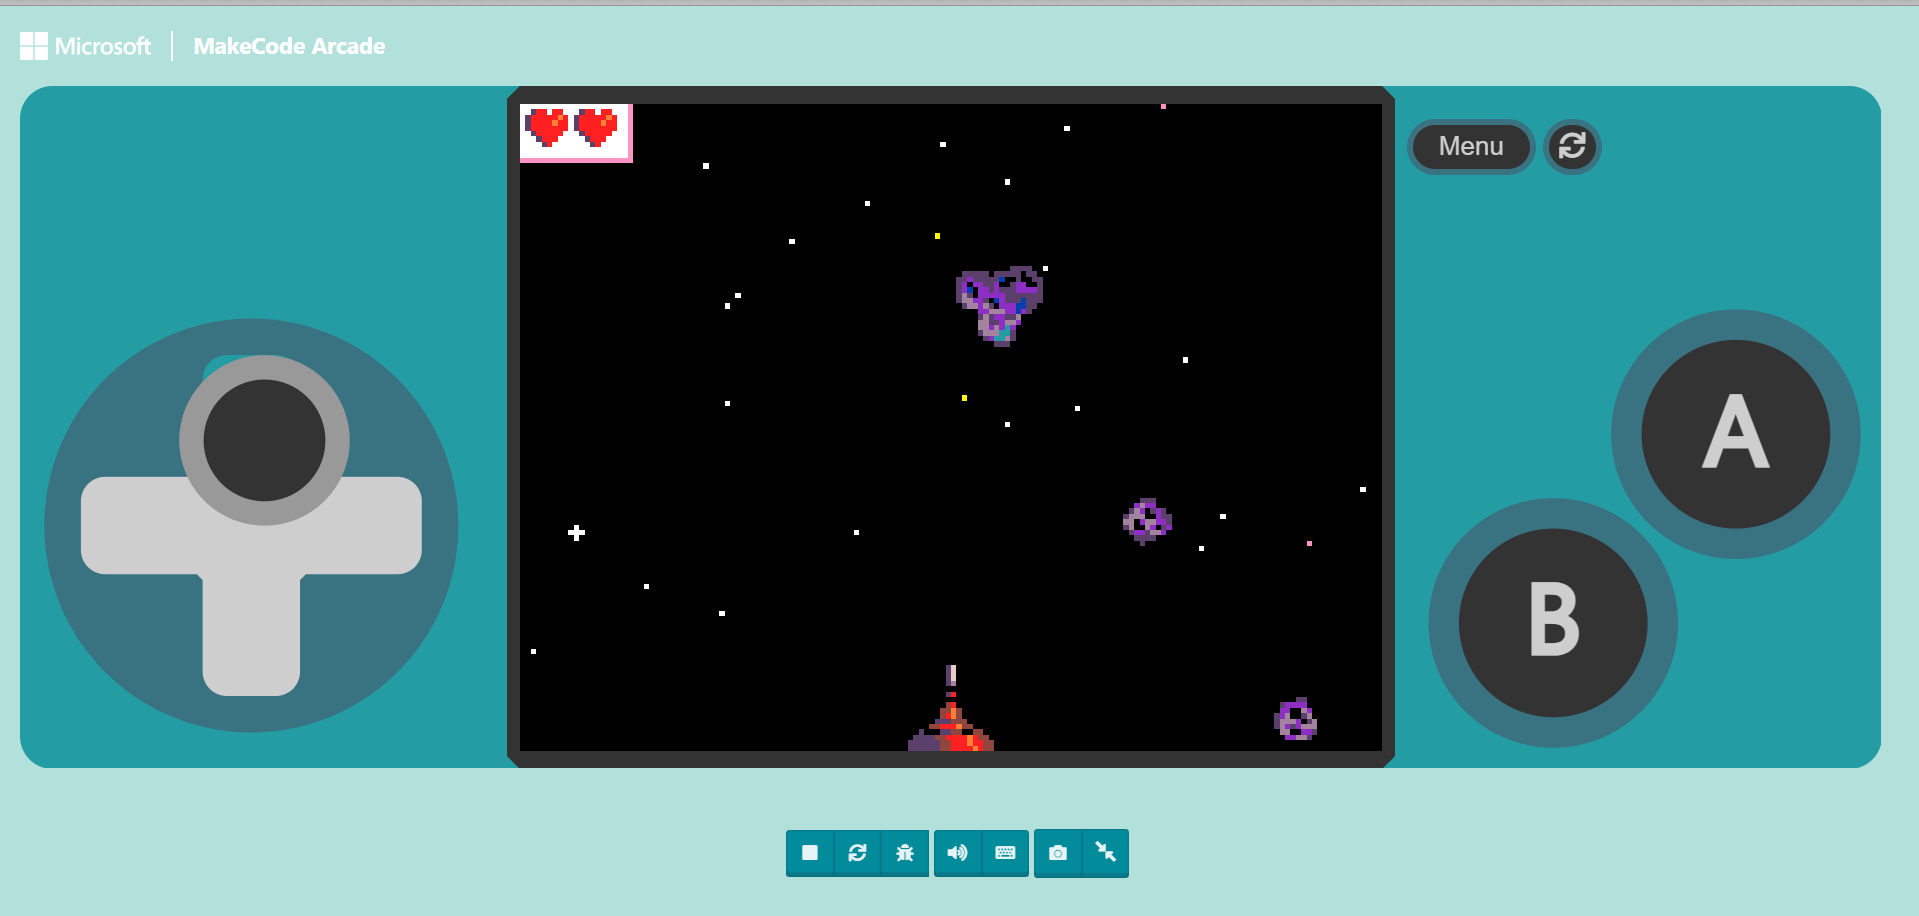
Although the screen is bigger, you will immediately realize the next problem: we only have one mouse cursor, making it impossible to operate the joystick and buttons simultaneously. Can we use a keyboard?
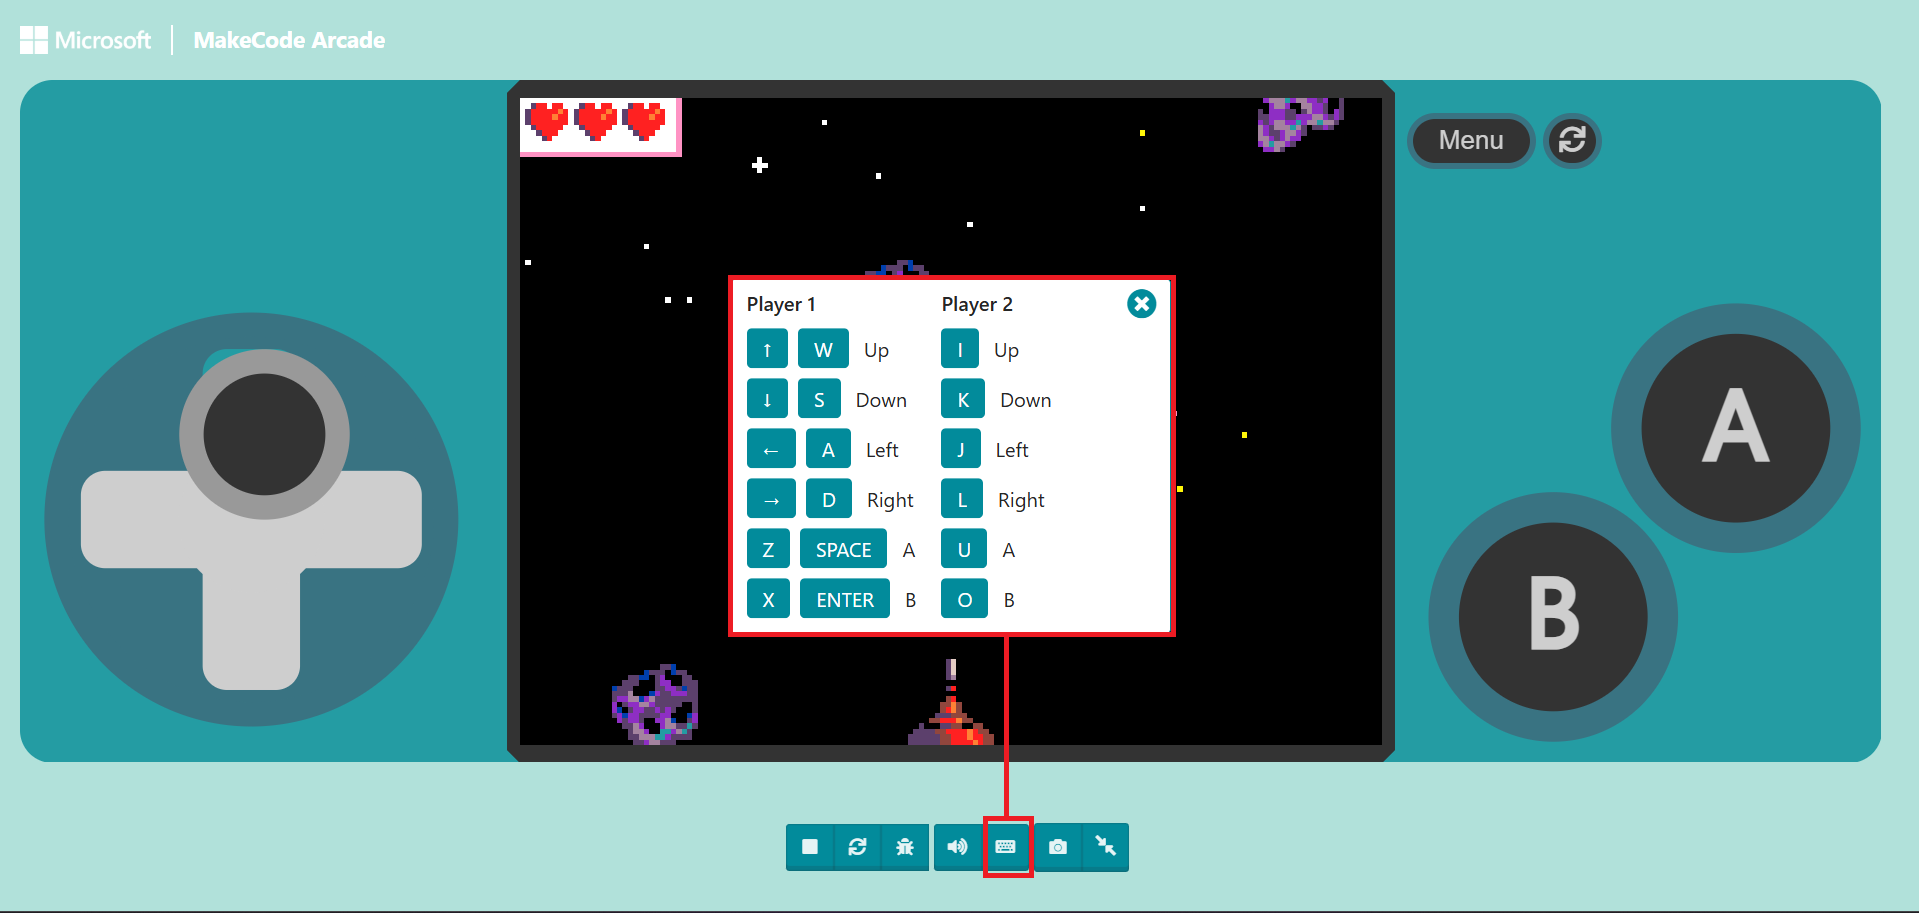
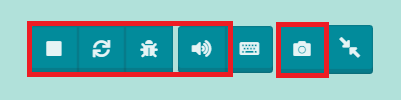
In the Control Buttons bar, there is a “Keyboard Shortcut” button. Clicking this will open a help window showing how the game buttons map to your keyboard keys. It even supports two-player battles on the same keyboard.
The remaining Control Buttons, from left to right, are “Stop/Start”, “Restart”, “Debug”, and “Screenshot”. We will have a separate chapter dedicated to explaining the “Debug” function later. Feel free to test the other buttons now.
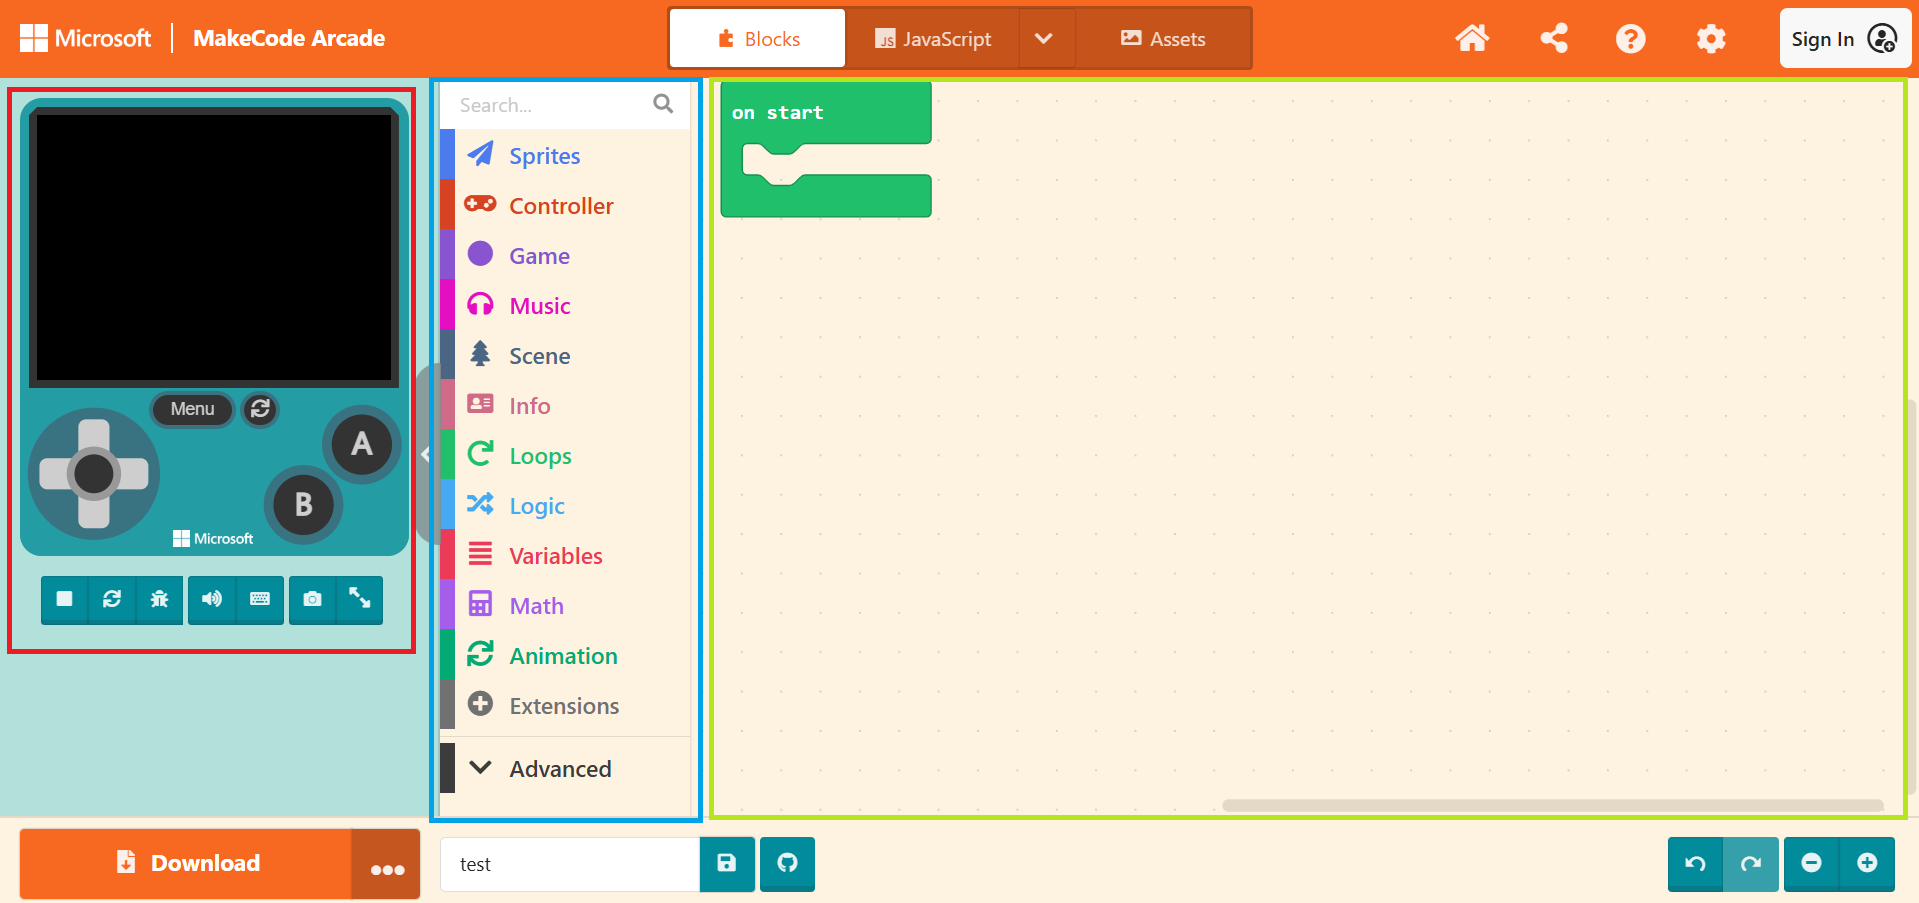
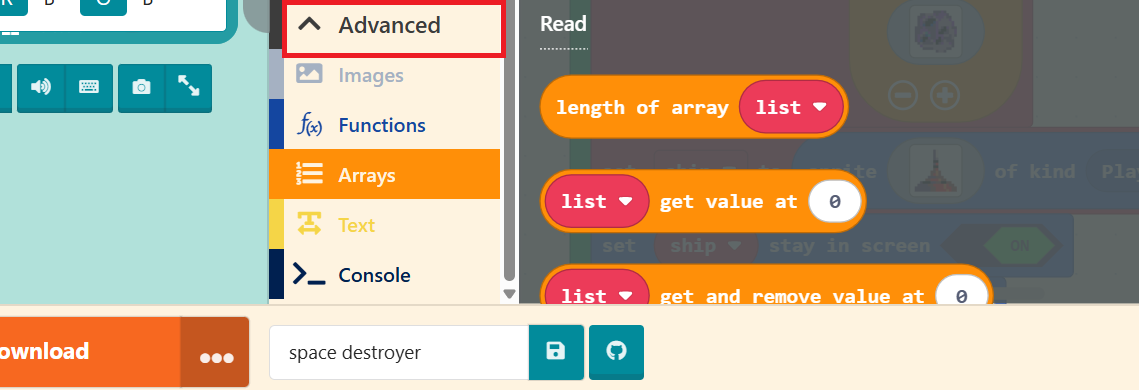
3.1.2 The Block Toolbox
This area stores all our code blocks. Click on any category to explore; for example, if you click “Sprites”, a list of code blocks related to “Sprites” will pop out on the right.

The “Advanced” section at the bottom contains even more options, which you can click through to explore one by one.
If we categorize the needs for creating a simple game, we require “Eight Major Functions”. These include “Sprites”, “Controller”, “Game”, and “Music” for the game’s presentation elements; and “Loops”, “Logic”, “Variables”, and “Math” for the underlying logic.
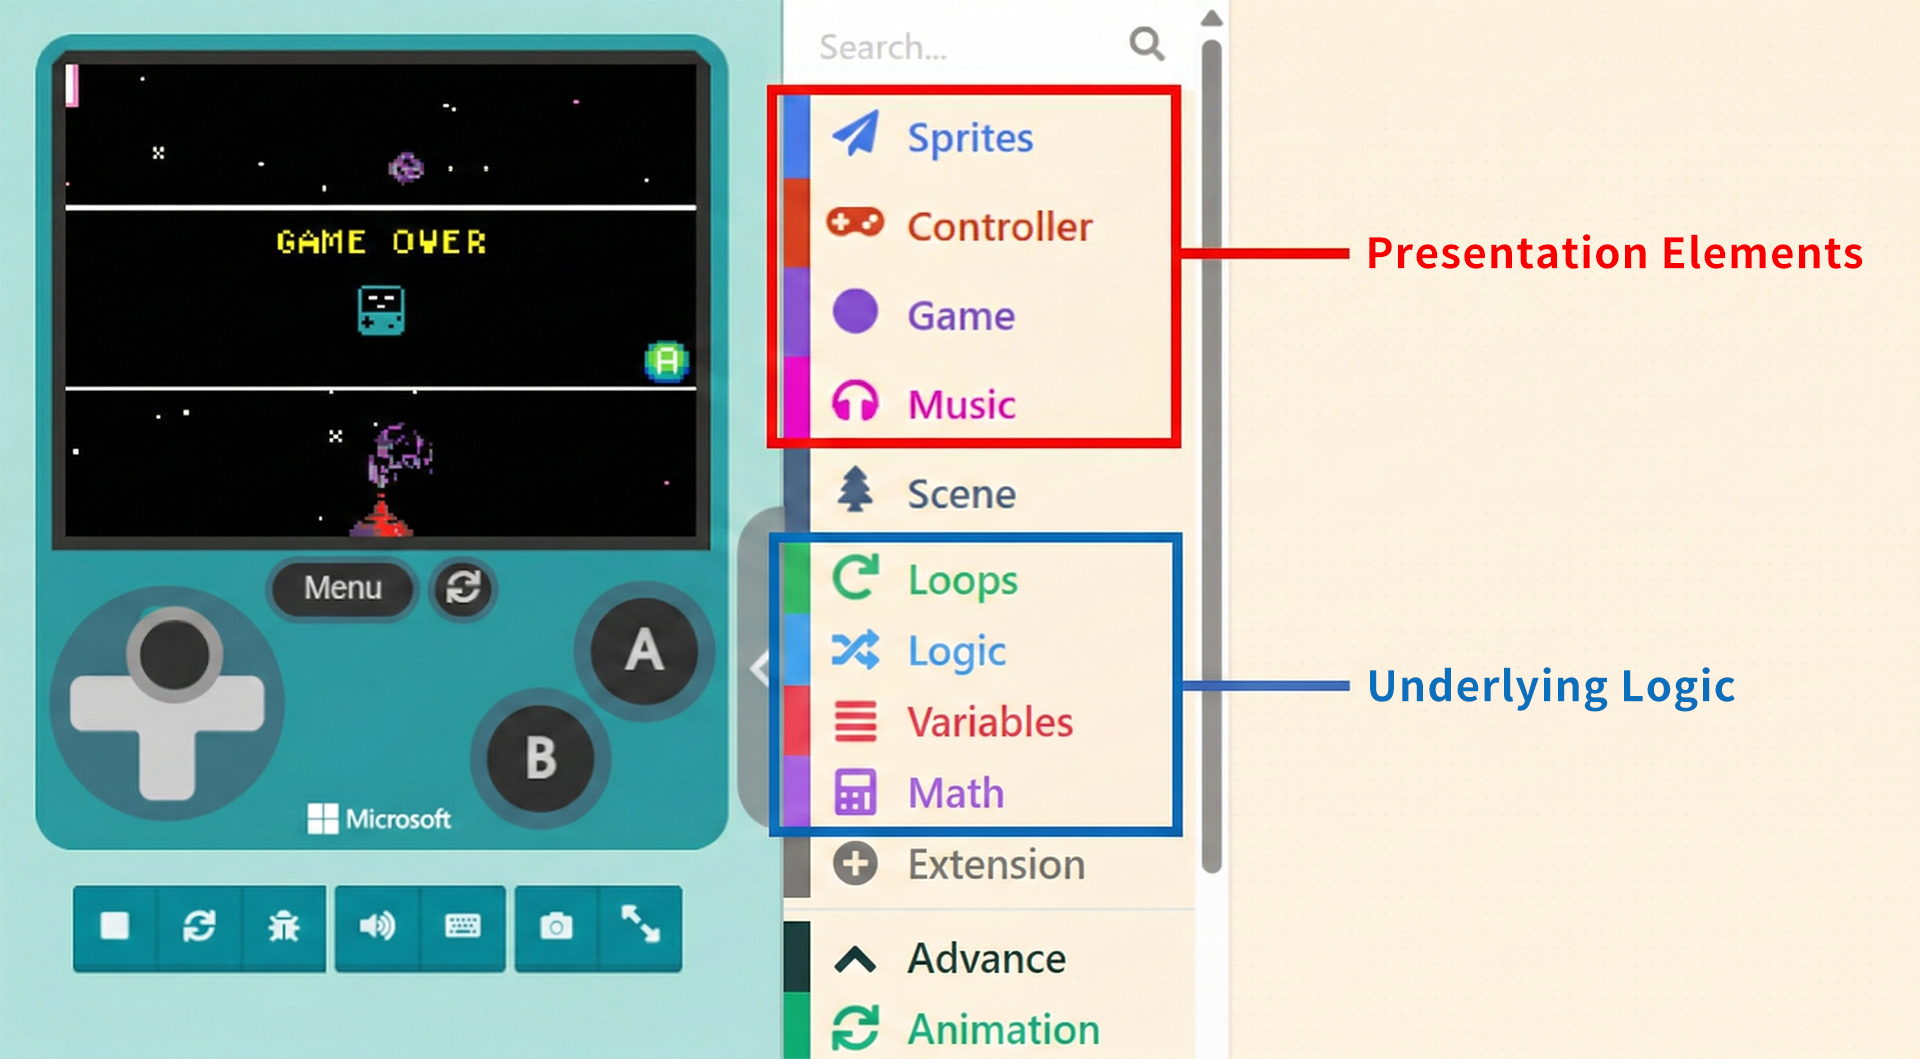
Options outside these “Eight Major Functions” are used to enrich the game, enhance effects, or add extensions. The “Extensions” category, which wasn’t detailed above, offers flexibility. You can add blocks written by others or official providers, or choose not to extend and simply design games using the built-in interface functions.
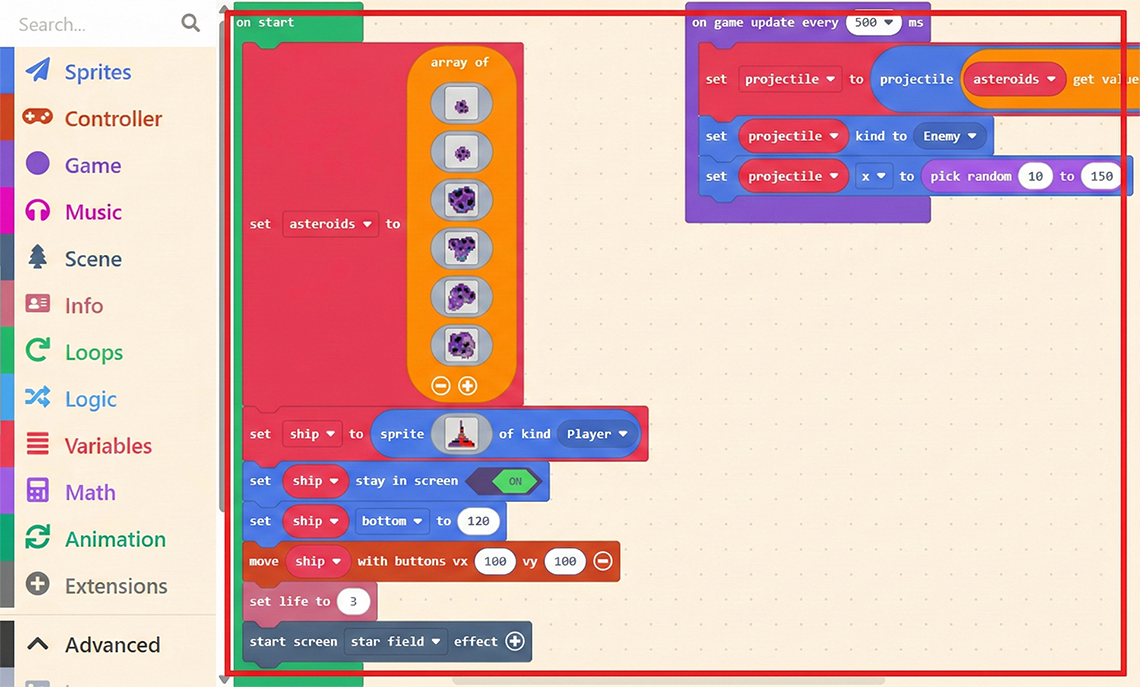
3.1.3 The Workspace
The Workspace takes up the largest area of the interface. This is where you implement game functions by “assembling” code blocks. Once you drag a block into the Workspace, it becomes active.
3.1.4 Additional Features
At the top and bottom of the interface, there are various operation options. Those who have used MakeCode before should be familiar with these: “Download”, “Save”, “Zoom Controls”, “Undo/Redo”, “Share Project”, and others.
If you are a beginner, don’t worry. We will frequently use these options in future tutorials, so you will get familiar with them gradually.
3.2 How to Quickly Find Specific Blocks
When learning from example programs, we often want to know which category a specific block comes from. The most intuitive method is, of course, to look through the options one by one, but that takes time—there are quite a few options! Sharp-eyed users may have already noticed the “Search” field.
Suppose we want to search for the block “set life to ( 3 )”.
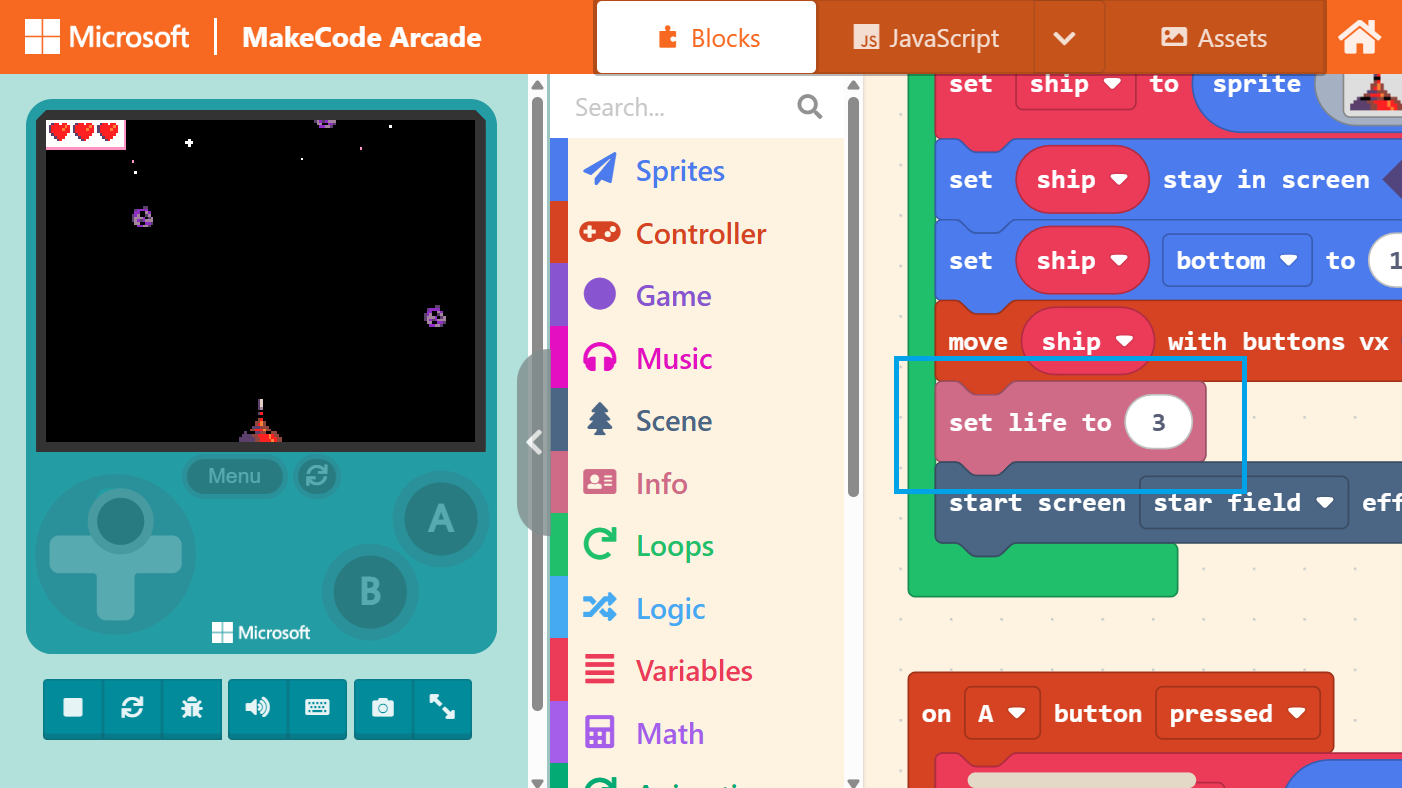
Enter the keyword in the “Search” field, and the search results will pop up on the right.
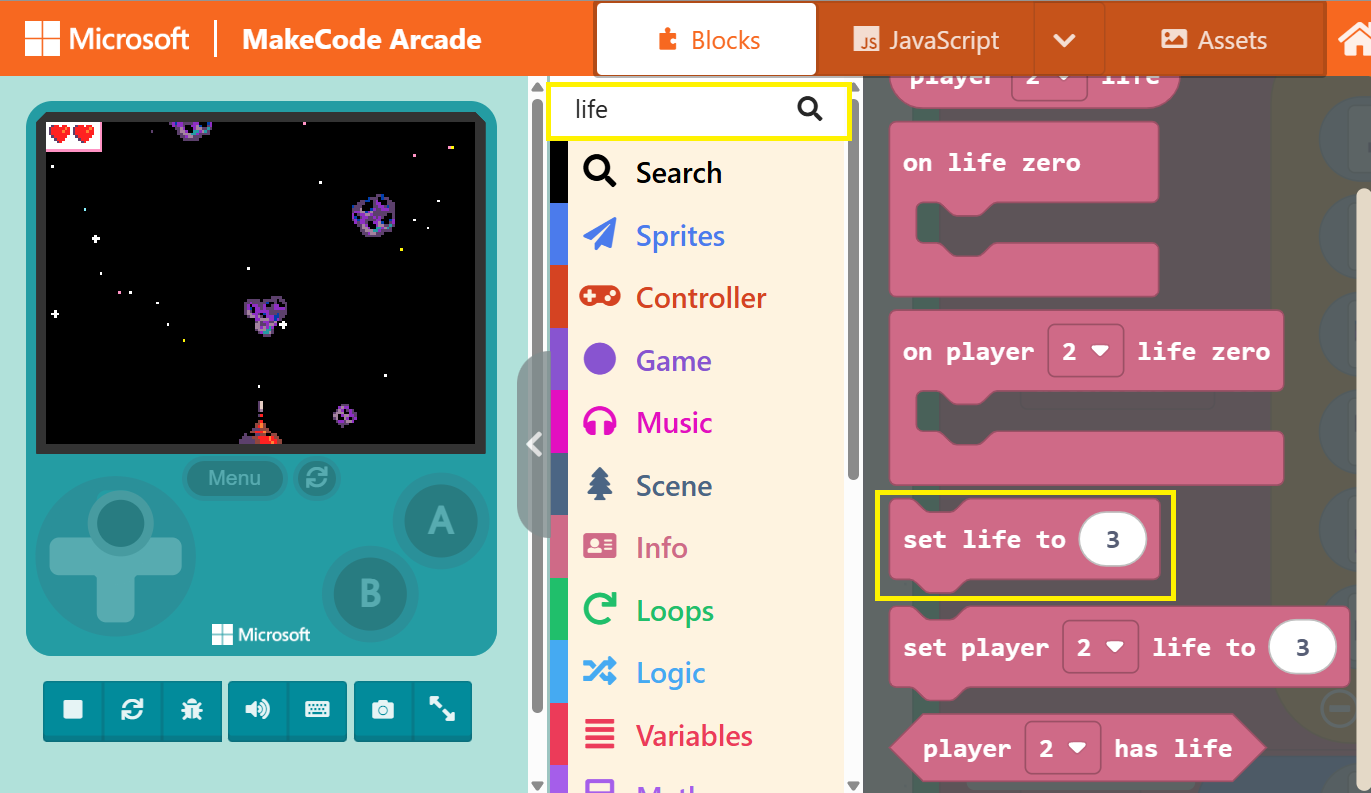
Official blocks are actually color-coded. For instance, the “set life to ( 3 )” block we just searched for is pink. Blocks with similar functions will share the same color. Therefore, you can also use color as a guide to look back at the “Block Toolbox” and locate the blocks you need.